Homemade Butter Recipe
This post may contain affiliate links. Please read our disclosure policy.
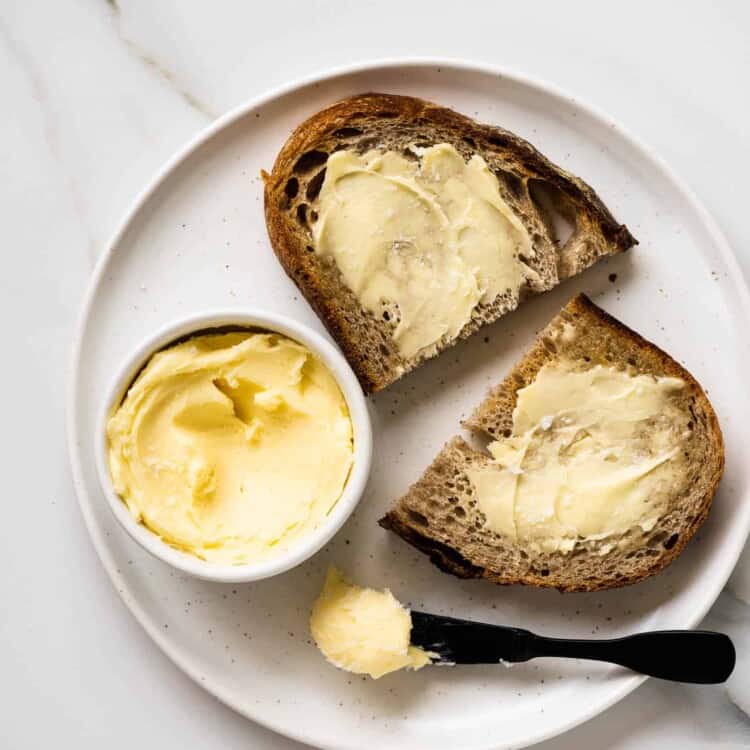
Making homemade butter often has a reputation for being labor-intensive, but I’m here to show you how to master this surprisingly simple skill. My step-by-step butter recipe breaks down the process. This is the only butter recipe you’ll ever need, with a creamy, rich flavor that will leave you wondering why you ever bought butter from the store. Let me guide you!
We’re taking a deep dive and sharing how to make delicious, creamy butter at home. You’ll see how easy it is with whipping cream and a stand or electric mixer. It’s a satisfying process that will make you feel like a kitchen rockstar, and the mixer does all the work!
Sometimes, we like to take shortcuts in the kitchen, but making homemade butter is so delicious that it’s worth the extra effort.
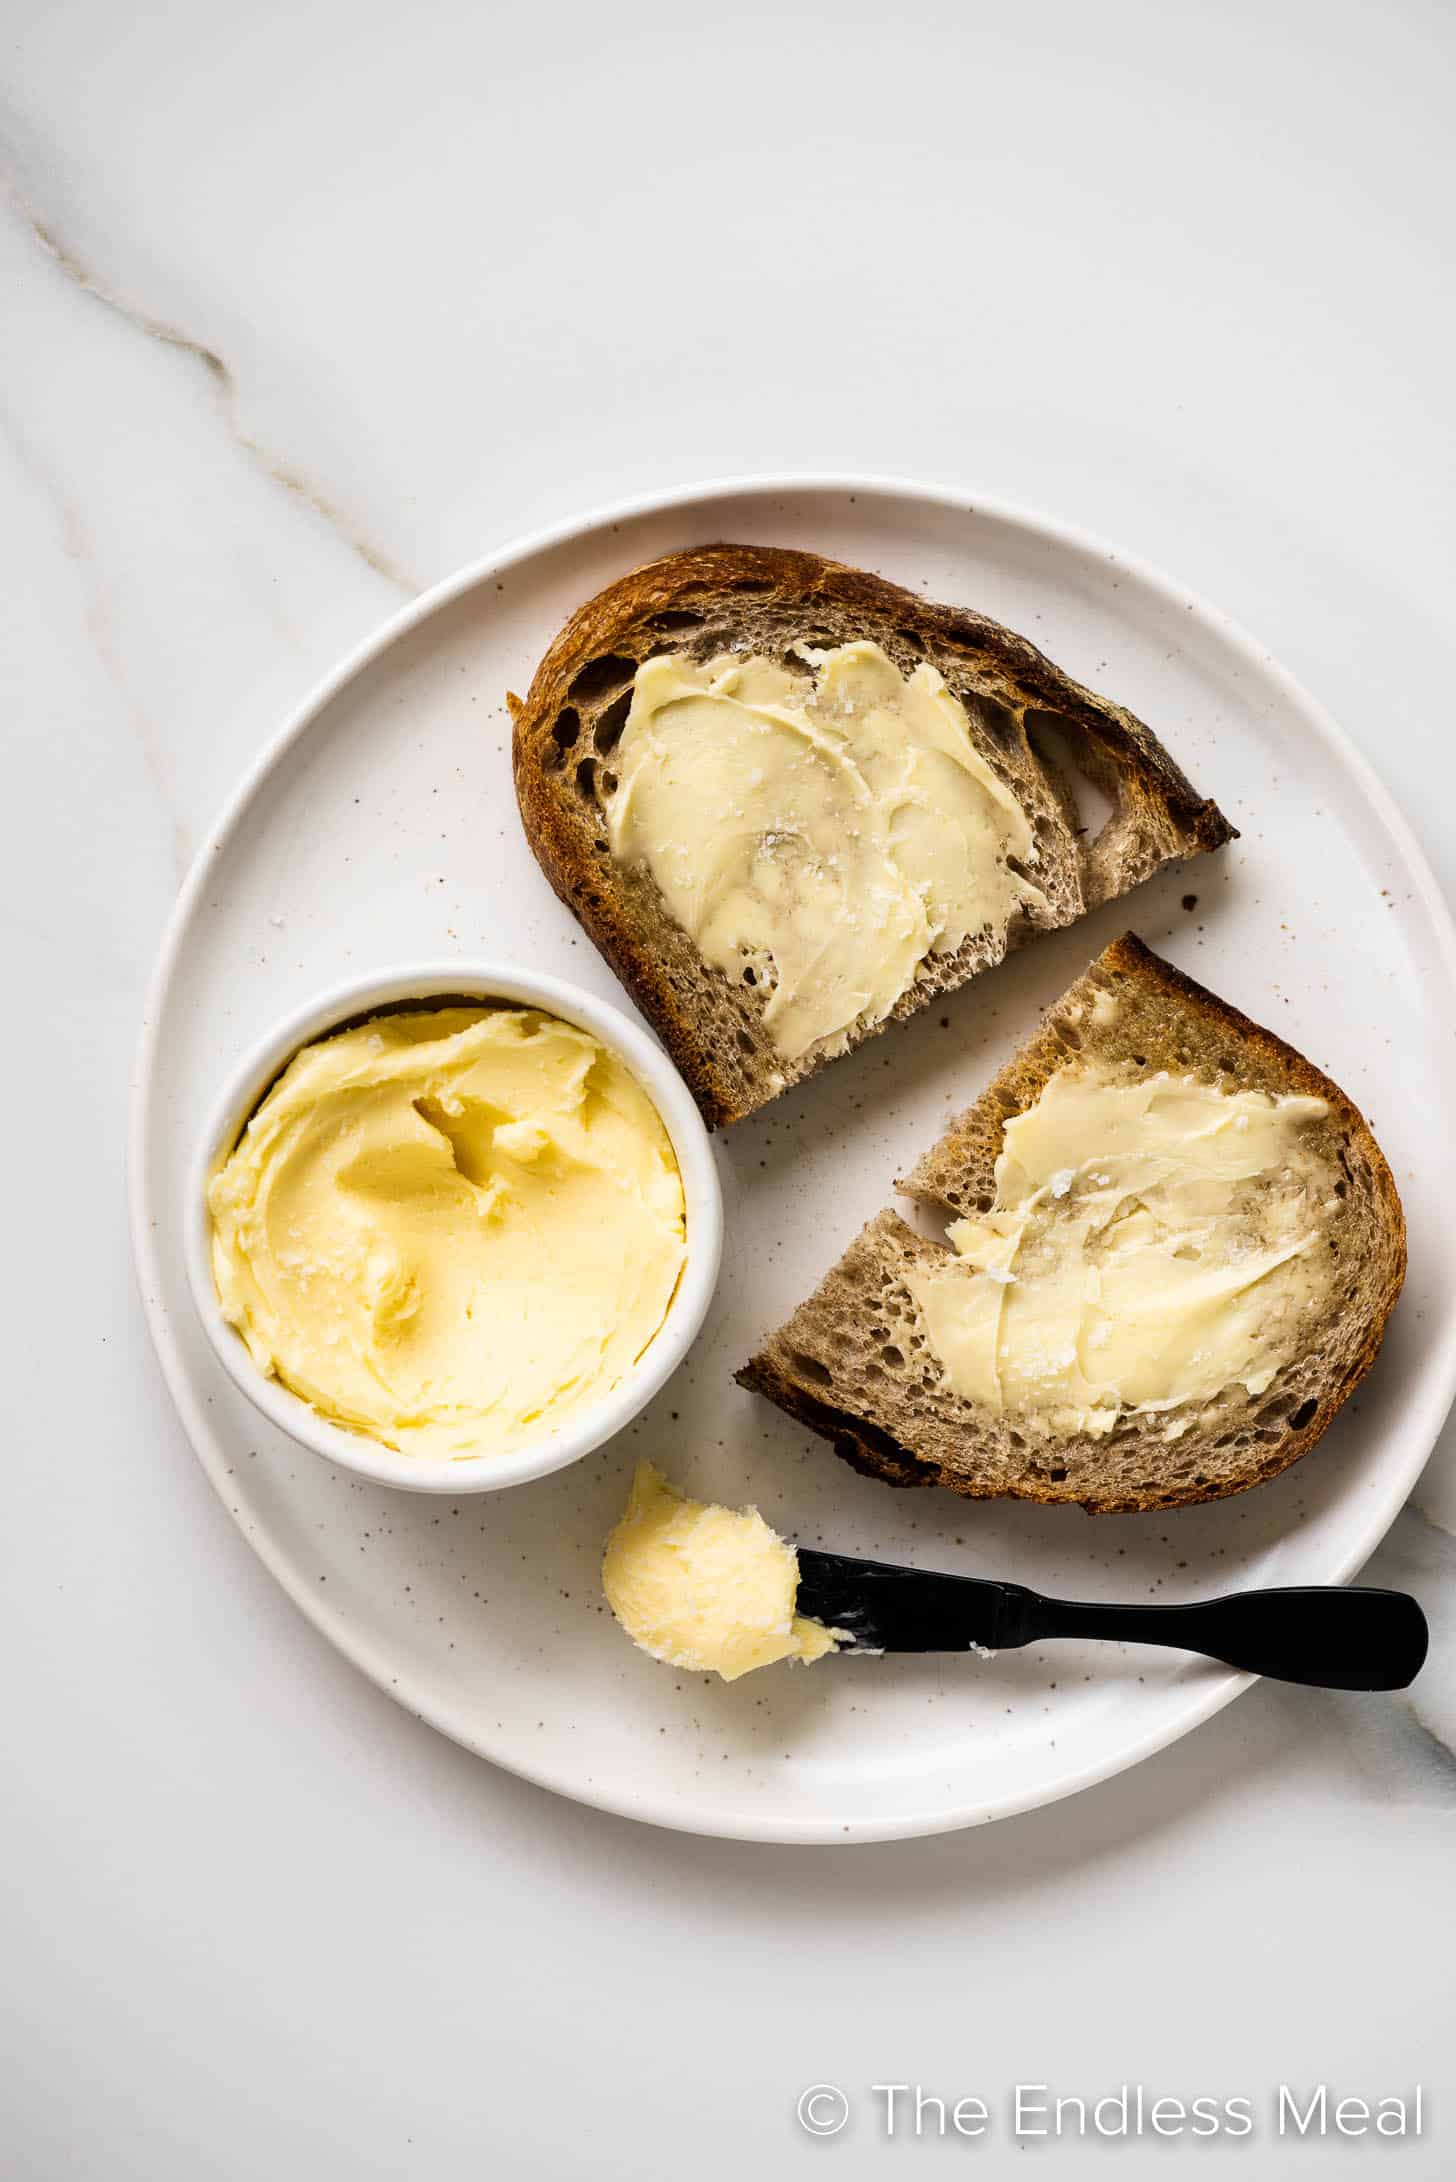
It tastes so much better than store-bought that you may never go back to buying conventional butter again. It’s also a fun, easy activity for kids.
What you’ll need for making homemade butter
You only really need one ingredient to make homemade butter – whipping cream. I like to add a little sea salt, but that’s a personal preference and totally optional!
- Whipping cream: Organic, grass-fed cream will yield butter with the best flavor. But even conventional cream will still give you delicious tasting butter.
- Sea salt – the salt is optional, but it’s delicious and enhances the flavors. It can also act as a preservative and extend the shelf life of your butter.
For kitchen equipment you’ll need a fine-meshed sieve, a mixing bowl, a spatula, and a stand mixer with the whisk attachment or an electric mixer.
Homemade butter recipe tips
While making butter at home is simple, here are a few things to consider in the process:
- There’s no need to complicate matters by using cheesecloth or muslin. A fine-mesh sieve works perfectly well for draining the buttermilk from the butter.
- Higher quality cream = better butter. We use a 36% milk-fat cream for a creamier texture and more delicious taste.
- If you’re eating the butter right away, you don’t need to rinse it. A little buttermilk in it actually makes it taste amazing. If you’re storing it for any length of time, I recommend rinsing it to help prevent spoilage and extend its shelf life.
- You can flavor your butter with citrus zest, minced garlic, or freshly chopped herbs.
Storing homemade butter
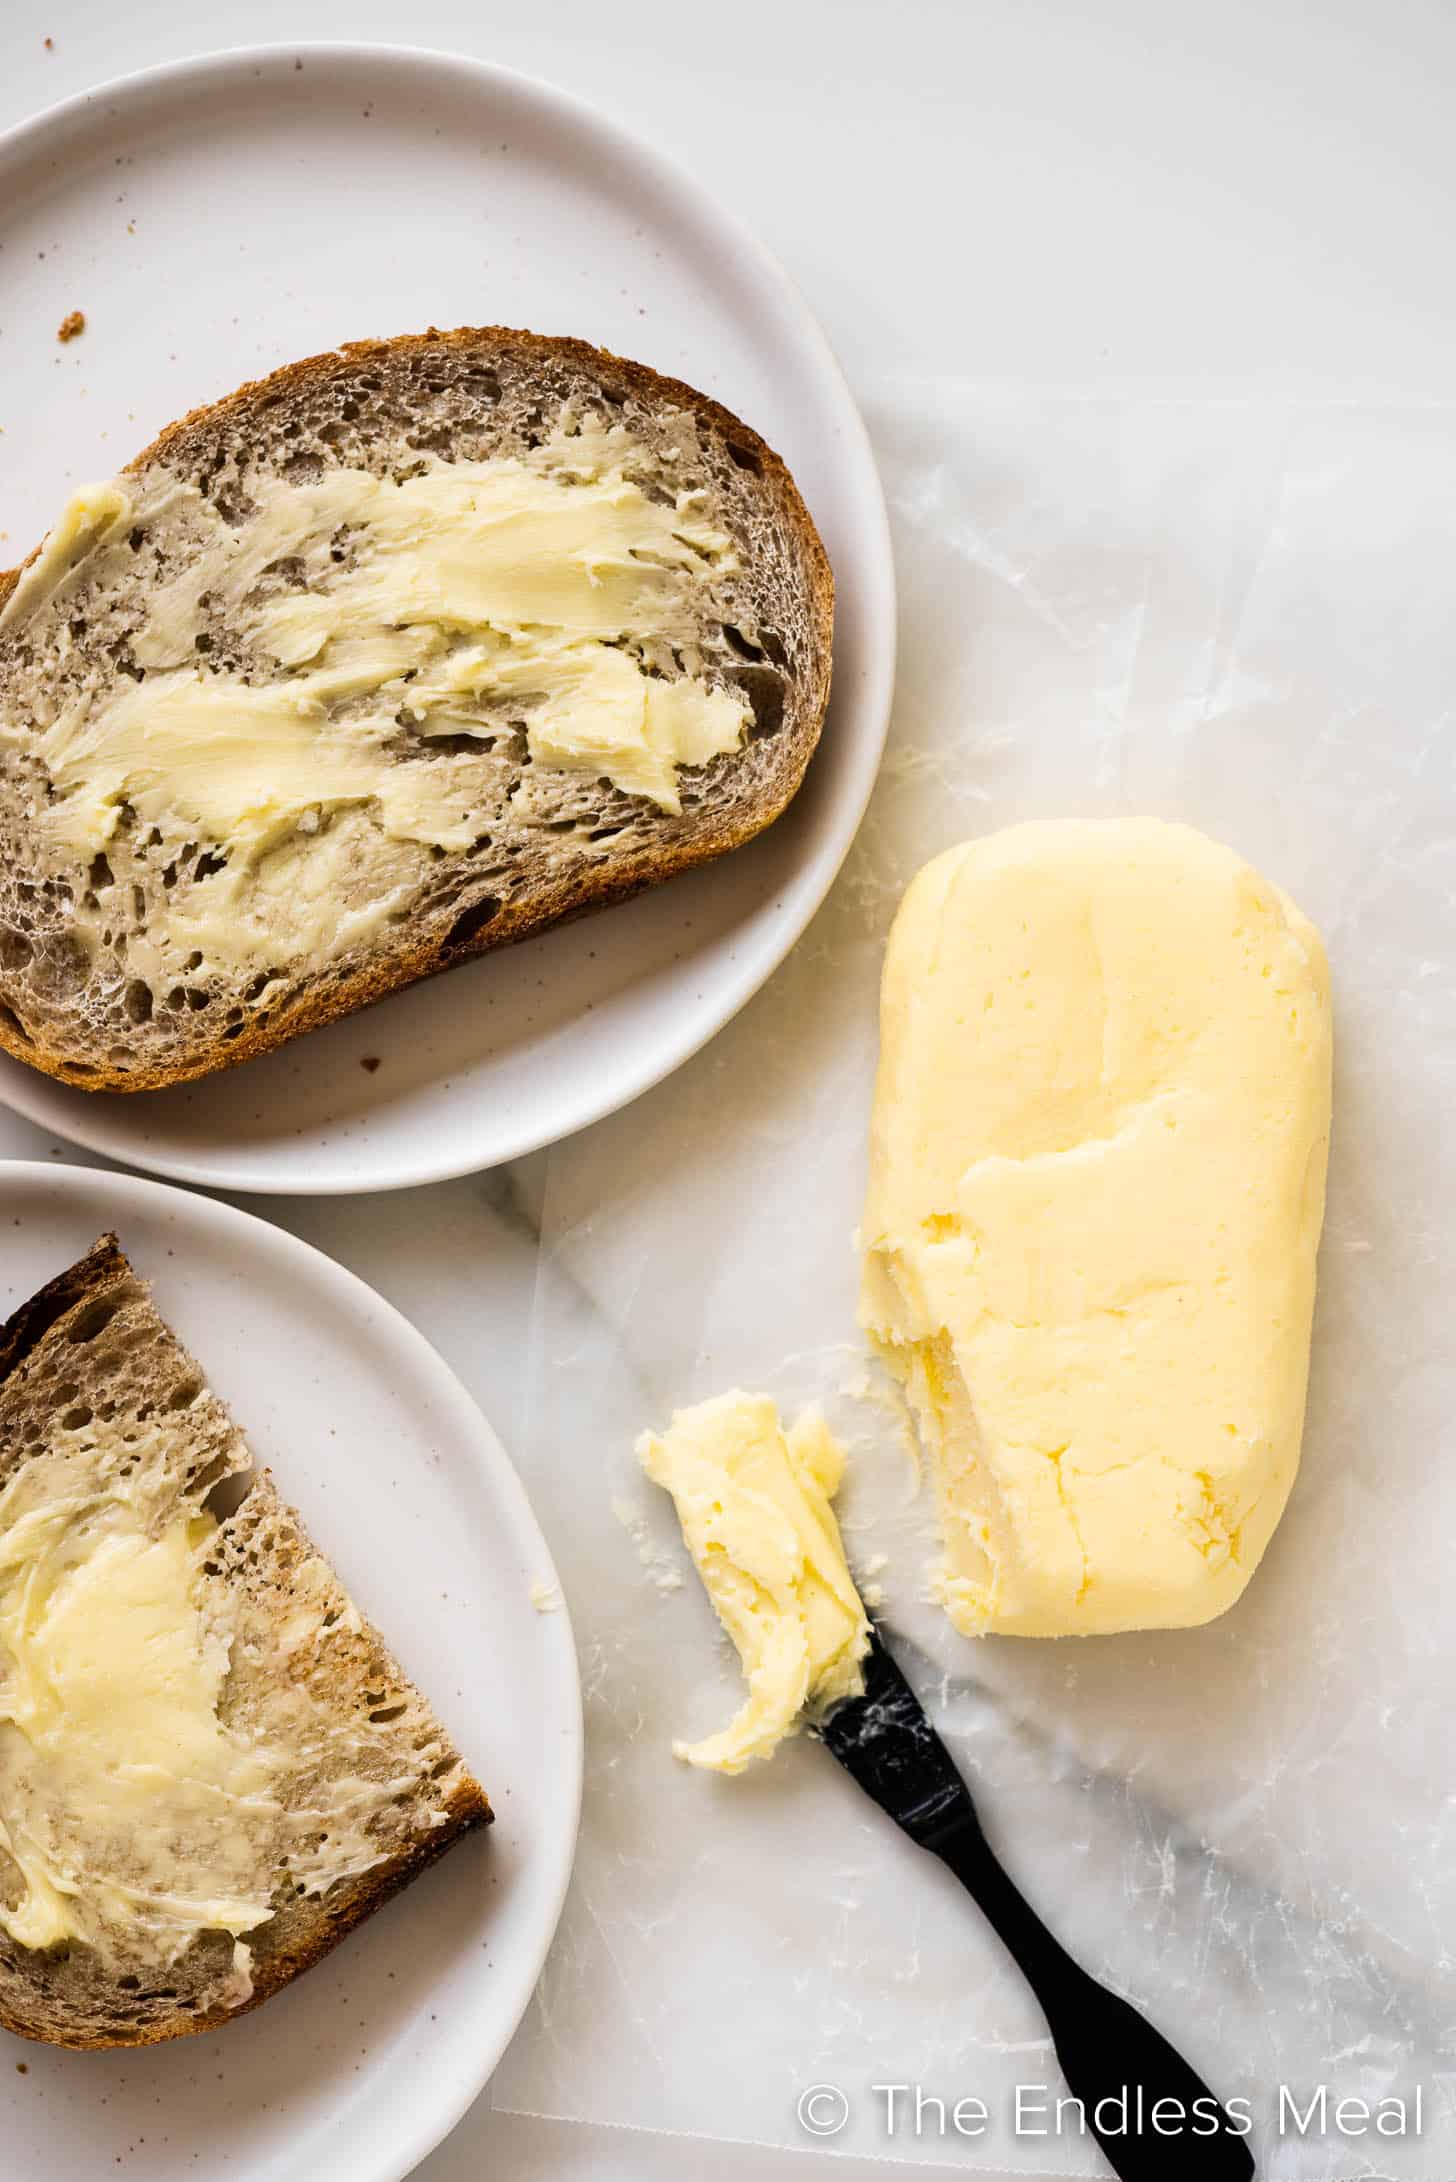
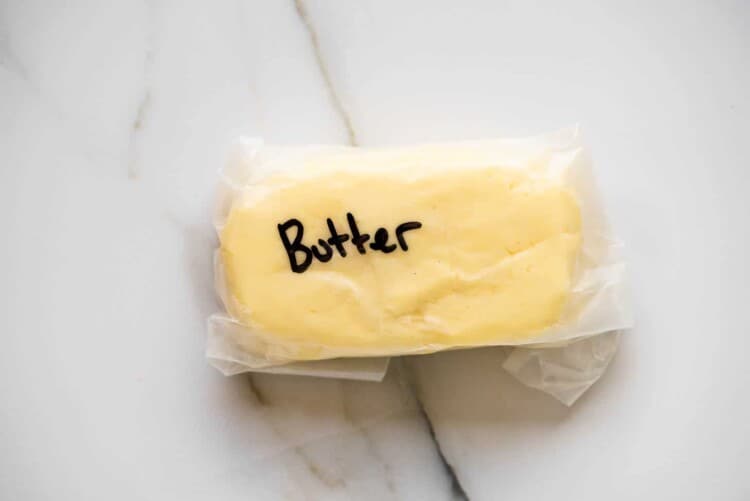
Store: It’s best to refrigerate homemade butter. Wrap it in wax paper or put it into a jar and use it within 2 weeks. If you leave it on your counter, it will only keep for 1-2 days before the buttermilk starts to go off.
Freeze: Butter freezes well. Wrap it first in wax paper, then add an aluminum foil layer to prevent freezer burn. It will keep for up to 6 months in the freezer.
Homemade Butter Recipe
Ingredients
- 2 cups whipping cream
- ½ teaspoon sea salt (optional)
Instructions
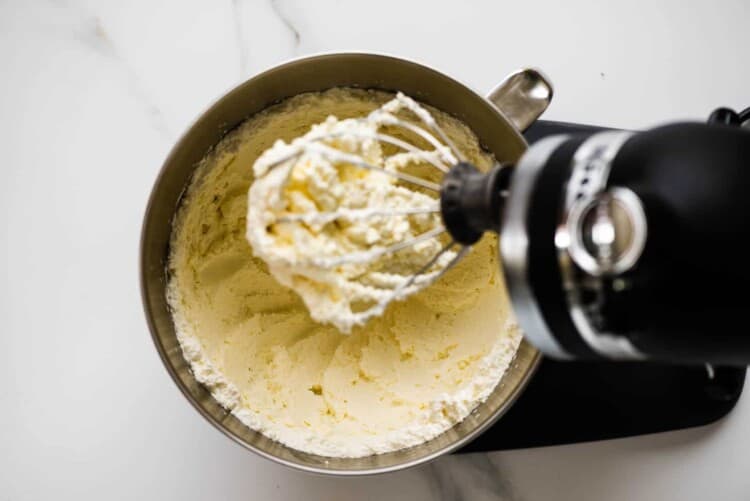
- Pour the cream into a large bowl or the bowl of your stand mixer. Beat the cream at medium-high speed until it becomes thick whipping cream.2 cups whipping cream

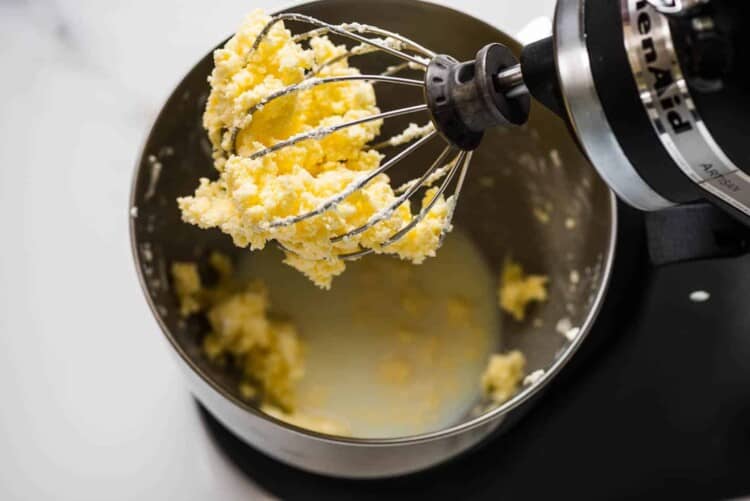
- Reduce the speed to medium-low and continue to beat the cream until it separates and the butter sticks to the beaters. You may want to cover the bowl during this step to prevent splatters.
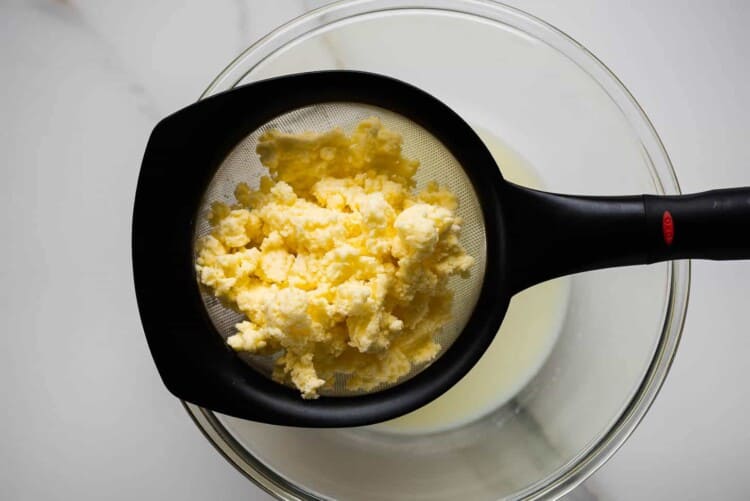
- Set a fine-mesh sieve over a bowl and carefully pour the liquid through it.
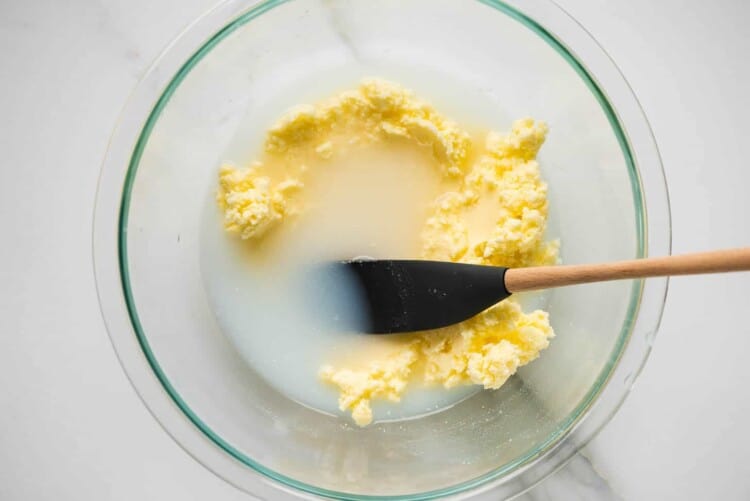
- Put the butter into a clean bowl and pour COLD water over the top. Use your hands or a spatula to knead the butter to clean any remaining buttermilk. Drain the water and repeat this process until the water is clear.
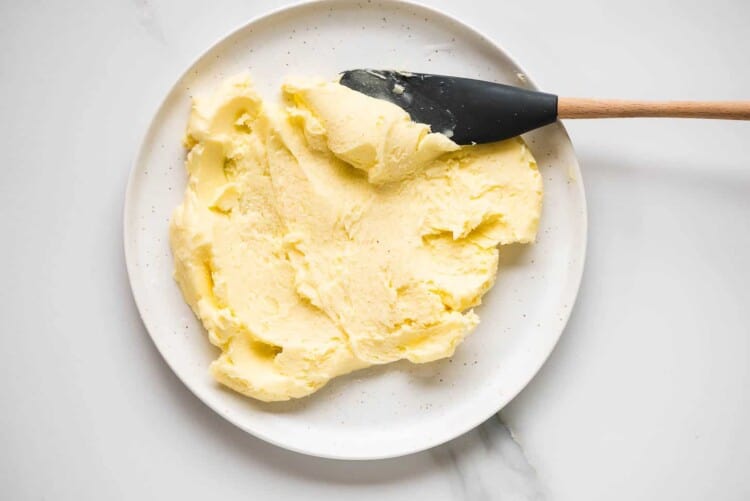
- If you're using salt, put the butter onto a plate and sprinkle the salt over the top then mix it into the butter.½ teaspoon sea salt
- Store the butter either wrapped in waxed paper or in a jar in your fridge for up to 2 weeks.
Video
Notes
Nutrition
We have thoroughly tested this recipe for accuracy. However, individual results may vary. See our full recipe disclosure here.
Tip ⇢ Store the buttermilk in a jar or container in the fridge and use it to make one of these recipes:


Made a double batch for Thanksgiving. Half is just salted and the other half I added honey for the rolls. Of course we had to try it before we served it to our guests and it was super yummy and flavorful. I made mine with a handheld electric mixer which took a while to turn to butter, next time I will use my stand mixer so that I can multi task. So easy and tasty, thanks for sharing! (I saved the buttermilk for biscuits tomorrow 😊)
I’ve been meaning to MAKE butter for a while now. I know it’s easy as heck IDK I just never did it, but I am finally bookmarking this and will do it next week! Thank you for the easy directions!
This was sooo easy to make.. I’m sick of paying the crazy prices for butter.. Thank you!
Quick question: my whipping cream is white in color. Will it turn yellow as I follow the recipe?
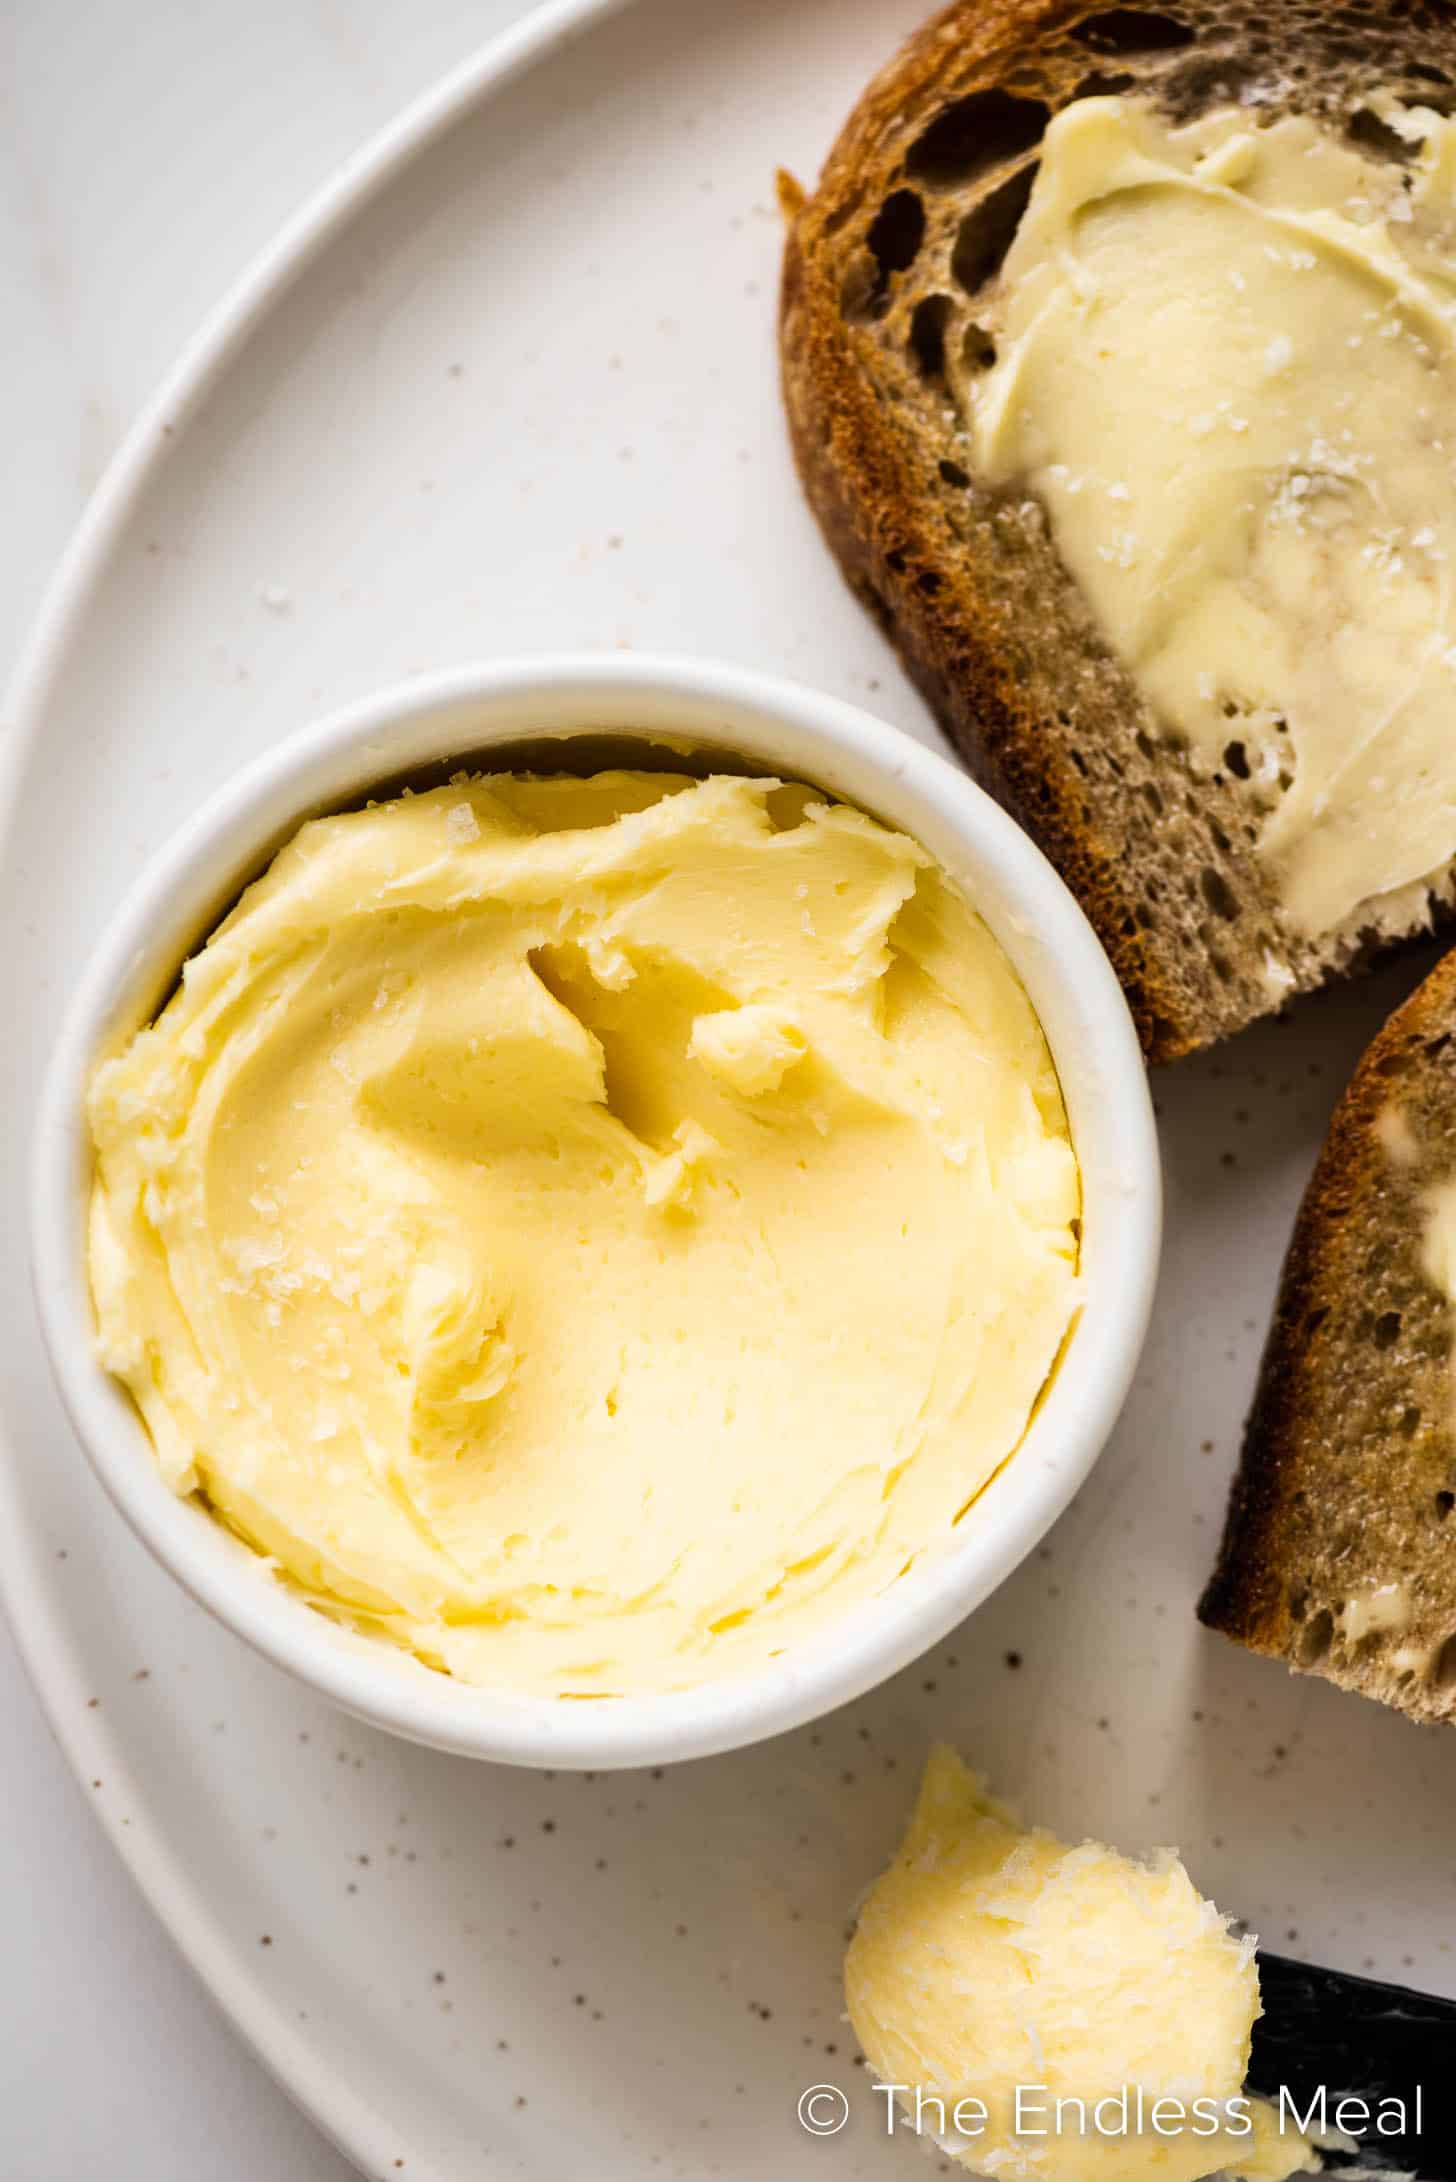
The whipping cream we use is white, too! Once the milk and fat separate, the butter you make will have a light yellow hue.
Can you freeze this recipe?
Yes! Butter freezes very well.
I made this and it is really good.
I am curious how much butter 16oz of whipping cream should produce. I got about 5.5 ounces. Is it possible to overbeat it? The butter came out much harder than I thought it would.
That sounds about right! It’s not possible to overbeat it. You may have just done a better job of washing the cream out of the butter!
Dude, why would you say it is really good and then leave 4 stars ???? people these days…
Especially since he was the one that washed it too well hahahaha. It wasn’t her fault lol.
Easy and very good, tried it on zucchini bread that had been toasted, yummy!
So easy to make….and the process is simple …Good explanation…love ut
I just made this recipe! Followed directly exactly except I doubled recipe. It came out simply amazing. This is the best tasting butter ever! What a difference from store bought. I also started out with whisk on stand mixer but then switched to my rubber edged paddle. The whisk wasn’t getting cream off sides of bowl. The paddle worked much better. All I know is I’ll never buy butter again! This is amazing!!!
I made this and it turned out really well. Surprisingly simple yet it tasted luxurious.
You brought back old memories from when I was a little girl. My parents lived in St. Louis .MO, we would come to Arkansas to visit my grandparents. They had a farm. My grandmother Pyle would have this butter churn, I ask her what she is doing she said she was making butter. So good. That woman could cook. I miss those days.I’m sure she’s in heaven cooking for Jesus.
Awsome site! I am loving it!! Will be back later to read some more. I am bookmarking your feeds also
Thanks, Clement!
One of the best descriptions about how to make butter ever.. I mean..Butter by itself is boring.. but you describe the process and the surprise of the texture and the result after whipe the cream like you are making “ambrosia”!! love it.
Thanks, Indi! I do hope you try to make it yourself. It is super easy and delicious!
I grew up on a farm in Africa and that’s how we made butter! Every Saturday I would beat the cream in the “butter maker” until we had butter. From the buttermilk my mother made the most deliscious buttermilk rusks. Since the butter contained no preservatives, it only lasted a week before it would go off. So you could only make enough for the week!! Fond memories.
Hi Johan,
That memory sounds so romantic! I wish I was making butter on a farm, instead I’m making it in my downtown condo 🙂 One day I’ll make it on a farm for sure.