
Coconut Milk Braised Chicken
This post may contain affiliate links. Please read our disclosure policy.
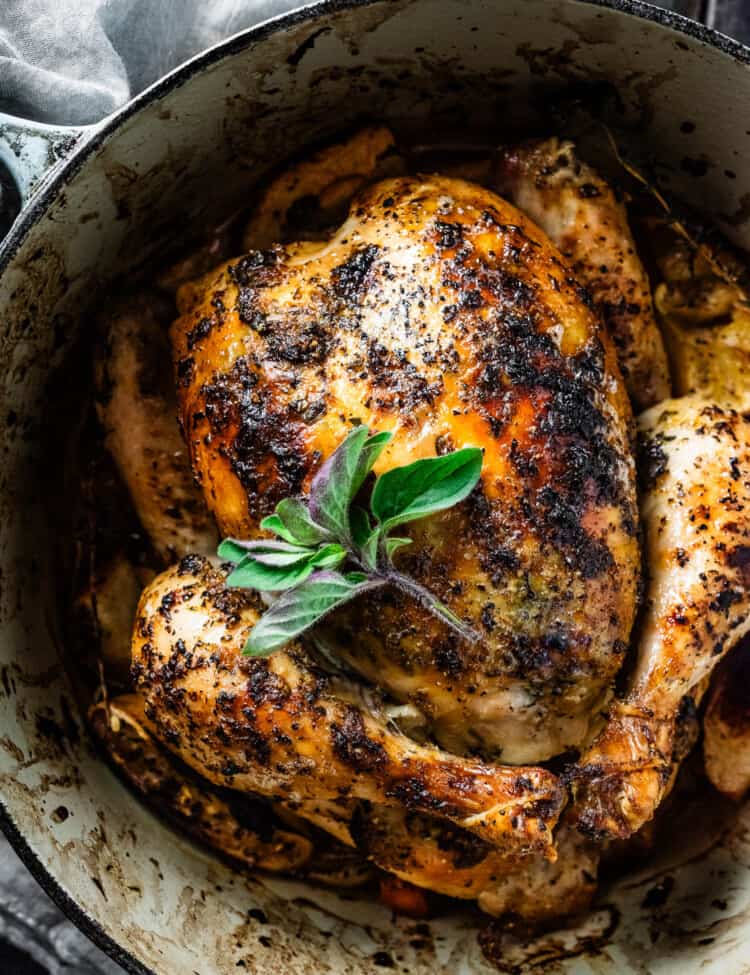
Coconut milk-braised chicken is a delicious whole-chicken recipe that is very easy to make. The chicken is coated with a lemongrass and ginger rub, then slow-cooked in coconut milk.
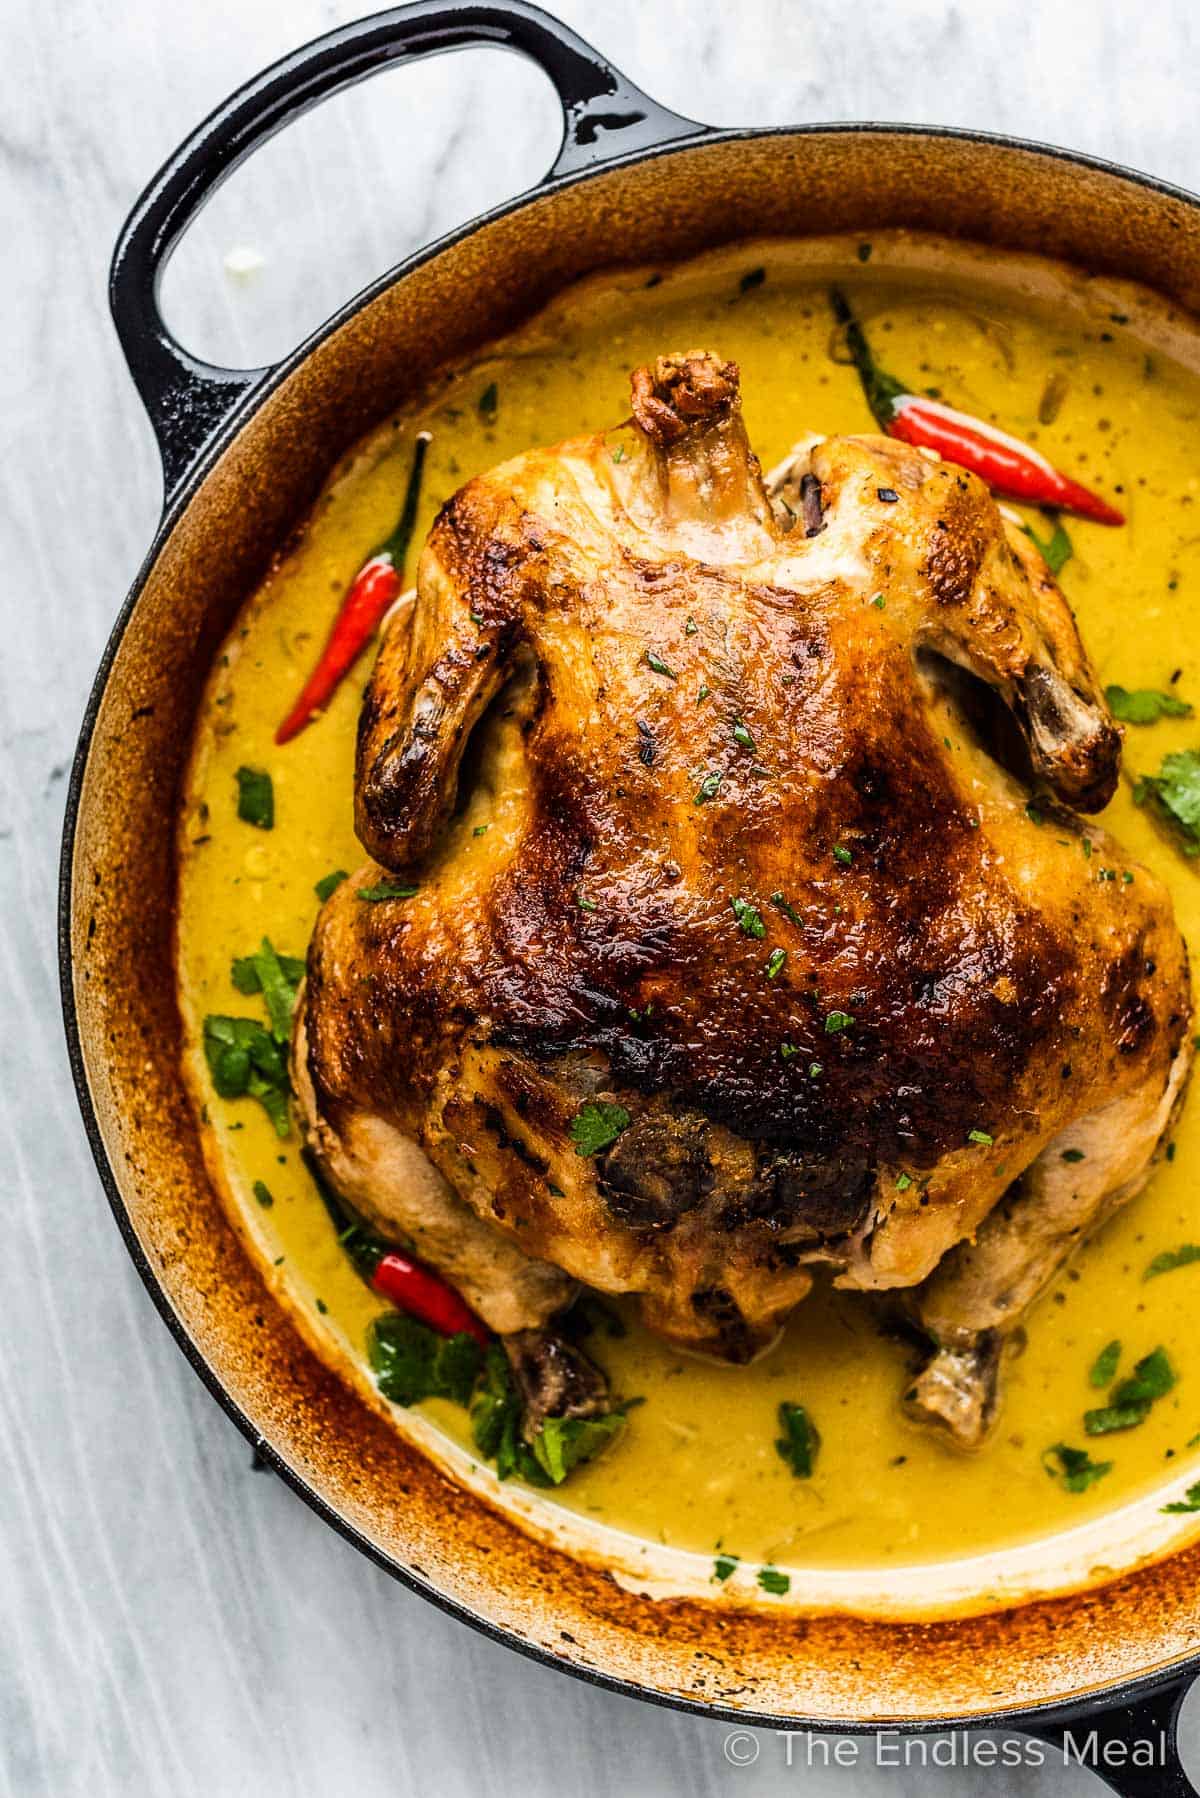
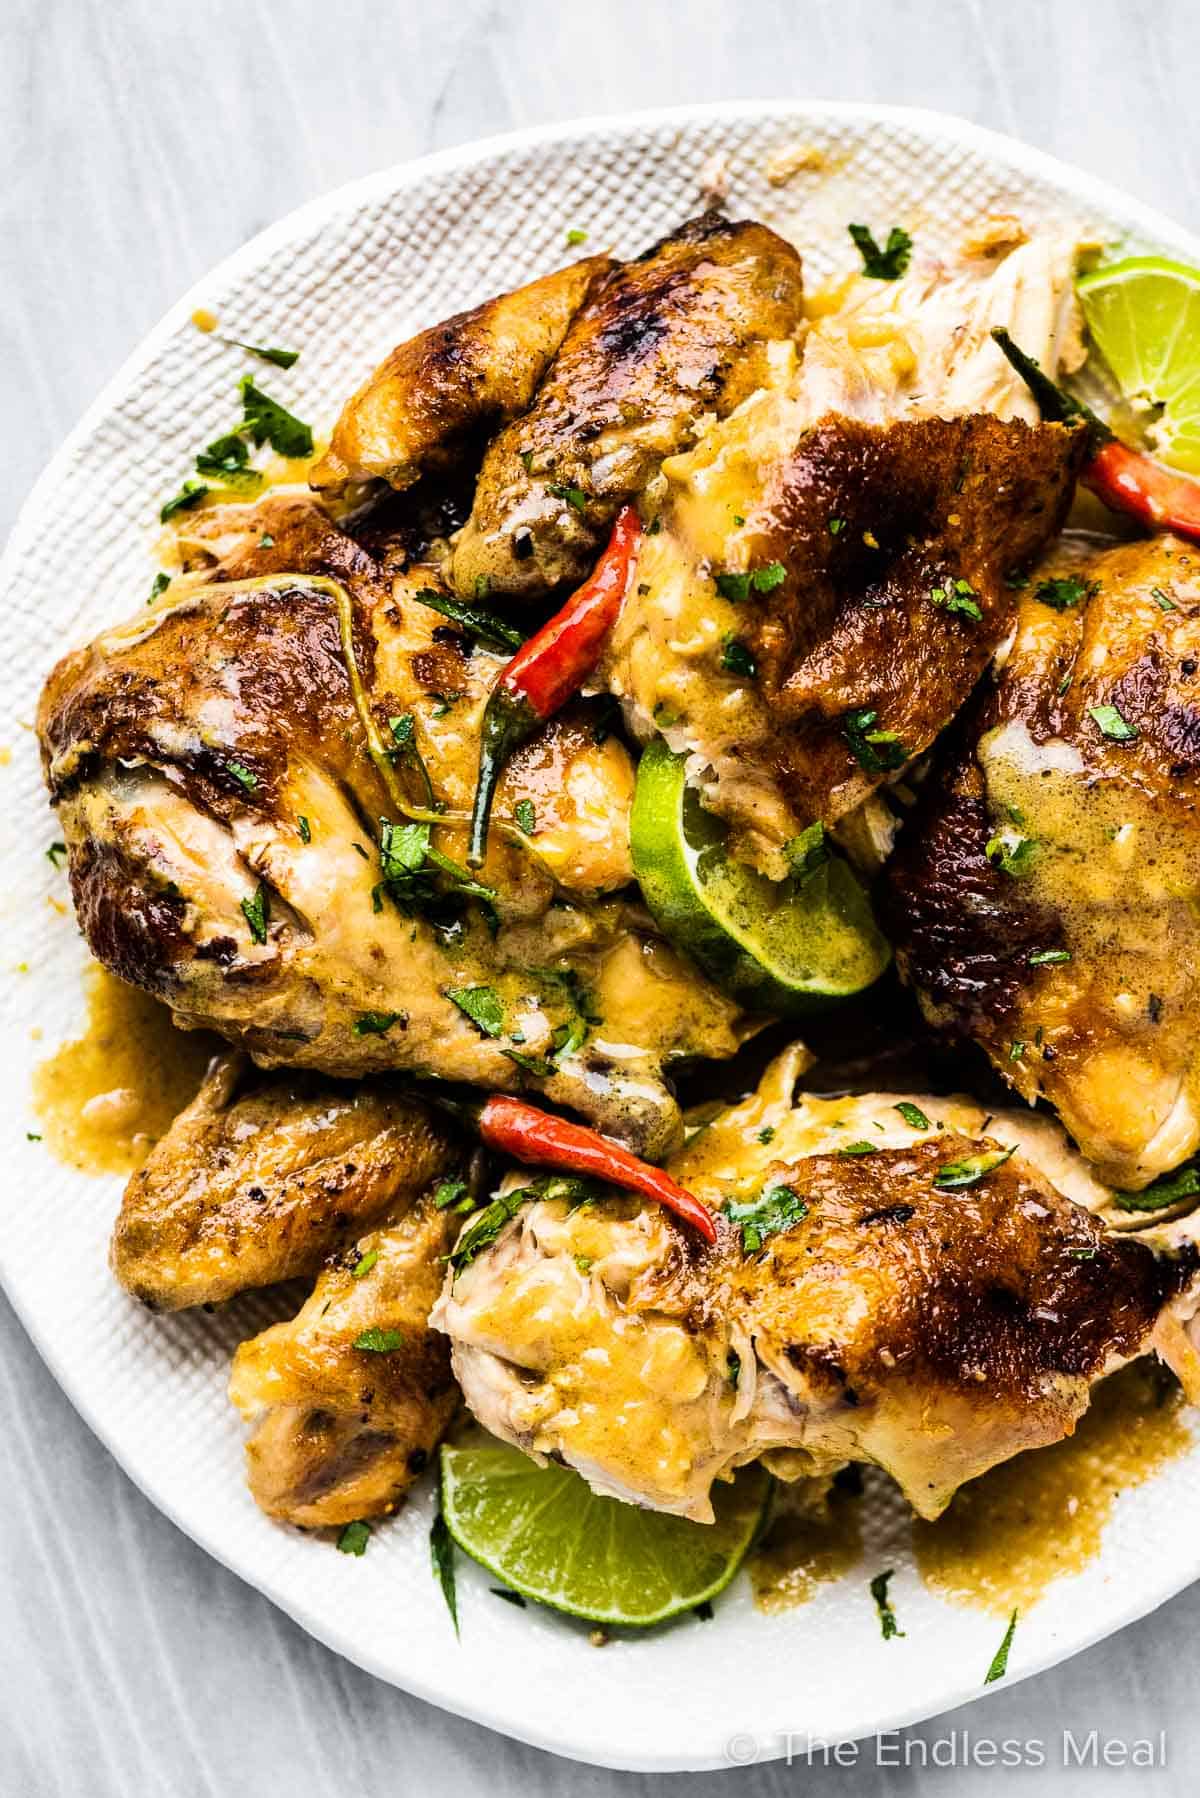
Slowly braising a whole chicken in rich coconut milk is one of my favorite ways to get incredibly tender, flavorful meat. Infused with lemongrass, ginger, and lime juice, the chicken gently cooks until it’s so soft it practically falls off the bone. Once it’s done, you simply pull the meat apart and spoon that dreamy sauce over the top. Serious yum.
Here’s why I love this coconut milk braised chicken: the gentle Thai-inspired flavors are incredible, the meat is tender enough to pass for pulled chicken, and after a quick initial sear, the dish mostly cooks itself—hands-on time is about 20 minutes, max. And that sauce? It’s so good you’ll be tempted to eat it by the spoonful.
What we love about coconut milk braised chicken
- The gentle Thai flavors are incredible.
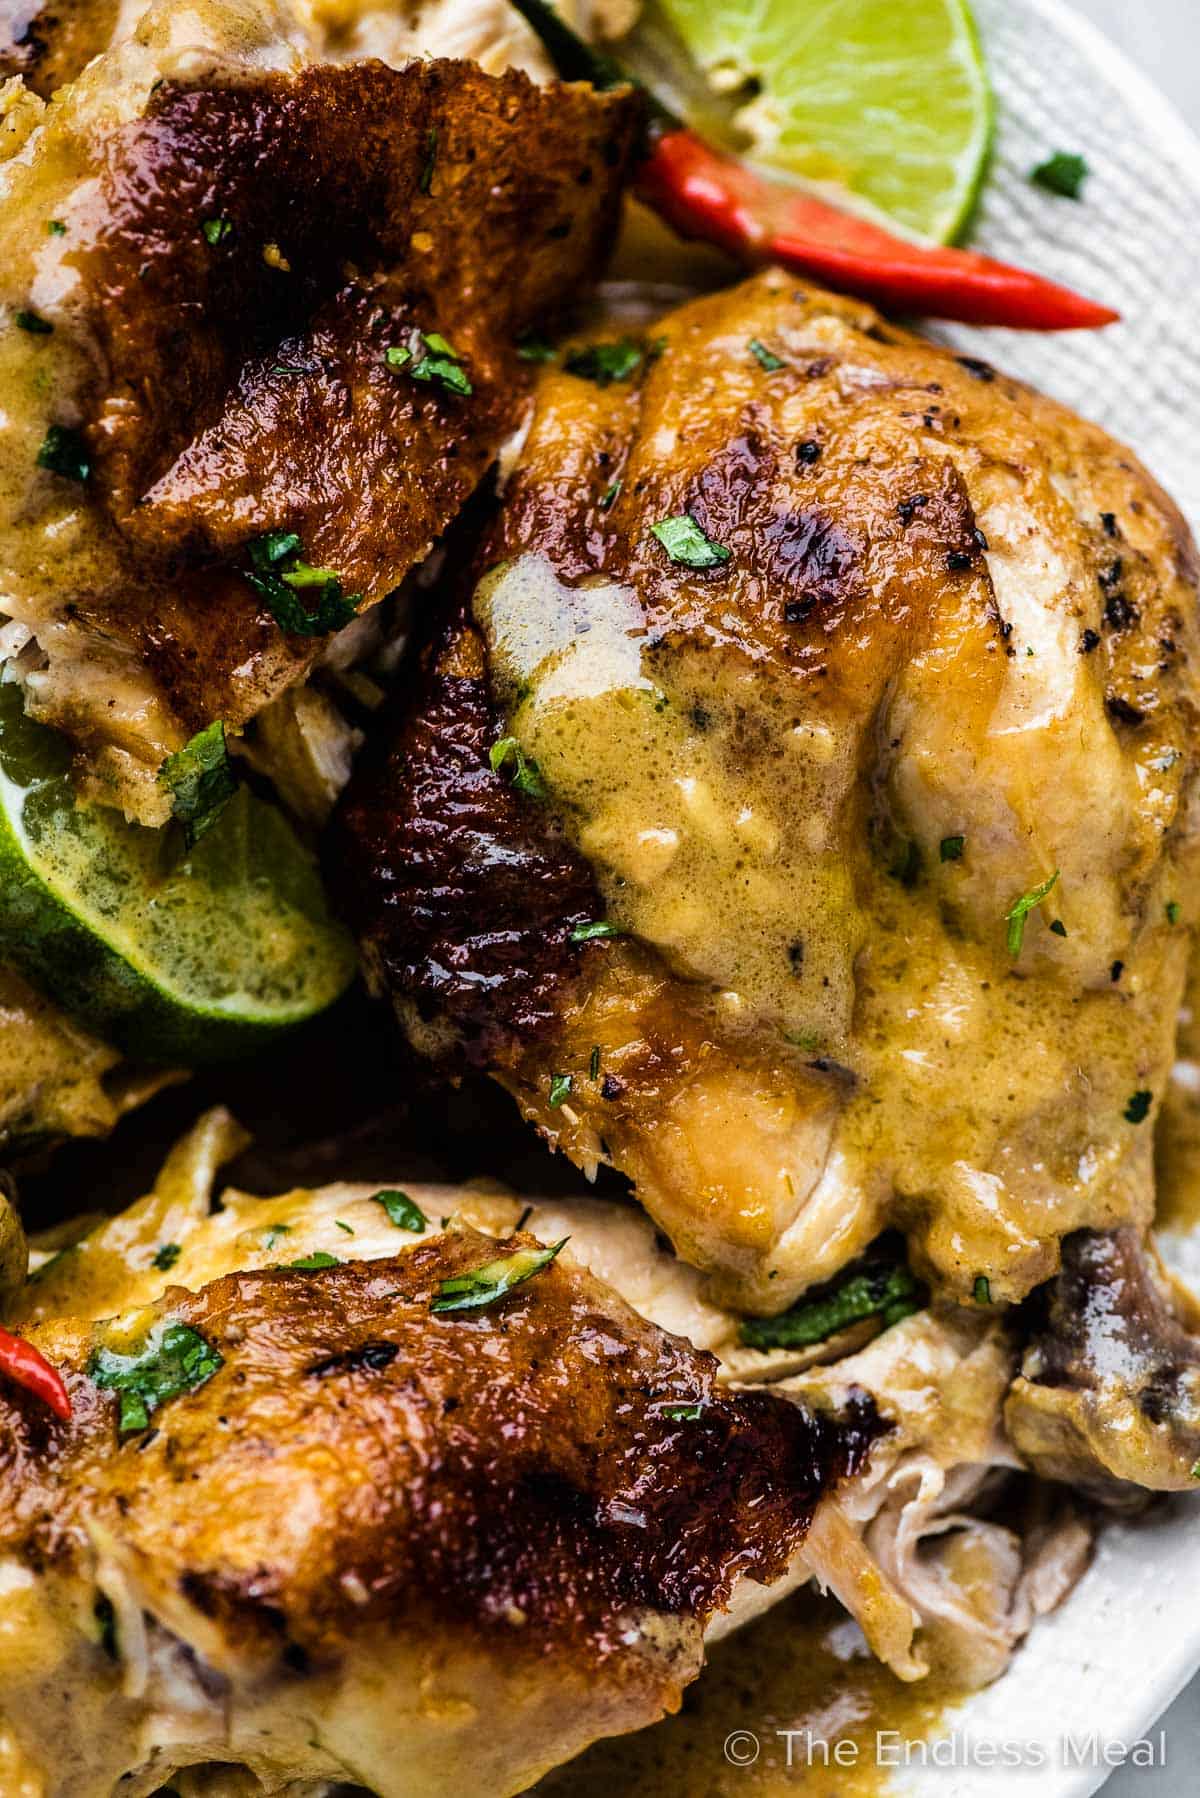
- The meat is so tender you could easily mistake it for pulled chicken.
- Once the initial sear is over you can walk away and forget about this dish until it is done. The hands-on time is only 20 minutes, tops.
- The sauce is so good that you’ll want to drink it up by the spoonful.
So what does braising mean, anyway?
Don’t be intimidated by the term. Braising is a fancy word for cooking meat or veggies in liquid for a long time over low heat. Think crockpot; it’s the same technique, just done in a pot in your oven or on your stove.
Braising is best for cheaper, tougher cuts of meat. The long, gentle cooking process breaks down connective tissue, melts fat, and allows the muscle tissue to absorb moisture. This makes the meat very tender. It’s also 100% foolproof. If you can put meat in a pot and pour the liquid over it, you can braise.
In this coconut milk chicken recipe, we’ve used coconut milk as the braising liquid and added ginger, lemongrass, cilantro, and a few other ingredients to give it lots of flavor.
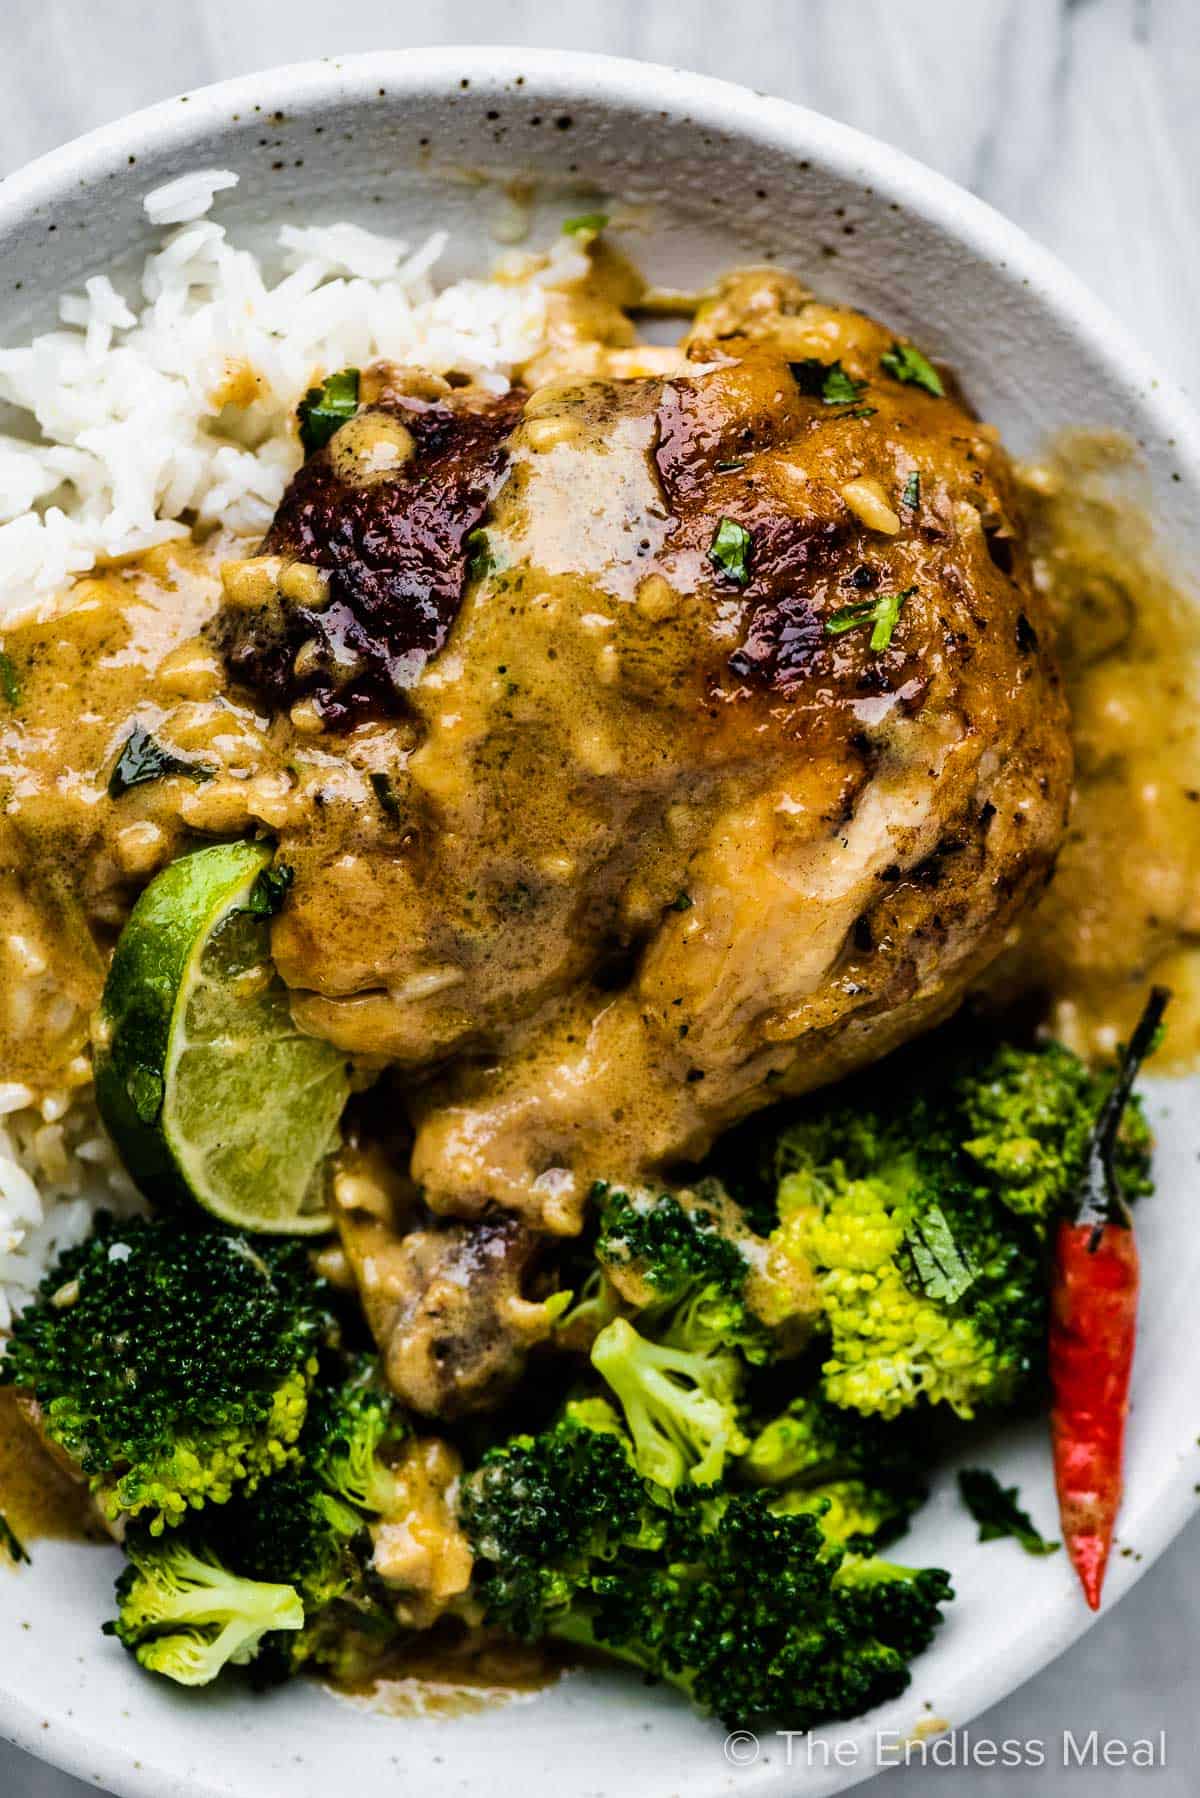
What to serve with coconut milk braised chicken
You’ll DEFINITELY want something that you can pour the sauce over. Rice or coconut rice are two favorite sides that go well with this chicken. As far as veggies go, we love these recipes:
Coconut Milk Braised Chicken Recipe
Ingredients
- 4 lb. whole chicken
- 4 tablespoons melted coconut oil (divided)
- 1 tablespoon + 1 teaspoon ginger paste (divided – see notes)
- 1 tablespoon lemongrass paste
- 1 teaspoon fine sea salt
- Zest and juice of 1 lime
- 4 cloves garlic (minced)
- 1 tablespoon Thai green curry paste
- 10 stems cilantro (leaves and stems separated)
- 14 ounce can coconut milk (about 2 cups)
Instructions
- Preheat the oven to 325 degrees Fahrenheit. In a small bowl, mix 2 tablespoons of the melted coconut oil with 1 teaspoon of the ginger paste, the lemongrass paste, and salt. In another small bowl, mix the remaining tablespoon of ginger paste with the lime zest and juice, garlic, green curry paste, and the cilantro stems.1 tablespoon lemongrass paste, 1 teaspoon fine sea salt, Zest and juice of 1 lime, 4 cloves garlic, 1 tablespoon Thai green curry paste, 10 stems cilantro, 1 tablespoon + 1 teaspoon ginger paste
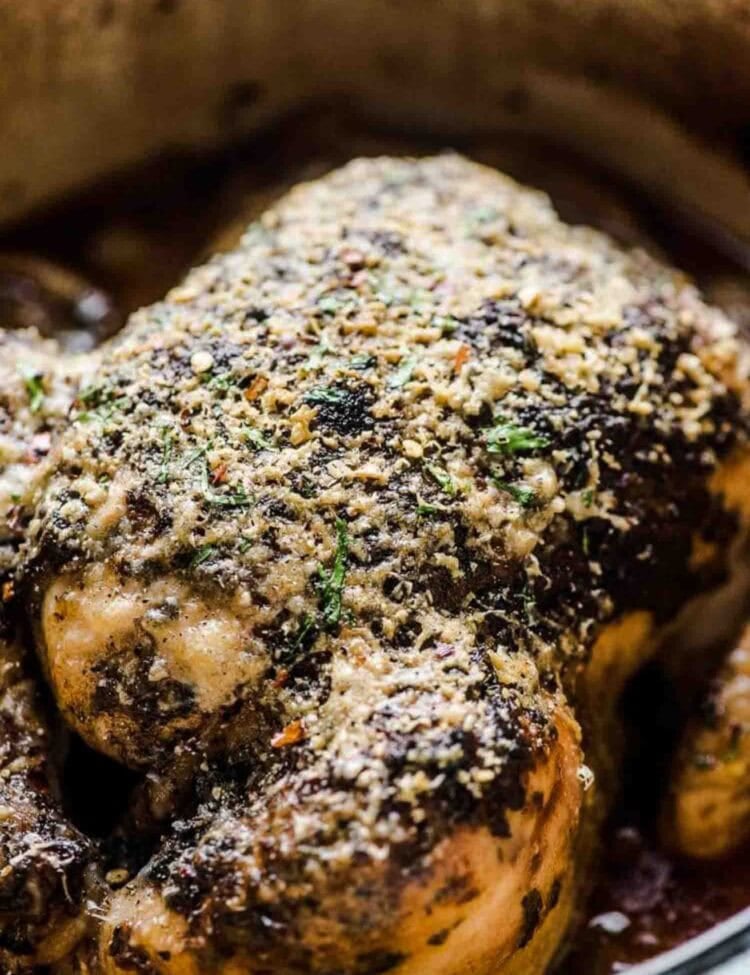
- If there is a string tying your chicken, remove it. Dry the chicken with paper towels. Carefully seperate the skin from the chicken breast, trying not to tear the skin. Using a spoon, spread the mixture with the lemongrass under the chicken skin. If any gets on the chicken skin, remove it with paper towels or it will burn.4 lb. whole chicken
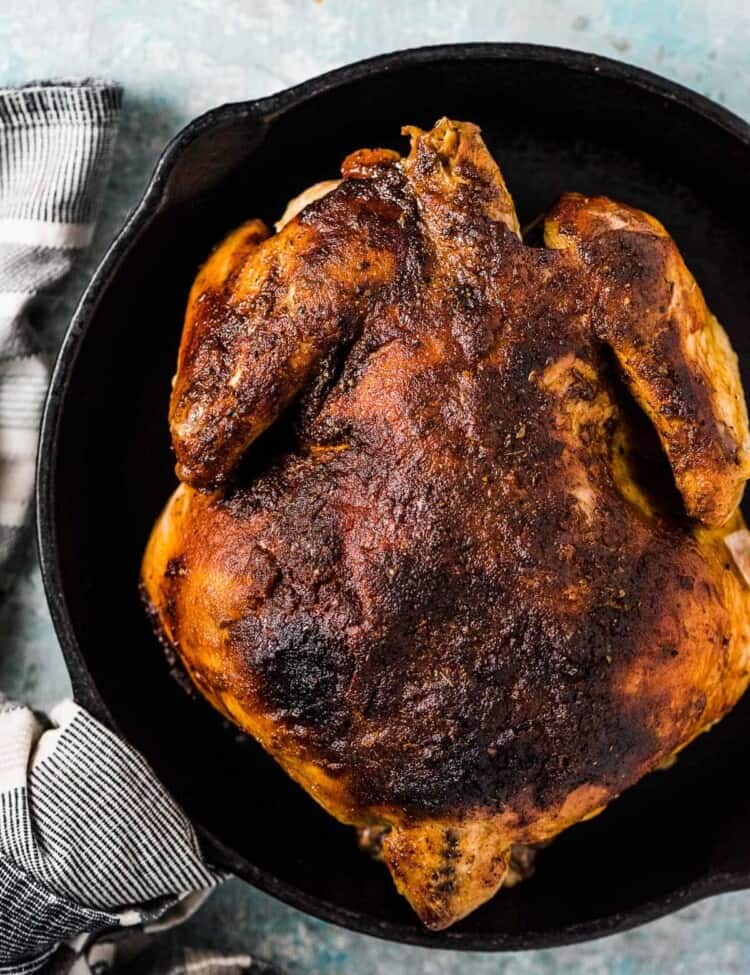
- Heat one tablespoon of oil in a large pot or braiser. Place the chicken in the pan, bottom side down to start, and sear it on all sides until it is nicely browned. Use a pair of tongs to turn the chicken, inserting one tong end into the chicken and gripping with the other tong end on the outside of the chicken. When brown, remove the chicken from the pan and pour out the oil. (See notes)
- Add the remaining tablespoon of oil to the pot then pour the mixture from the remaining small bowl into the pot. Let it cook for 1 minute then pour in the coconut milk. Put the chicken in the pot, breast side up. Cover the pot and put it in the oven for 2 hours.14 ounce can coconut milk
- Remove the chicken from the pot and let it rest for 10 minutes before carving. Bring the liquid that is in the pot to a boil over high heat until it reduces to 1 cup.
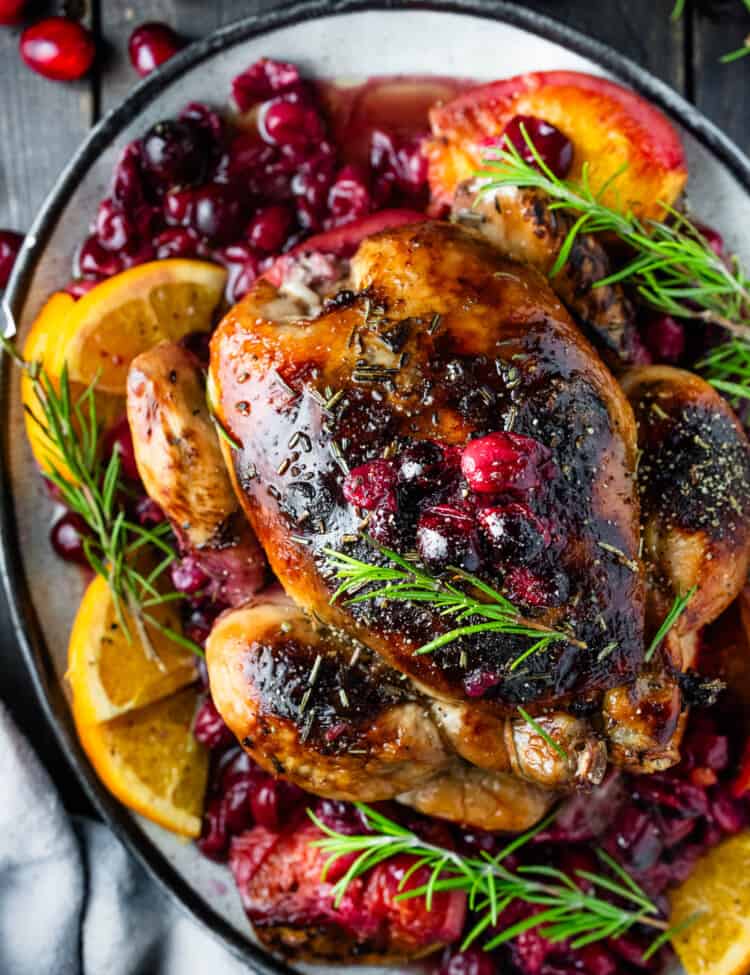
- Serve the chicken with the reduced sauce on the side and some cilantro leaves sprinkled over the top.
Notes
Nutrition
We have thoroughly tested this recipe for accuracy. However, individual results may vary. See our full recipe disclosure here.


I don’t know about drinking the sauce with a spoon… I would rub it all over my body though! Of course I added sweet potatoes, red bell pepper, red onion, a bit of fish sauce, but it is an outstanding dish! Thanks for all the yum!
Haha, love your enthusiasm! 😄 Adding those veggies and a touch of fish sauce sounds incredible. I’m so glad it turned out outstanding—and your excitement really made me smile!
This recipe is delicious and easy.
I’m so happy you like the recipe!!
This was amazing. Made a few adjustments like adding way more curry paste and kaffir lime leaves. The chicken was falling off the bone tender and the flavour was very authentic. 😊😊
Made this tonight and it was delicious! I will say I did add 1sliced Thai Chili and would double that next time, but… it didn’t look anything like the photos. The sauce was more brown and easily separated.
Spatchcocked the chicken for faster cooking and made extra sauce so leftovers could be meal prepped lunches with zoodles. So good!!
How long did you cook it for in the oven then with the spatchcock method?
Made this tonight, the flavors were great, but how did you get yours brown? Was I supposed to take the lid off at the end? (your picture seems to be the back, not the breast?) I had a 6 lb chicken and checked it after 2 hours, it was somewhat overdone. I will make this again but with thighs and simmer on the stovetop. Bones and juices are simmering for soup stock!
Was supposed to be 4 stars not 3
The color comes from the sear in step 4 🙂
Looks super yummy,definitely will give it a try this Saturday, thank you for the delicious recipe ❤️