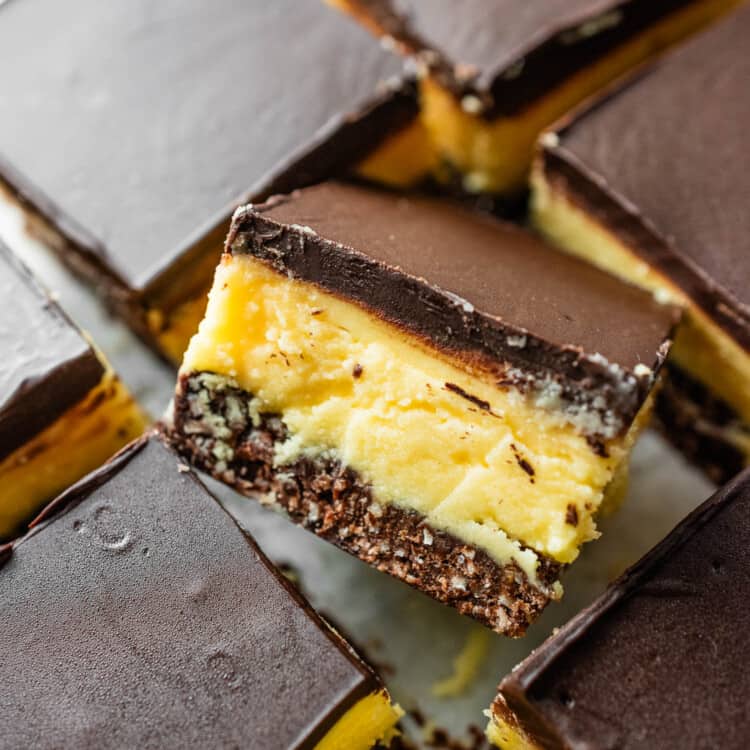
Mom’s Nanaimo Bars (a Canadian recipe from my BC kitchen)

This post may contain affiliate links. Please read our disclosure policy.
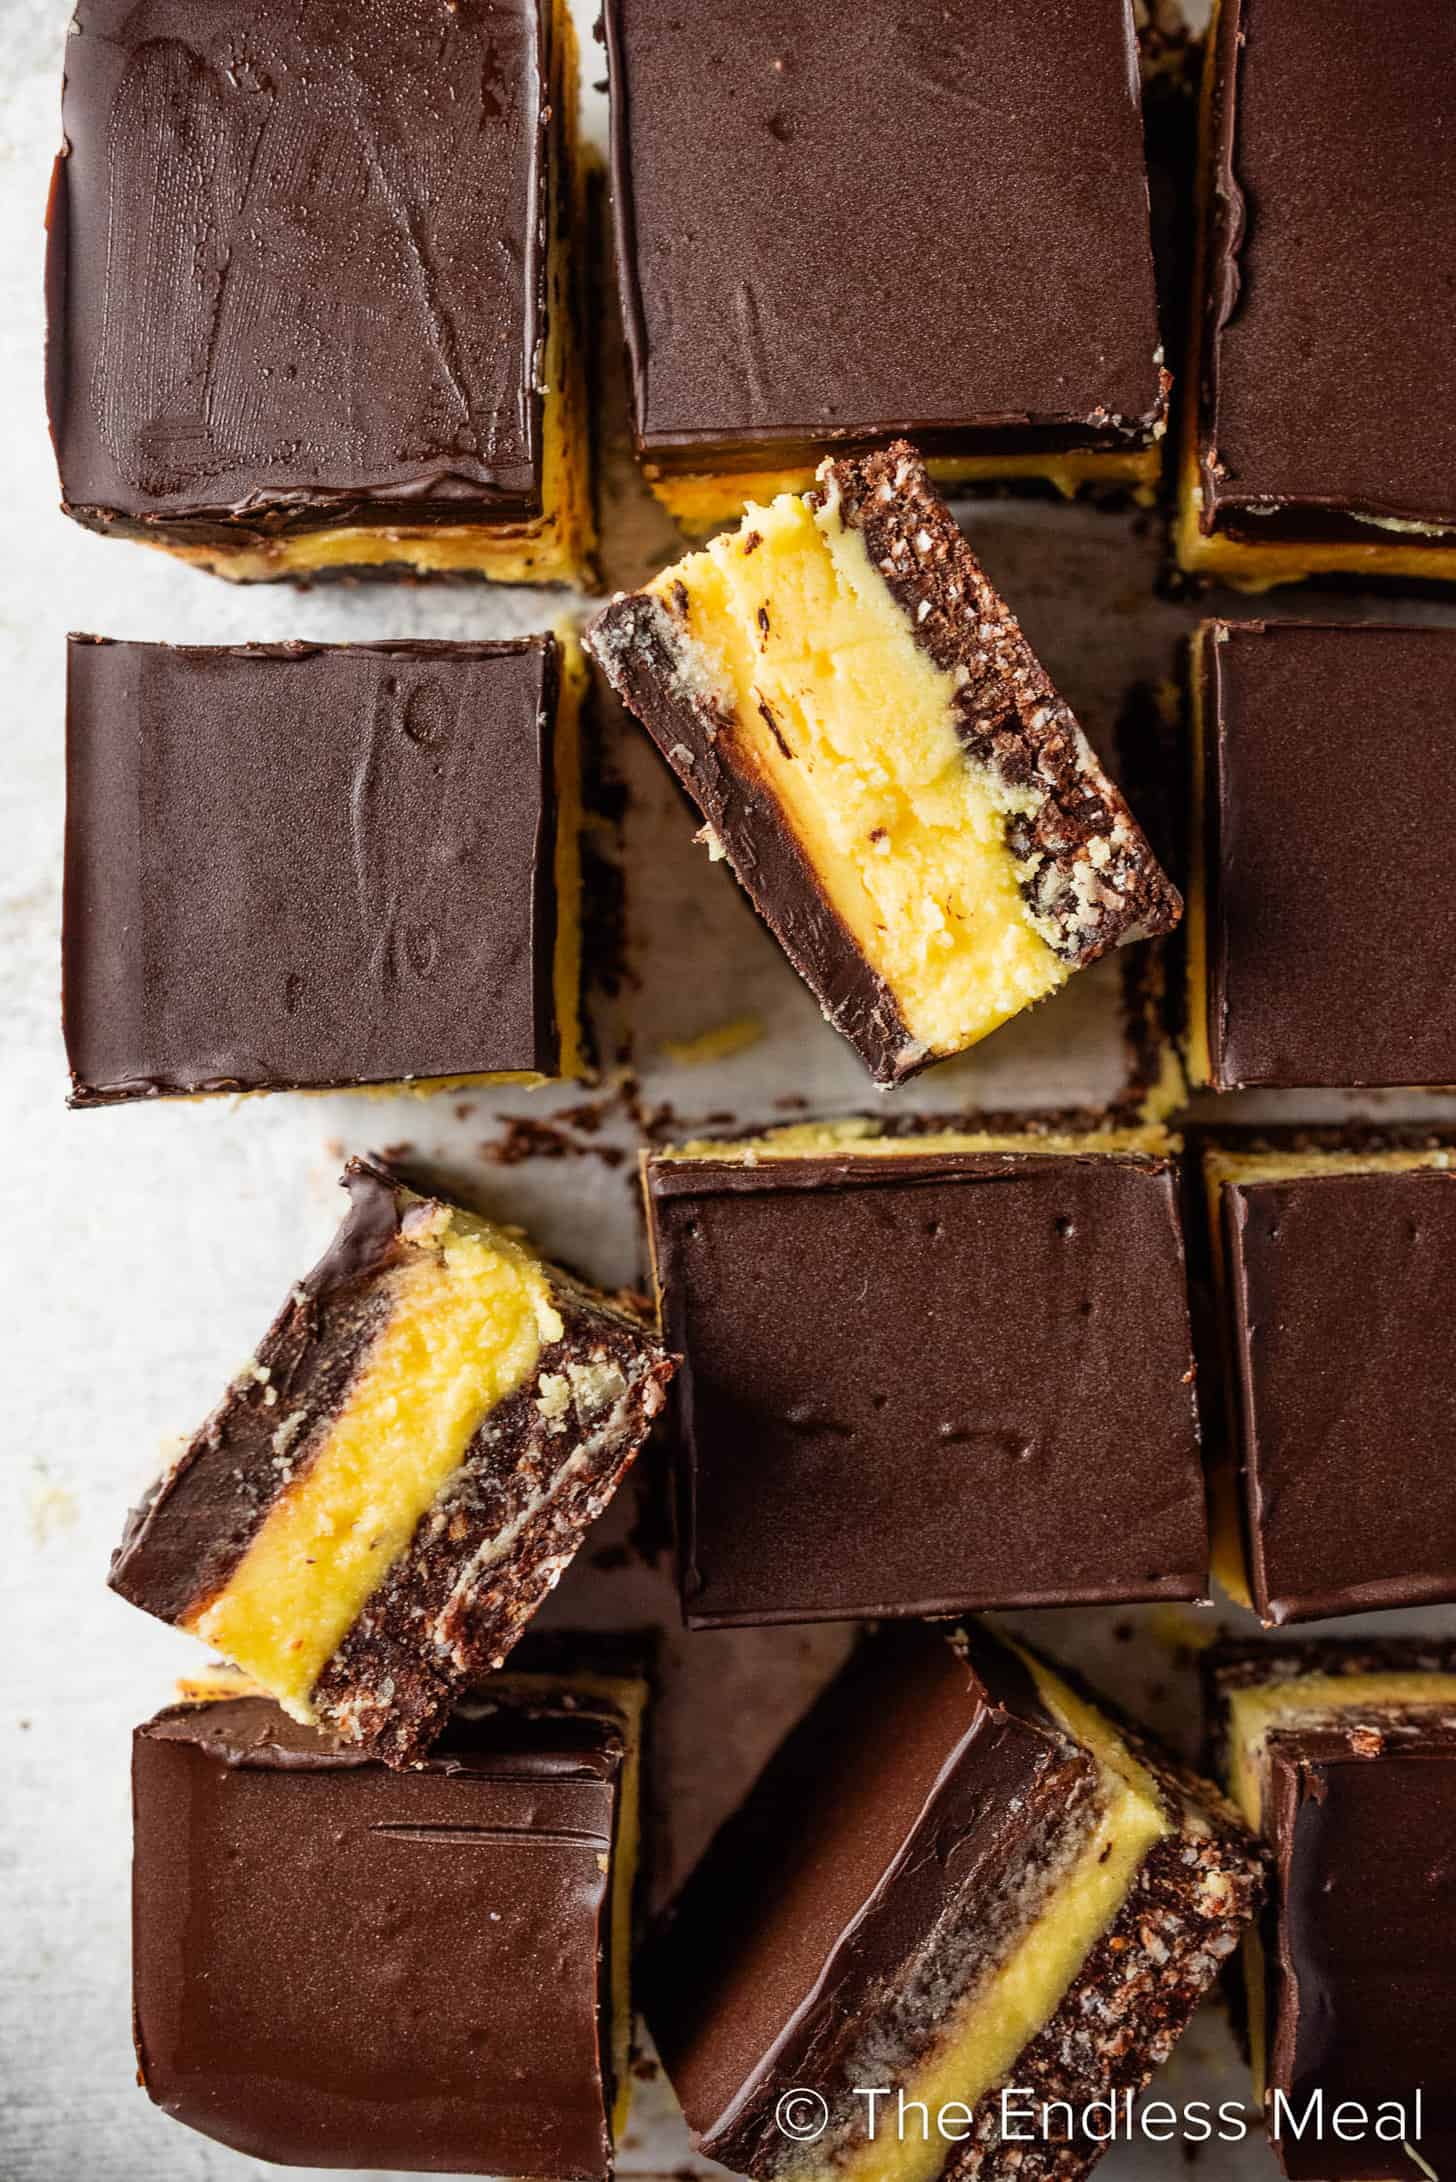
I grew up eating Nanaimo bars at every family gathering, school potluck, and holiday party you can imagine. Growing up in BC and living just a short ferry ride from Nanaimo itself, these bars have been part of my life for as long as I can remember. This recipe comes from my mom, and after years of eating versions from bakeries, coffee shops, and other people’s kitchens, I genuinely think hers is the best. The layers are properly balanced, the custard is silky and rich, and the whole thing is a little less sweet than most versions, which is what makes it so good.
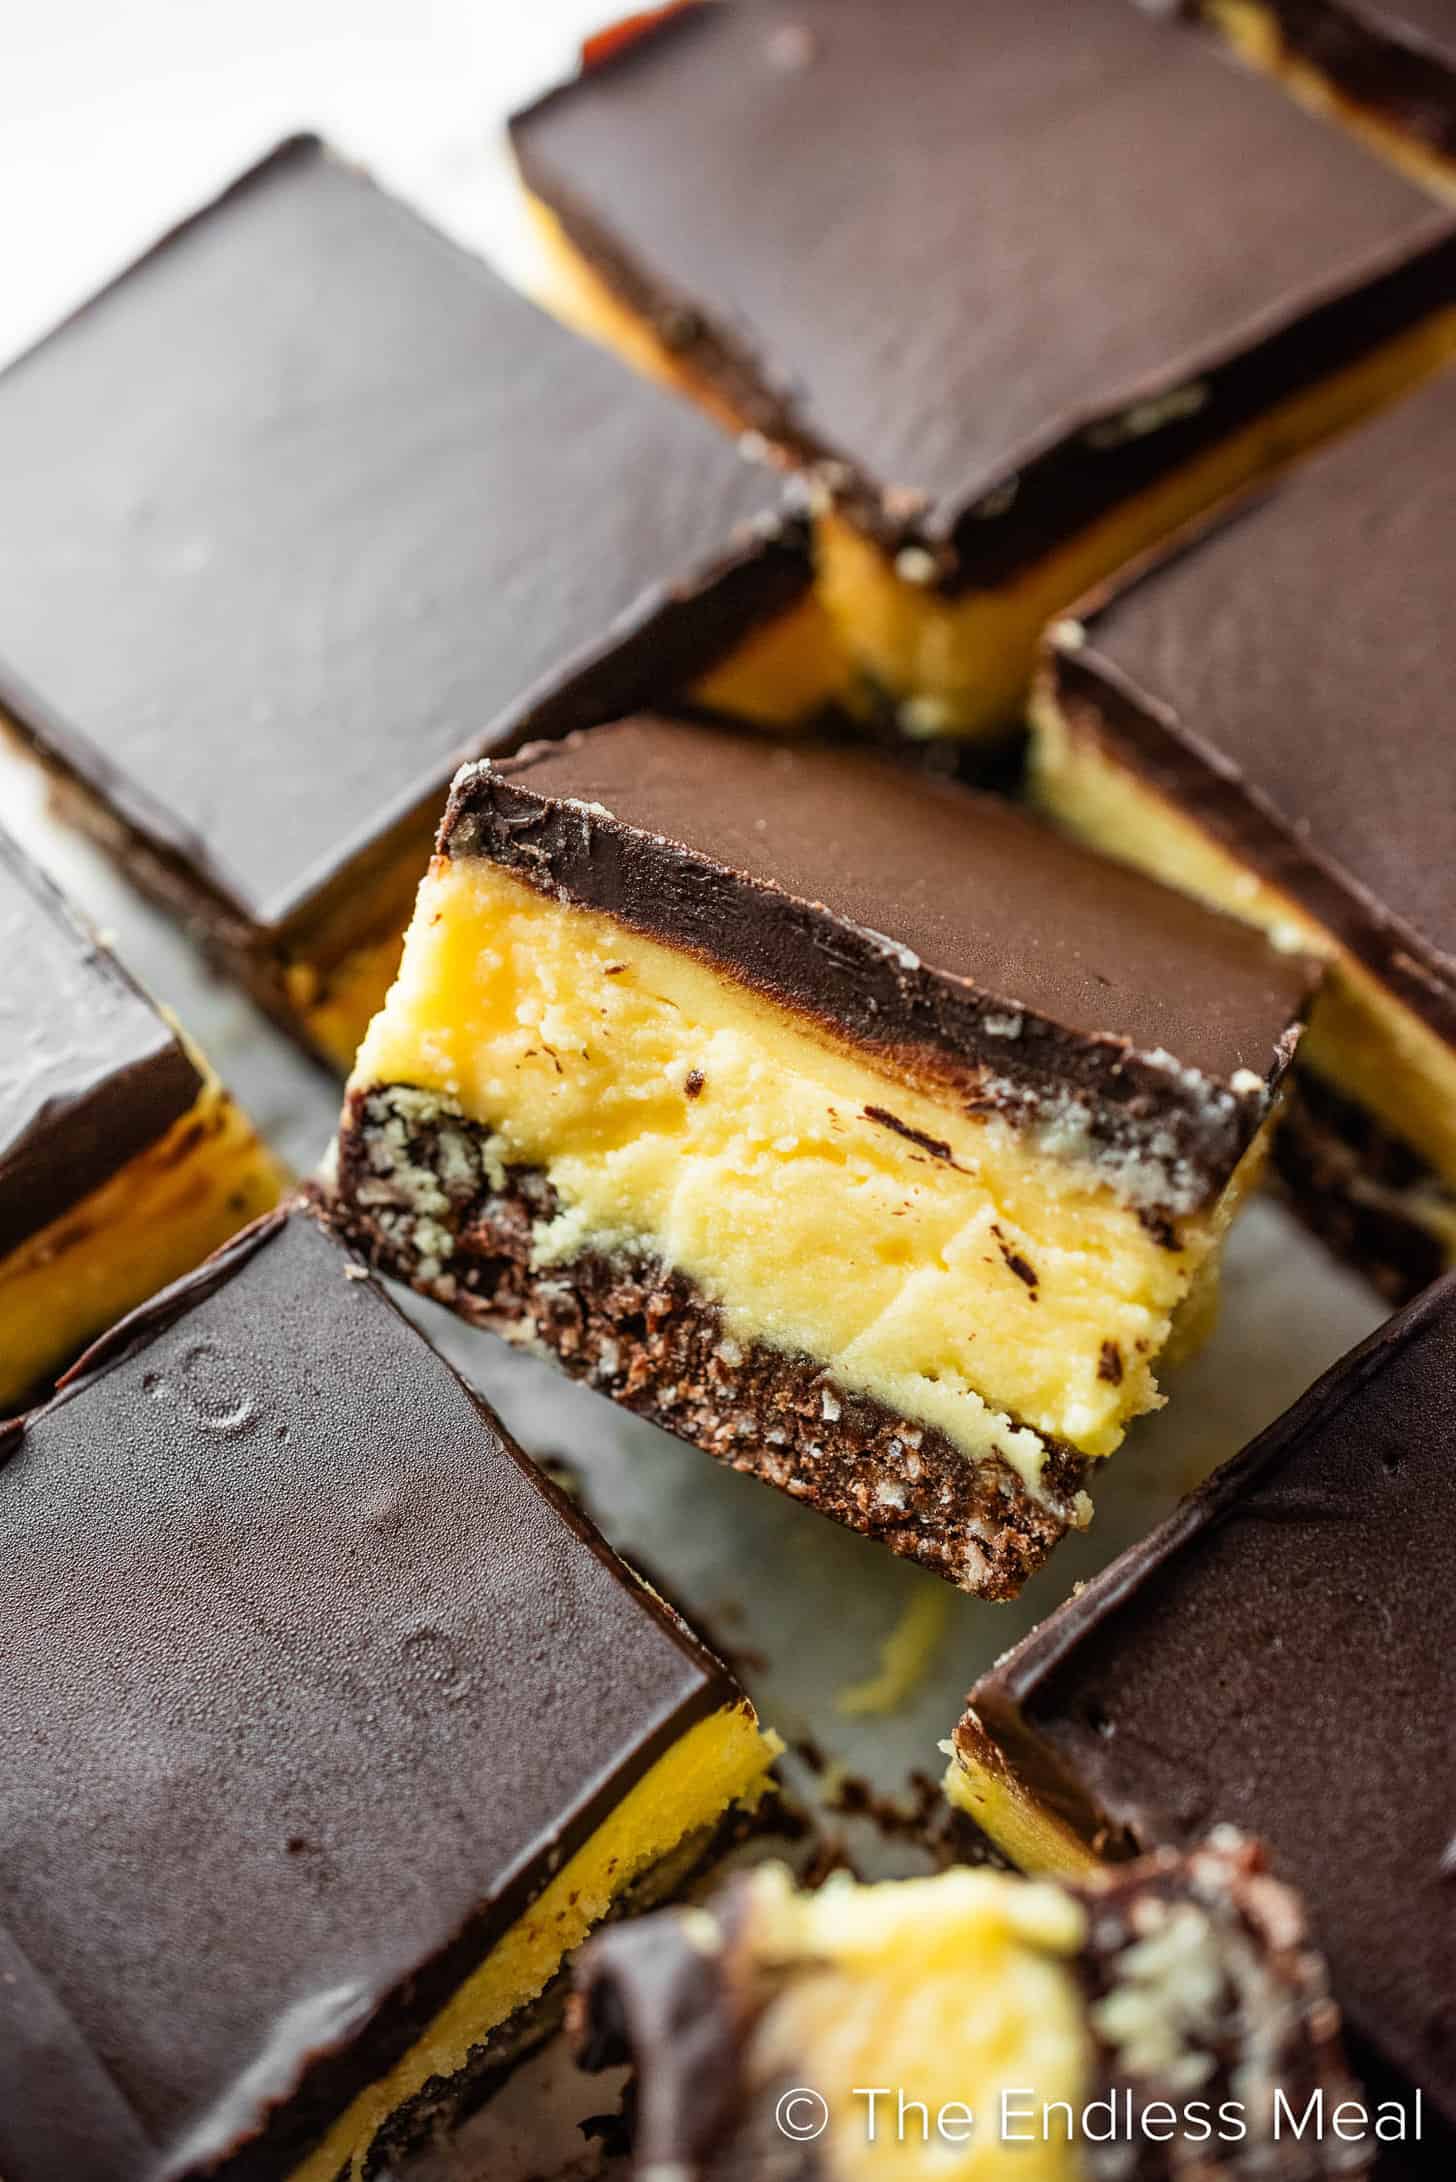
Why this recipe is less sweet than most
Most Nanaimo bar recipes have a thin custard layer that leans heavily on powdered sugar for its flavor. My mom’s version uses more butter and more Bird’s Custard Powder, which makes the filling noticeably thicker and richer, and the extra custard powder is what keeps it from tasting cloyingly sweet. The result is a middle layer that actually tastes like custard rather than just icing, and that difference is what makes the whole bar feel balanced rather than one-note. It’s the kind of thing you notice immediately if you’ve eaten a lot of Nanaimo bars, which, living where I do, I absolutely have.
The case for Bird’s Custard Powder
If you’ve never baked with Bird’s Custard Powder, this is a good reason to start. It’s a staple in Canadian and British kitchens, and it’s what gives the middle layer of a Nanaimo bar its distinctive flavor: vanilla-forward, slightly eggy, and unmistakably different from what you’d get with just powdered sugar and butter. You can find it at most Canadian grocery stores, at specialty food shops, or online. There isn’t a perfect substitute, though some people use instant vanilla pudding mix in a pinch. It works, but the flavor is milder and the texture slightly different. For the real thing, Bird’s is worth tracking down.
The origin story (and why it’s still debated)
Nanaimo bars are named after the city of Nanaimo on Vancouver Island. The story I grew up hearing is that recipe came from a 1952 community cookbook under the name “chocolate square,” but the exact origin is contested. The city took the naming seriously enough that in 1986, Nanaimo’s mayor ran an official contest to find the definitive recipe. The winner is now the city’s “official” version, posted on the Nanaimo city website.
I’ve eaten Nanaimo bars from shops in the city itself, and from experience, the bakery versions vary enormously. Some have too-thick chocolate tops that crack when you bite in. Some have custard layers that taste more like frosting than anything else. My mom’s version, which I grew up eating, has always felt the most balanced to me.
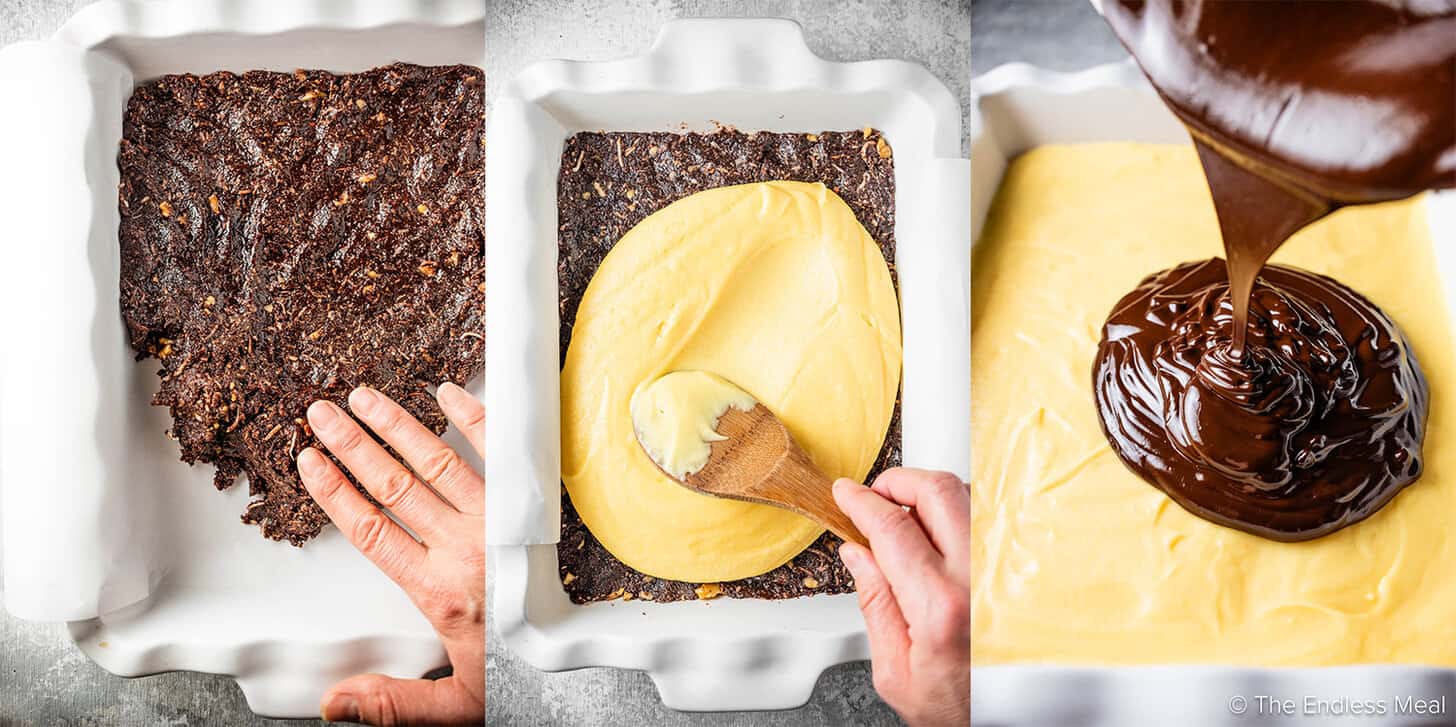
Tips for making the best Nanaimo bars
Nanaimo bars are surprisingly easy to make, but a few simple tips will help ensure perfect layers every time:
-
Line the pan with parchment. Let it hang over the sides so you can lift the whole thing out cleanly before slicing.
-
Softened butter matters for the custard. Cold butter won’t cream properly and you’ll end up with a lumpy middle layer. Set it out an hour before you start.
-
Chill each layer before adding the next. This is what keeps the layers distinct rather than bleeding into each other.
-
Cut before the chocolate is fully set. This is the most important tip for clean bars. When the chocolate is still slightly soft, use a sharp knife dipped in hot water and slice with a dragging motion rather than pressing straight down. Then return the bars to the fridge to finish setting completely.
Store and freeze
How do I store Nanaimo bars? Store in a covered container on your counter for several days, or in your fridge for up to a week.
Can you freeze Nanaimo bars? You sure can! Store in the freezer in a freeer-proof container for up to three months. If you need to stack them, put pieces of parchment paper between the layers. To thaw, put them in the fridge overnight. Or let one sit on your counter for about 10 minutes – they don’t take long to thaw!
Mom’s Nanaimo Bars (a Canadian recipe from my BC kitchen)
Ingredients
Bottom Layer
- ½ cup butter
- 5 tablespoons cocoa powder
- ¼ cup granulated sugar
- 1 large egg
- 1 ¾ cup Graham cracker crumbs
- ¾ cup fine coconut
- ¼ cup chopped walnuts
Middle Layer
- 3 cups powdered sugar
- ¾ cup butter (softened)
- ¼ cup milk
- ¼ cup Bird's vanilla custard powder
Top Layer
- 8 ounces shaved dark chocolate or chocolate chips
- 4 tablespoons butter
Instructions
Bottom layer
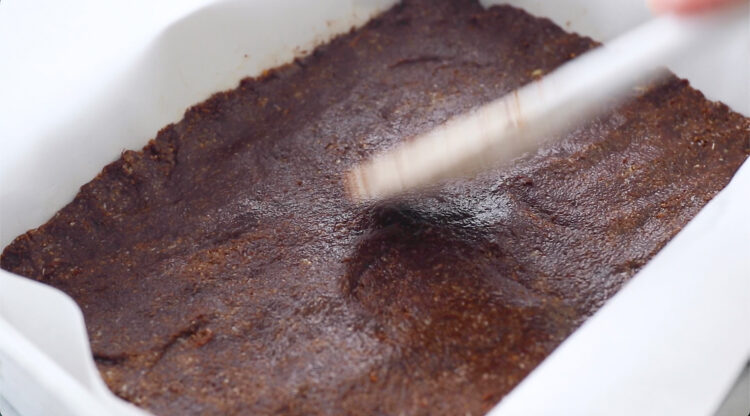
- Lay a piece of parchment paper in a 9×11-inch pan, letting some hang over the sides. (This makes it easier to remove the Nanaimo bars.) Melt the butter in a medium-sized pot over medium heat. Whisk in the cocoa powder and sugar. Remove the pot from the heat then add the egg and whisk until it has thickened, about 30 seconds.
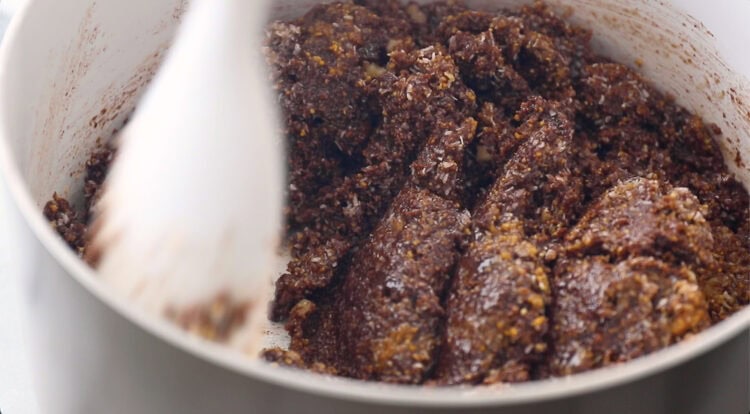
- Stir in the Graham cracker crumbs, coconut, and walnuts. Press the crust firmly into the prepared pan.½ cup butter, 5 tablespoons cocoa powder, ¼ cup granulated sugar, 1 large egg, 1 ¾ cup Graham cracker crumbs, ¾ cup fine coconut, ¼ cup chopped walnuts
Middle layer
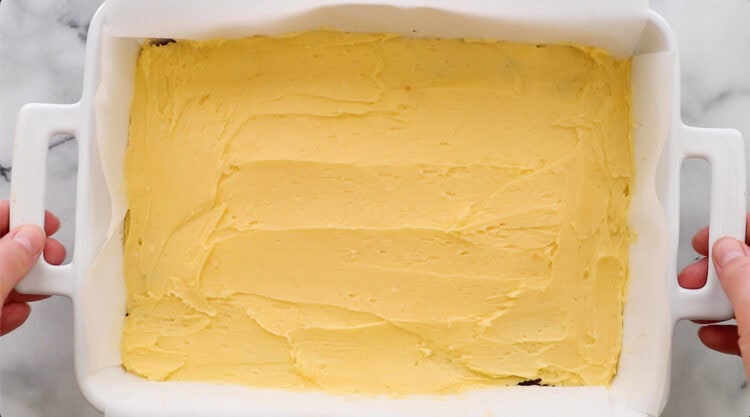
- Add all the middle layer ingredients to a large bowl and cream them together using electric beaters. Pour the custard over the first layer and smooth the top.3 cups powdered sugar, ¾ cup butter, ¼ cup milk, ¼ cup Bird's vanilla custard powder
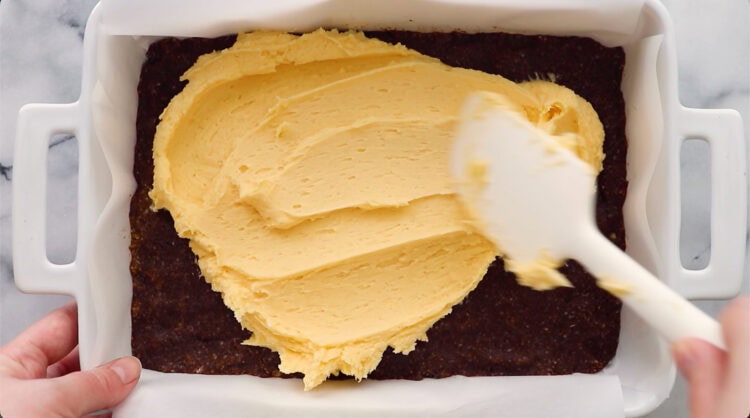
- Place the pan into your fridge for at least 20 minutes, or until the custard is firm.
Top layer
- Add the chocolate and butter to a medium-sized pan over low heat and let both melt. Whisk to combine and then pour the chocolate over the custard. Smooth the top first with a spatula then by gently tapping the pan on your counter.8 ounces shaved dark chocolate or chocolate chips, 4 tablespoons butter
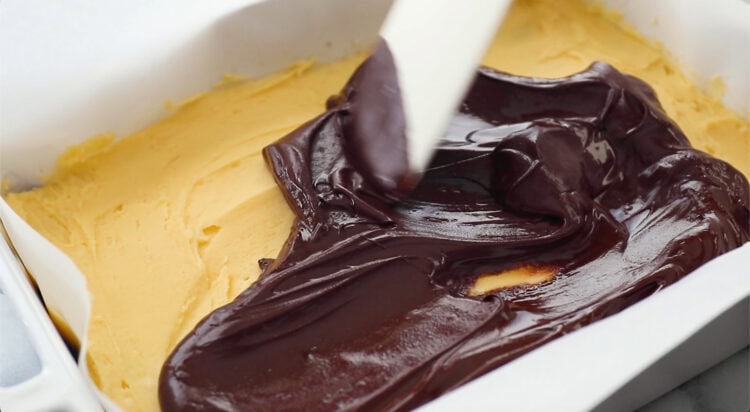
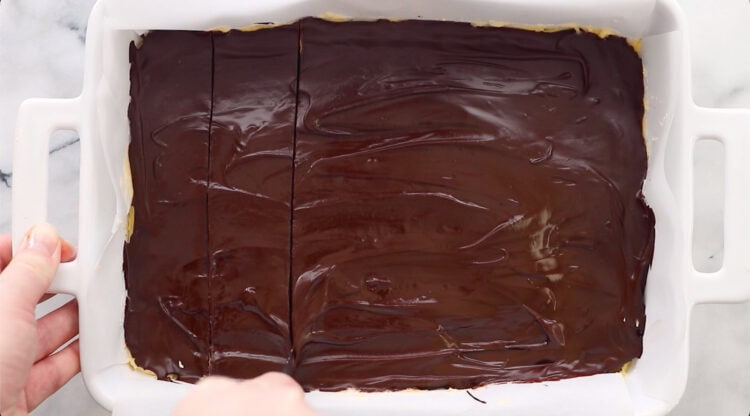
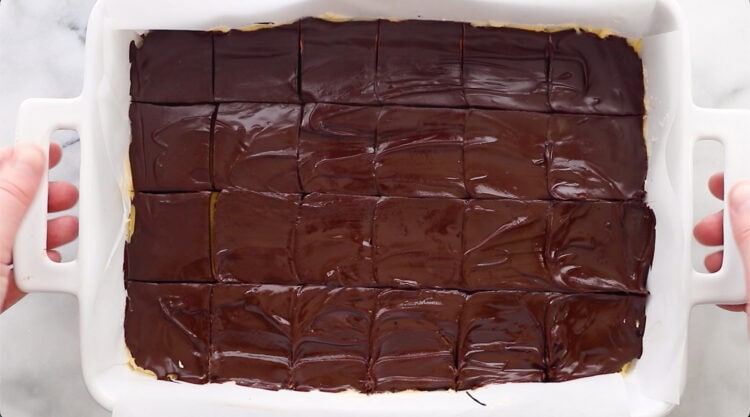
- Chill in your fridge for about 20 minutes, or until the chocolate is soft-set. Cut the Nanaimo bars into bars then place them back in your fridge until they are completely set. (Cutting the bars first prevents the chocolate from cracking.)
- Store the bars in a covered container in your fridge for a week or up to three months in your freezer. The bars can be eaten cold or at room temperature – they take about 10 minutes to warm once out of the fridge.
Video
Nutrition
We have thoroughly tested this recipe for accuracy. However, individual results may vary. See our full recipe disclosure here.







Great recipe and instructions as they really do matter when it comes to the chocolate especially. Thank you
Thank you!
Excellent. The cutting technique worked perfectly, and I’ve never made better Nanaimo bars!
That’s wonderful! Thank you for coming back to let us know!
Hi, where do you purchase Callebaut chocolate? Ty
I either buy it in bunk from a local grocery store, Price Smart Foods. Or I get it in large bricks from another local store, Gourmet Warehouse. 🙂
My kids won’t eat coconut. Can I just omit it without changing the rest of the bottom layer?
I haven’t tried it without the coconut. Maybe add a few more nuts instead.
Absolutely the best!
Splurge and buy really good quality chocolate it’s definitely worth it
Thanks, Peggy!
I’ve made these a few times now (with extra walnuts instead of coconut, as some of my target eaters don’t like coconut) – they’re so delicious that I have friends and coworkers requesting them for special occasions. Multiple people have told me they’re the best Nanaimo bars they’ve ever had! Thanks so much for sharing your mom’s wonderful recipe, it’s made many people very happy!
That is fantastic! Really happy to hear they are a hit!
Thought I would give this recipe a whirl, since it seemed to have just the right amount of icing sugar for the middle layer. I am always having to double it, and it ends up being too much. I used a 9x 13 pan, since I didn’t have a 9×11. The instructions were wonderful. The parchment paper which I thought was silly, was the BEST idea ever. These are by far the best Nanaimo bars I have made! Thanks!
That makes me so happy to hear! Hooray!
FIne coconut – is it fresh, or more like prebought coconut flakes? Just thinking that the fresh would probably be a bit more moist.
We use desiccated coconut, from a package. 🙂
I liked the bottom layer but the middle custard layer was really sweet and didn’t set up properly. The chocolate was okay but it never really hardened either unfortunately.
I’ve wanted to make these for years,but do not like coconut. Is the flavor prevalent?Or can I leave out?
Thank you,
Susan
I don’t find that the coconut is very prevalent in taste but you can notice it in texture. I would recommend adding additional nuts instead of the coconut. 🙂
This recipe was great! Best nanaimo bars ever! .
Yay! I’m so happy to hear that!
My 11 year old son and I made these last night for an International food taste for school. He is so proud of himself for how great they turned out. They are definitely sweet, but so good. Thank you for the recipe.
IMG_5305.jpg
That makes me so happy to hear! I love hearing about kids in the kitchen. It’s so awesome!
Hi kristen!
Can’t wait to try your Nanaimo bar recipe. Never heard of them b4 I started to follow & write to quite a few Canadian bakers on IG. Your recipe calls for all the ingredients that @cakedbykatie mentioned to me. I just got the Birds custard recently & plan to get the coconut tomorrow!
I’m also an RN ( Ortho/Neuro tele ). Didyou attend a chef school or self taught?
Thanks again,
Jan
I hope you love the recipe as much as my family does! I am self-taught. 🙂
Thanks again for the recipe!! Delicious ?
You are so welcome!
Great Recipe!! I’m excited to share these at our “Passport around the world” night at our local school. I’m a Canadian living in Ga. I did a trial run and shared them with some neighbors who LOVED them. Thanks for posting!!
That makes me so happy to hear!
When in British Columbia last year with friends, we purchased Nanaimo Bars from a bakery and they were delicious. My friend sent me the recipe when we got home which I tried.and the top was a mess. I looked on the internet and found your recipe. You gave wonderful instructions re how much time to allow for each step. I made them and they turned out great. Thank you so much!!! And, I ordered custard power from Amazon, no charge for shipping.
I’m so happy to hear they were a hit!
I have a question about the custard powder. Custard powder recipes that I have seen call for it to be cooked. Since the filling in this recipe is basically a frosting, not sure why it is included. Should it have read instant custard powder. Using the measured ingredients for the chocolate topping, it came out quite thick and was not pourable.
This is the custard powder that I use in the recipe. If the chocolate is heated too quickly it can thicken. Perhaps that is what happened?
The custard does not go in with the chocolate.