
Homemade Ravioli Recipe
This post may contain affiliate links. Please read our disclosure policy.
Homemade ravioli is easier than you might think, and THIS family recipe of mine proves it. With simple ingredients and clear step-by-step instructions, you’ll be whippin’ up restaurant-quality pasta in your own kitchen. Get ready to impress yourself and have some fun!
If homemade ravioli feels a little intimidating, I want to gently encourage you—it’s absolutely doable, and far less fussy than it sounds. I intentionally developed this recipe using all-purpose flour because it’s what most of us already have in our pantries. It makes a slightly softer, more tender pasta, which I actually love for ravioli. If you prefer a chewier bite, you can swap in 00 or semolina flour, but starting with all-purpose keeps this approachable and forgiving.
The process itself is very straightforward and breaks down into just four steps: making the dough, rolling it out, filling the ravioli, and giving it a quick boil. None of the steps are complicated, but they do take a bit of time—this isn’t a recipe to rush through. For me, that’s part of the appeal. I find the rhythm of kneading, rolling, and filling incredibly relaxing, especially with a glass of wine nearby and no agenda other than enjoying the process.
There’s also something deeply satisfying about how simple it all is. With just flour, eggs, olive oil, and salt, you end up with pasta that tastes rich, fresh, and far greater than the sum of its parts. Homemade ravioli feels humble and special at the same time, and every time I make it, I’m reminded that a little patience in the kitchen is often rewarded with something truly memorable.
Homemade ravioli filling options
When it comes to choosing your filling, you can get creative. There are no wrong answers, and whatever you choose will be delicious. Here are a few suggestions to get you going:
- Butternut squash, sage, and brown butter
- Spinach, goat cheese, and toasted pine nuts
- Sautéed mixed mushrooms with truffle oil
- Arugula, ricotta, and pistachios
- Roasted or sautéed beets with goat cheese and lemon zest
Tools for making ravioli
The first few times I made ravioli, I used a rolling pin and a cookie cutter. It takes a lot of elbow grease, but it’s doable. That said, having the proper tools will make your life easier. Here are the tools I reach for:
- Pasta maker: This is the pasta maker I have, and it makes a big difference. It helps create evenly thin sheets of pasta with much less effort, starting on the widest setting and gradually rolling the dough until it’s nearly see-through. You can absolutely do this by hand with a rolling pin, but the machine takes on most of the hard work.
- Piping bag: A piping bag makes filling the ravioli quick and tidy, allowing you to portion the filling evenly. If you don’t have one, a spoon works just fine—just take a little extra care not to overfill.
- Ravioli stamp or cutter: A ravioli stamp creates neat, uniform pockets that look beautiful and cook evenly. A simple cookie cutter works just as well if that’s what you have on hand.
How to store homemade ravioli
Making homemade ravioli ahead of time is a great idea. I love having some ready to go for easy dinners, and if I’m hosting friends, it’s far less messy (and much more relaxed) to pull premade ravioli from the fridge or freezer instead of assembling them at the last minute. Here’s how I store homemade ravioli, depending on when I plan to cook them.
- Short term: Ravioli can be stored in the fridge for 3–4 hours. Arrange them in a single layer on a parchment-lined baking sheet, making sure they aren’t touching. I like to loosely drape a clean kitchen towel over the top so they have a bit of airflow without drying out.
- Long term: For longer storage, the freezer is your best option. Place the ravioli in a single, non-touching layer on a parchment-lined baking sheet and freeze until solid, about 1 hour. Once frozen, transfer them to a freezer bag. When you’re ready to cook, boil the ravioli straight from frozen, adding about 1 extra minute to the cooking time.
Ravioli Pasta Recipe
Ingredients
- 2 cups all-purpose flour (see notes)
- 1 ½ teaspoons sea salt
- 3 large eggs
- 2 tablespoons olive oil
- Ravioli filling of your choice
Instructions
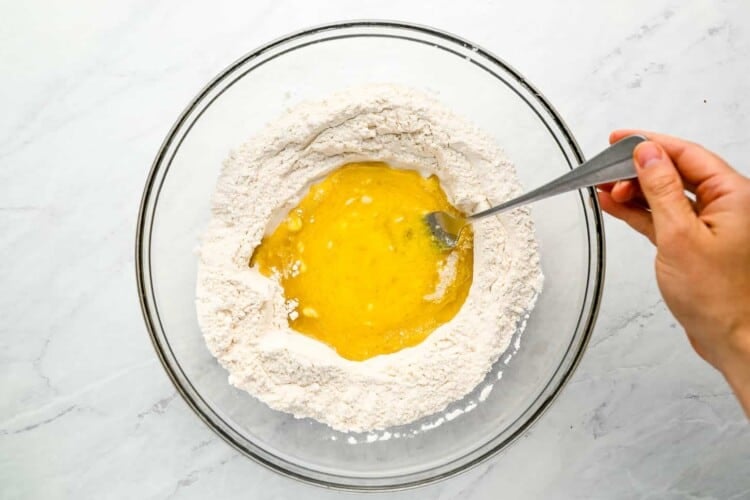
- In a large bowl whisk the flour and salt.2 cups all-purpose flour, 1 ½ teaspoons sea salt, 3 large eggs
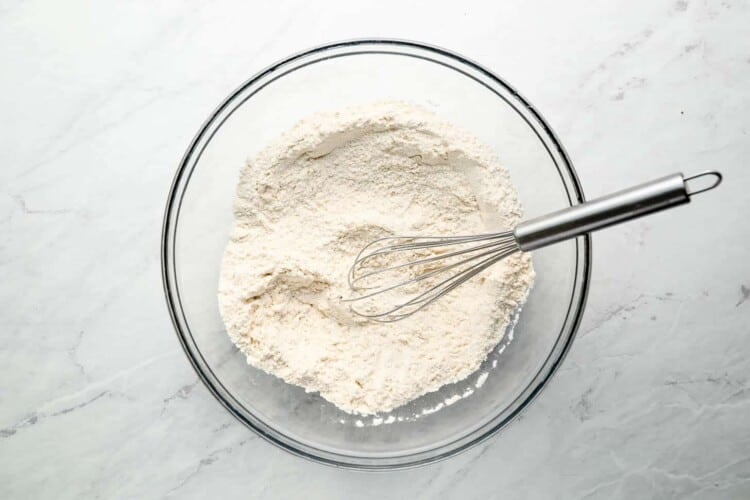
- Make a well in the center of the flour and add the eggs and oil. Use a fork to mix the eggs, trying not to mix in too much flour.
- Use your hands to slowly mix in the flour until it comes together into a shaggy ball.
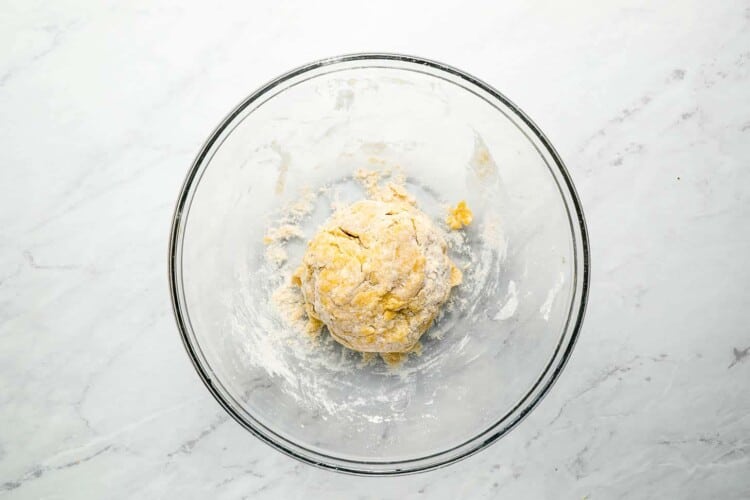
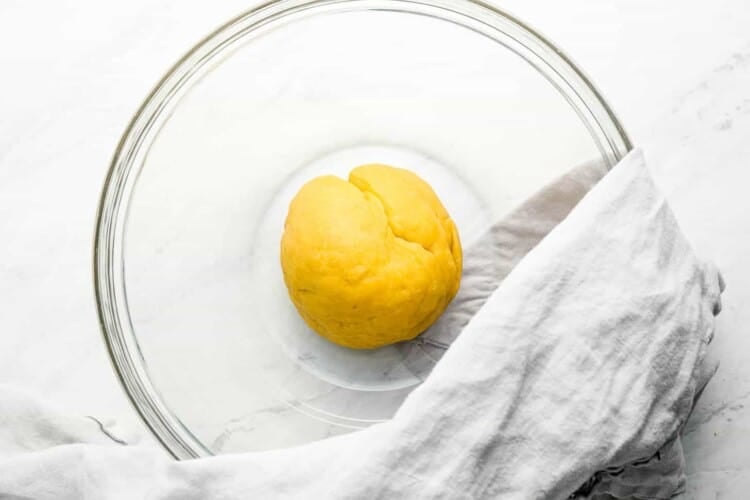
- Turn the dough out onto a work surface and knead it for 8-10 minutes. It might seem dry at first, but it will come together. If it hasn't started to come together after 5-6 minutes, wet your hands and keep kneading. Form the dough into a ball and put it back into the bowl, covered with a clean, damp kitchen towel, for 30 minutes. (I use this time to make the filling.)
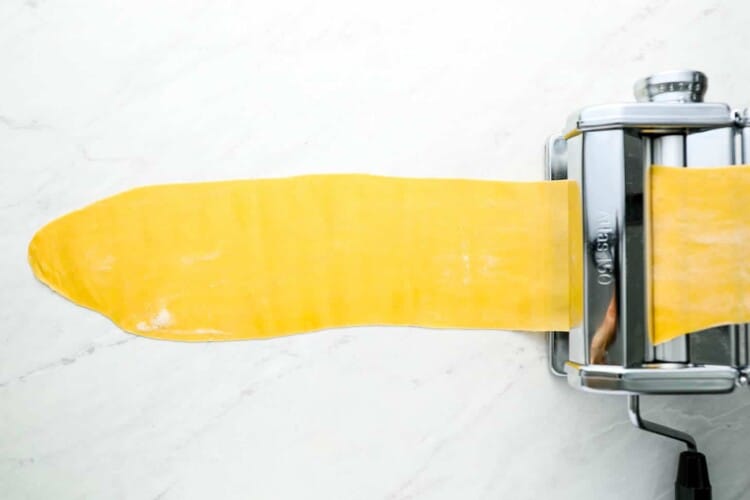
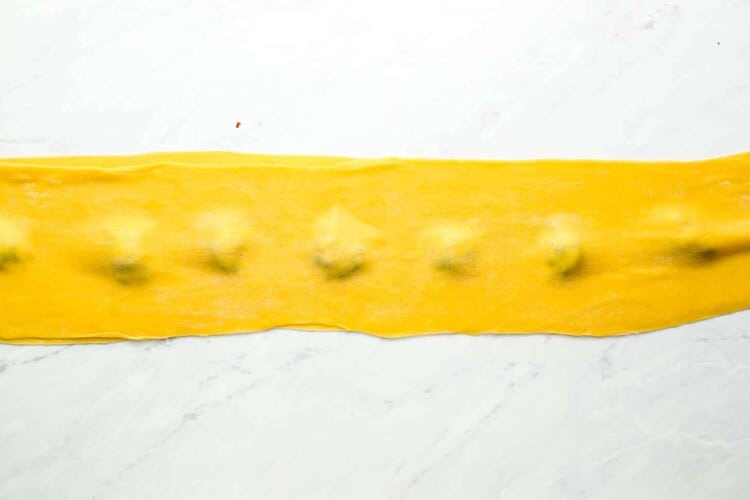
- Divide the dough into four pieces. Working with one piece at a time, flatten it slightly with the palm of your hand and then run it through the widest setting on your pasta machine. Fold the dough so that it resembles a rectangular package then run it through again at the widest setting. Continue to run it through, narrowing the opening, until it is just thin enough to see through. Setting #7 is usually right. Repeat with the remaining dough.
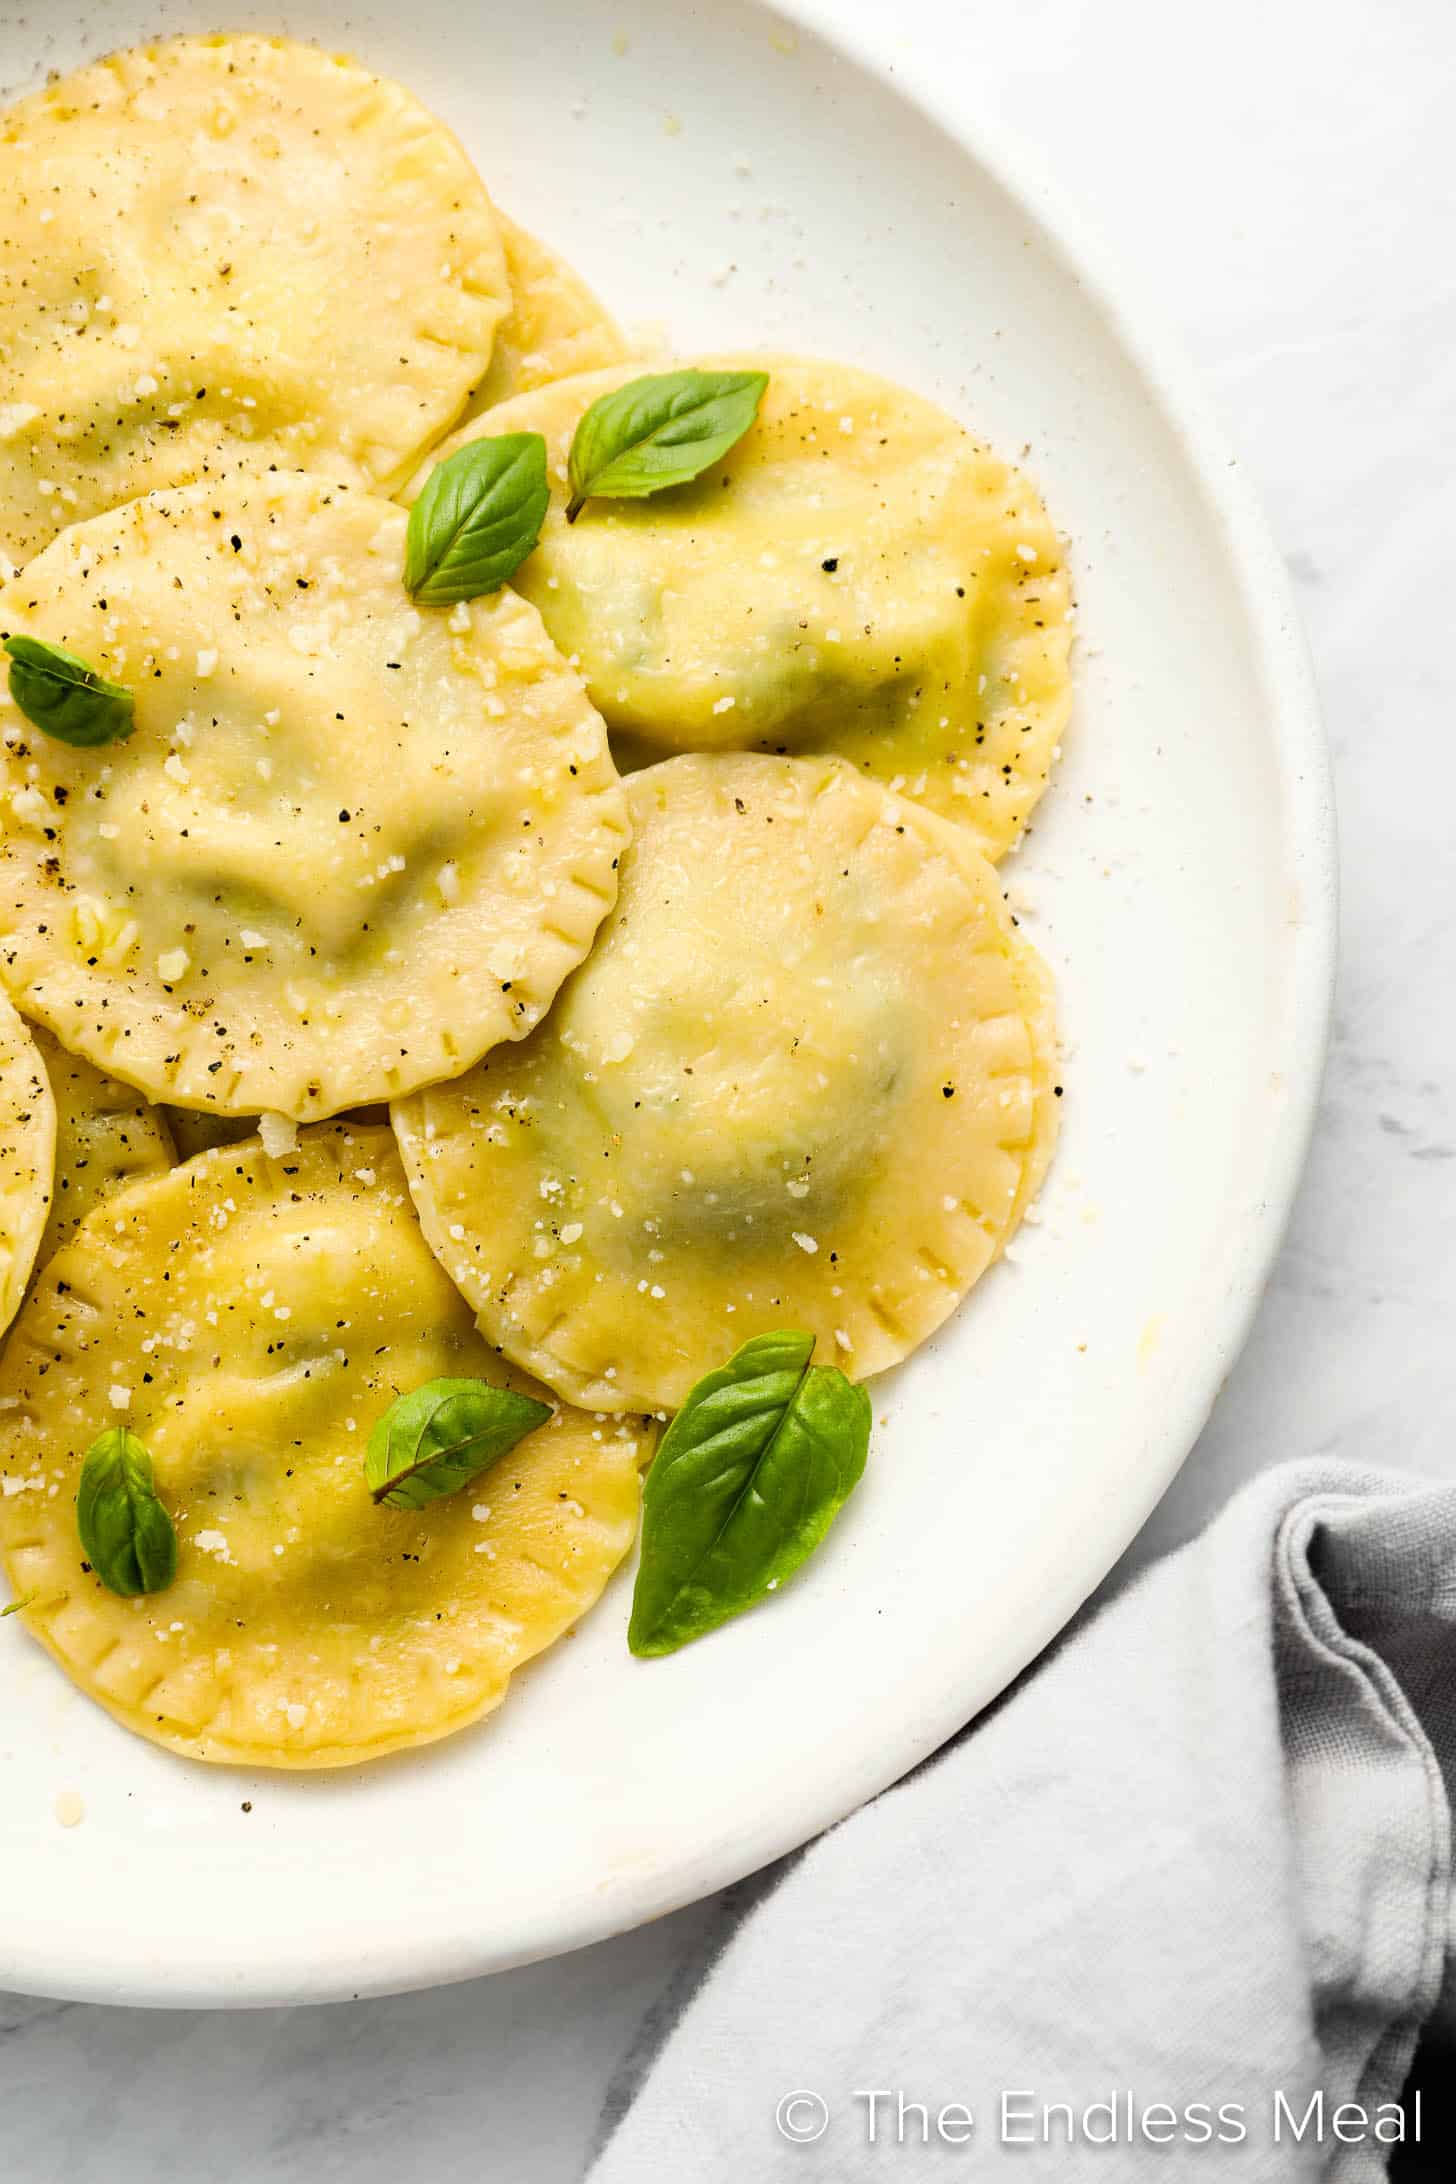
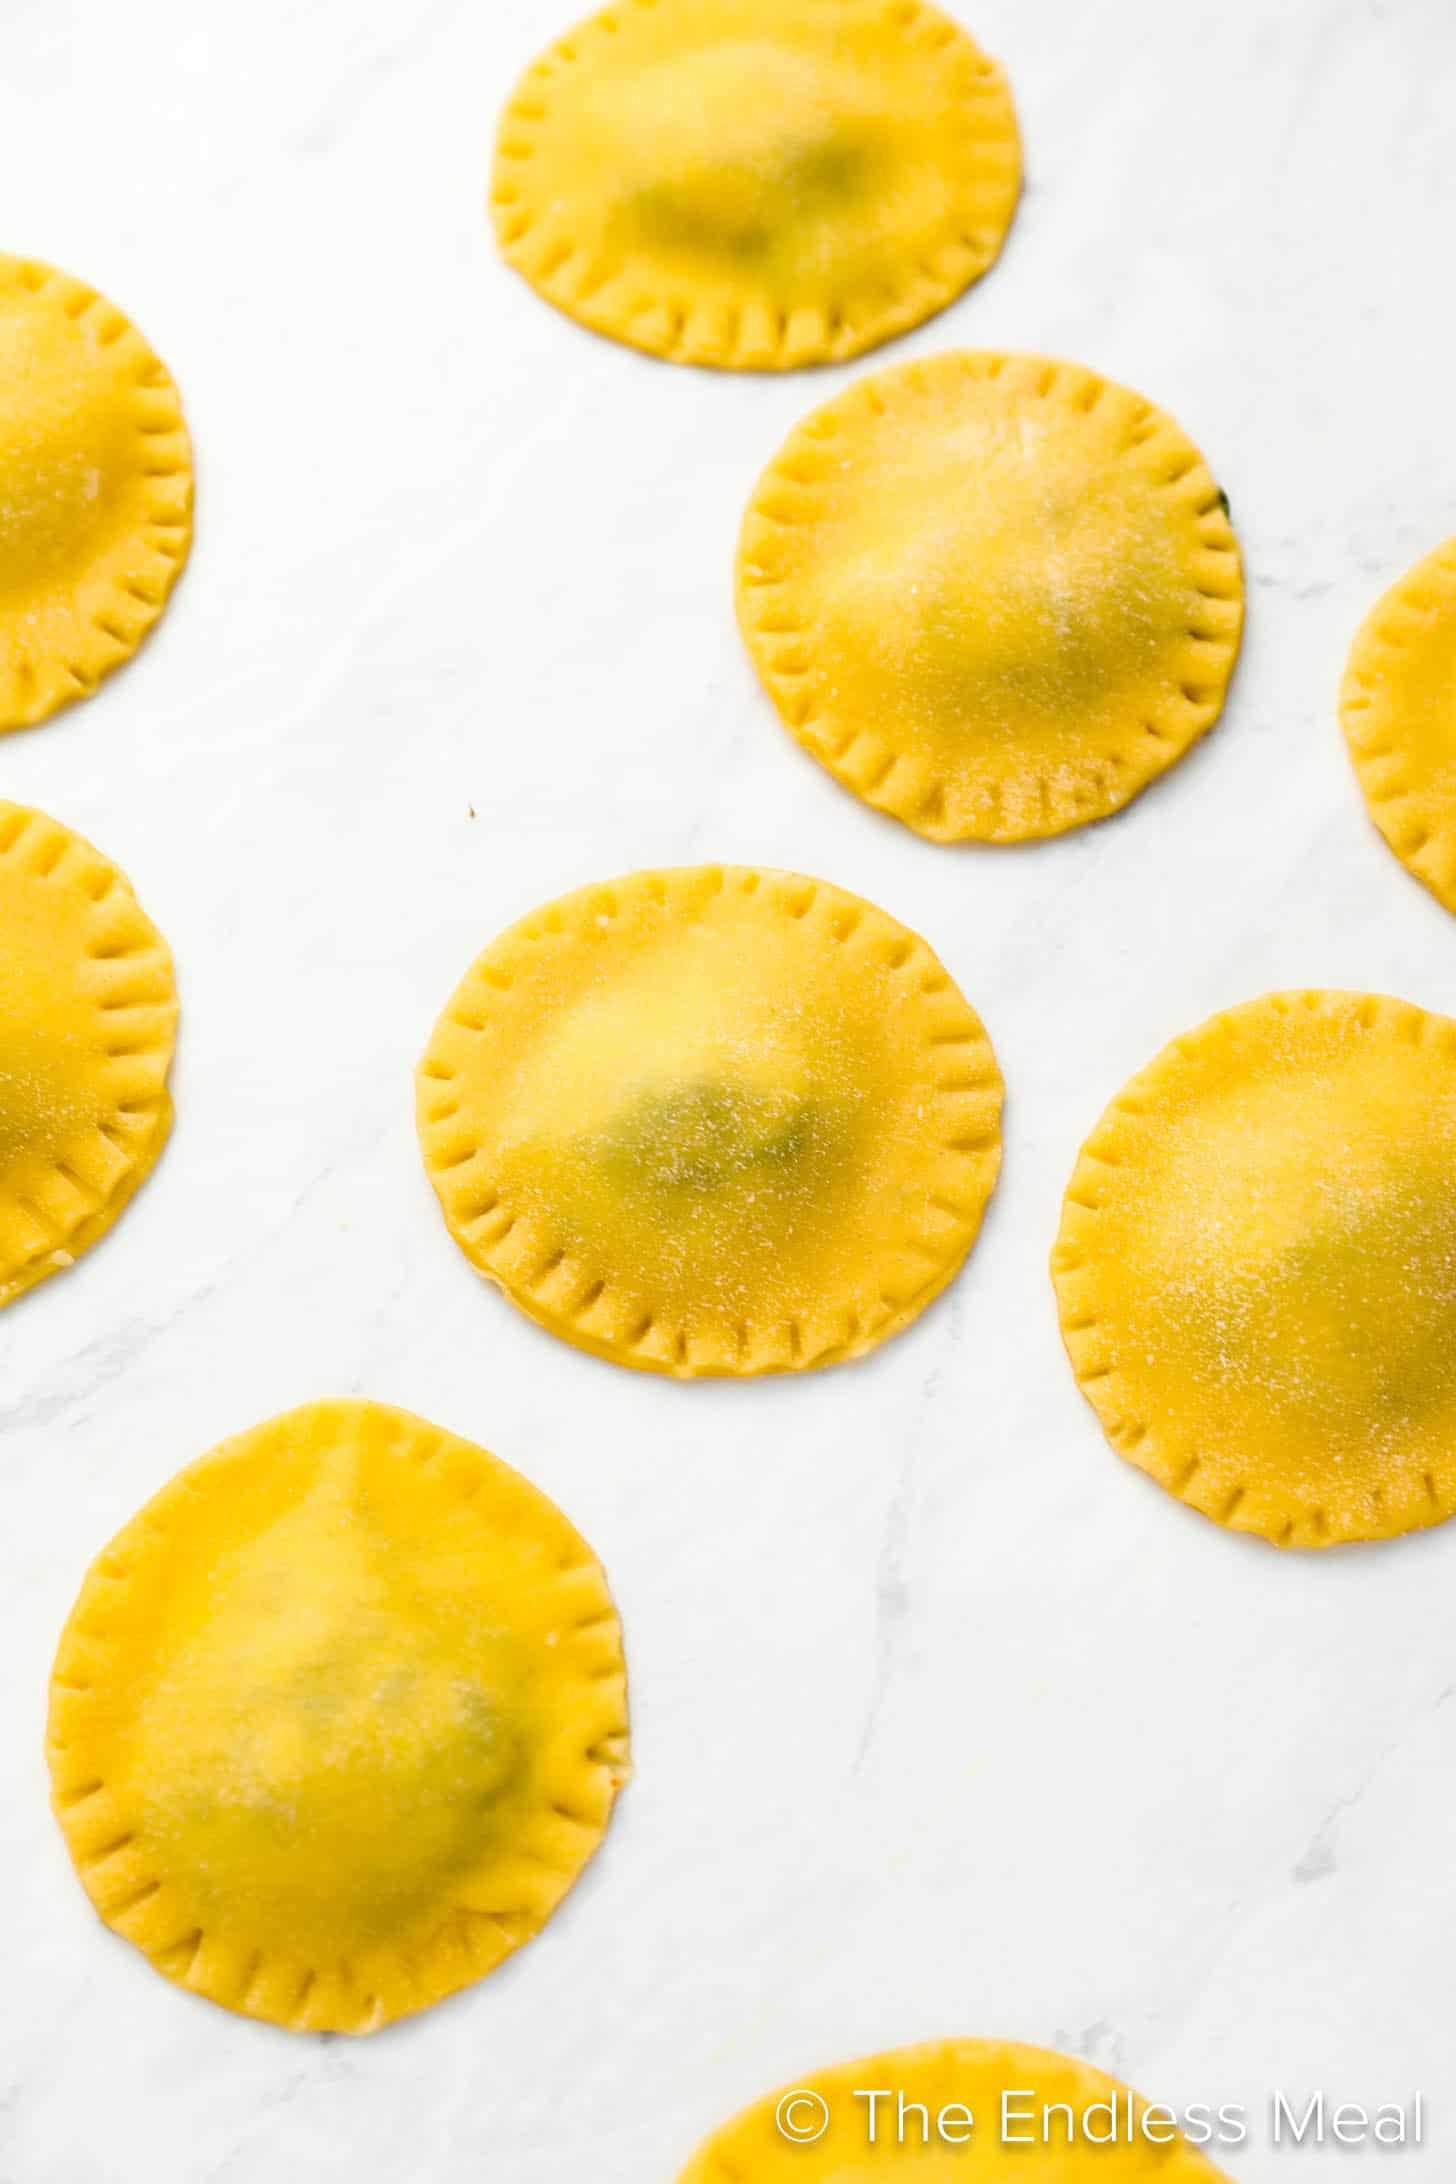
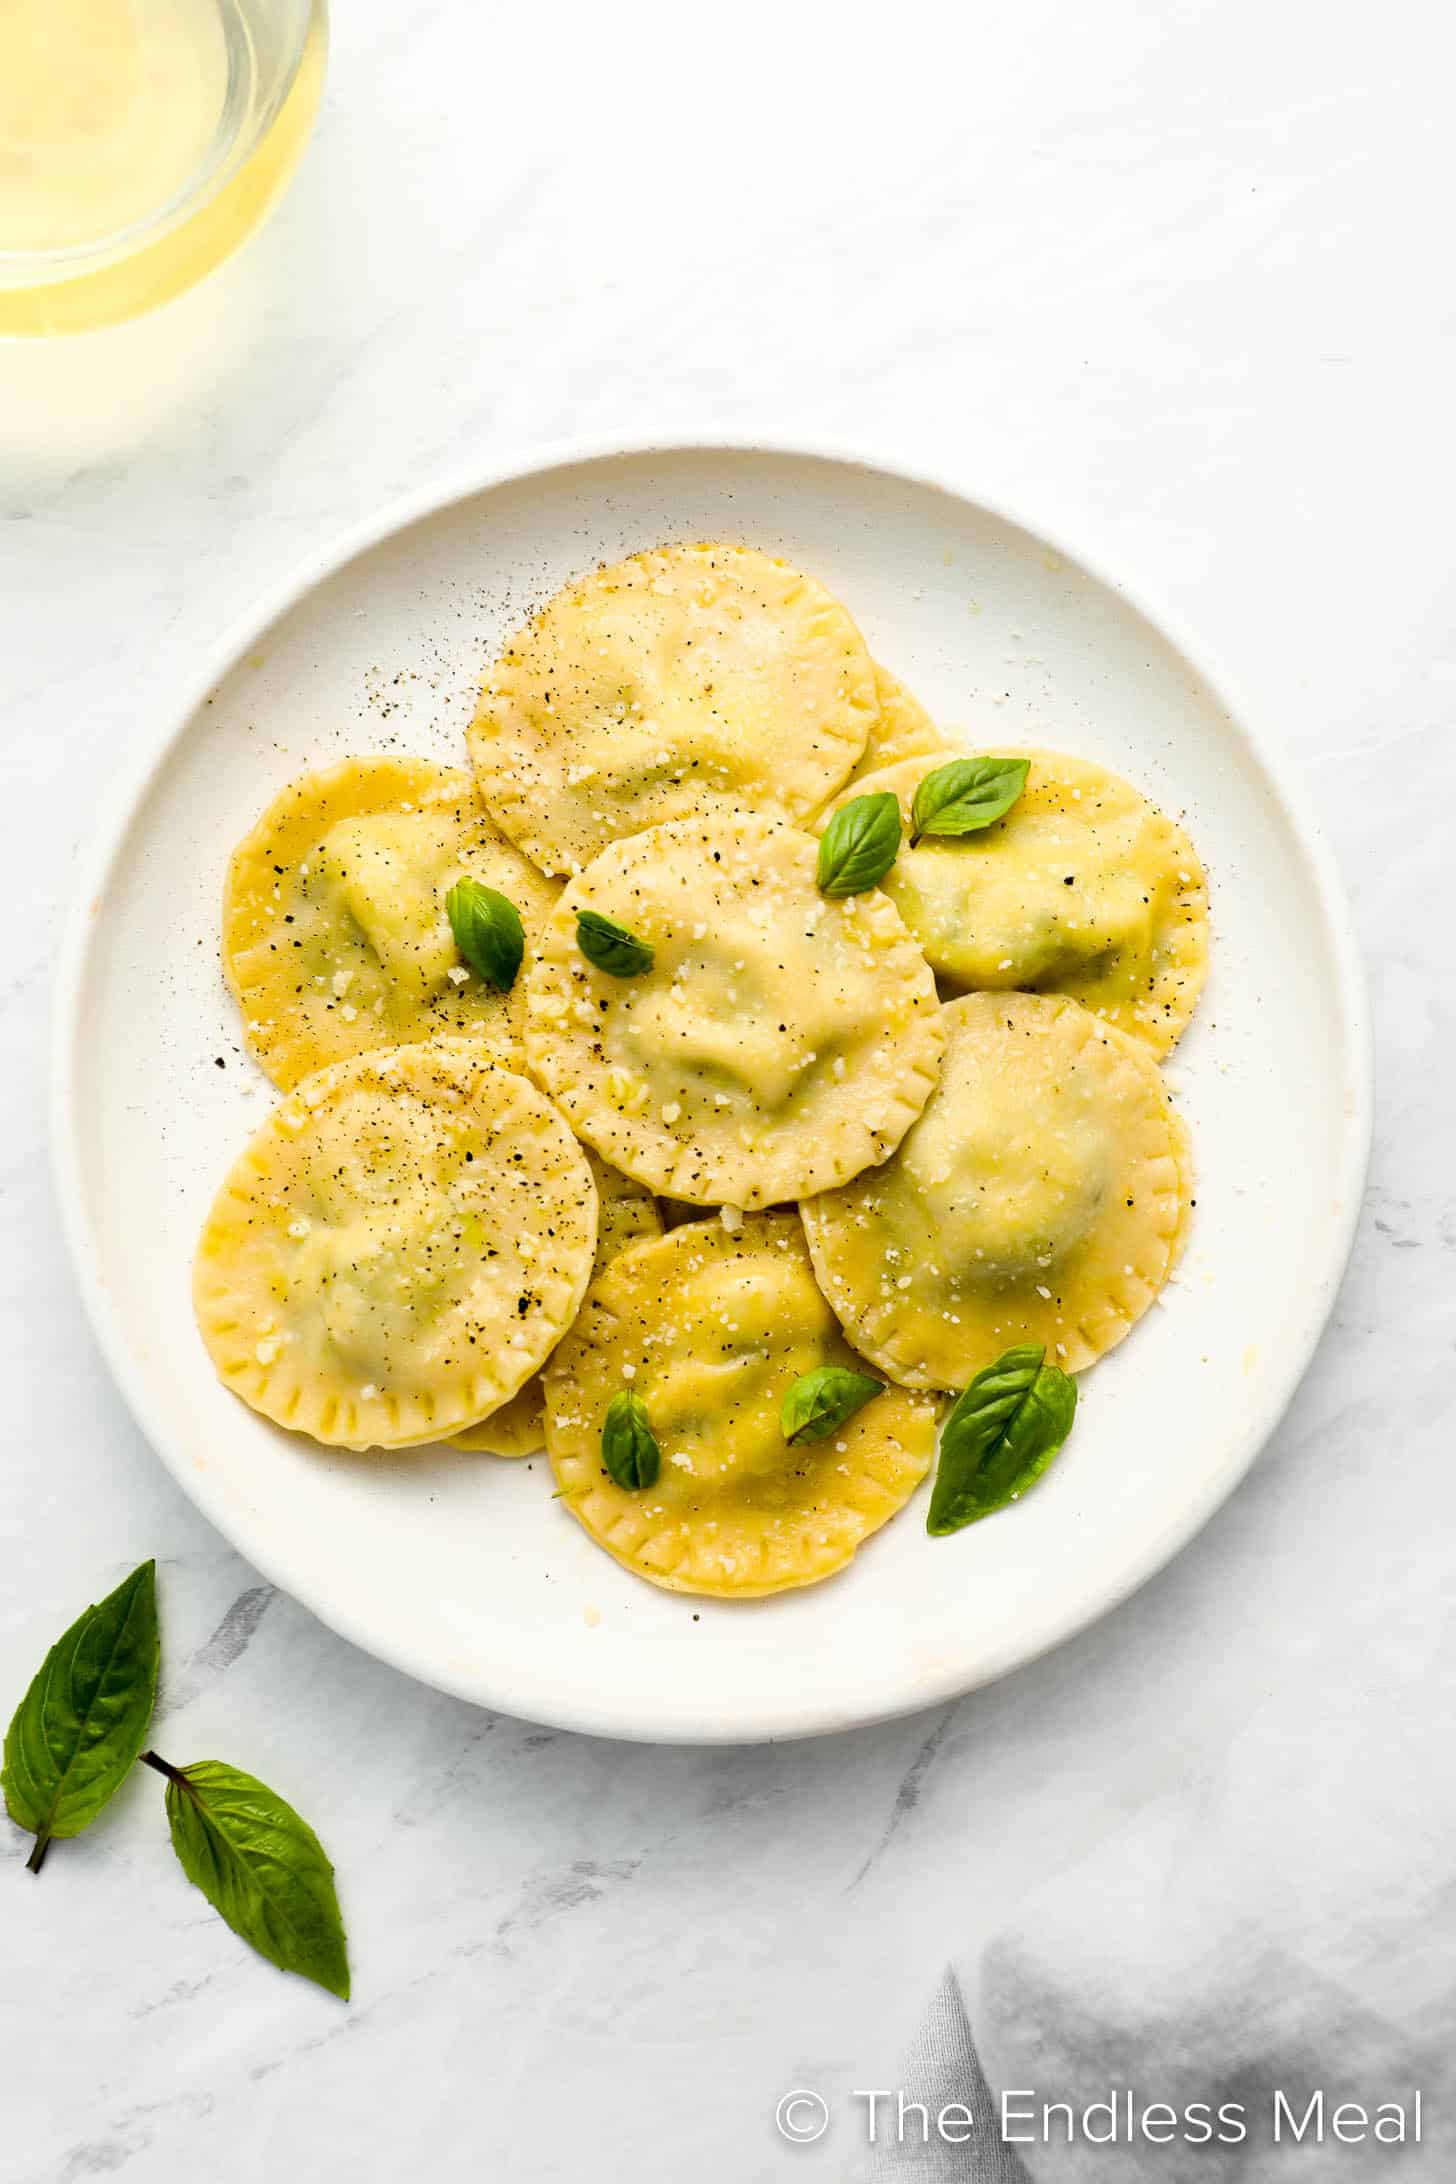
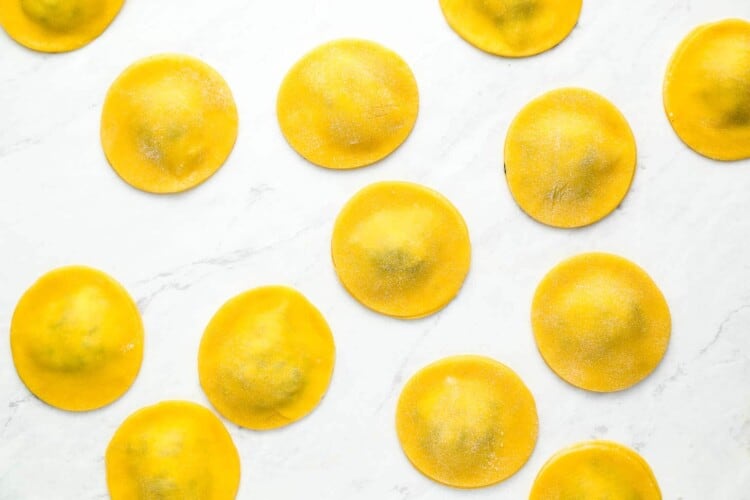
- Lay one rectangular piece of dough on your work surface. Spoon or pipe about 1 teaspoon of your filling in dots on top of your pasta and then lay another piece of dough on top. Press gently around the filling to remove any air pockets and seal the pasta.
- Cut the pasta out using a stamp, roller, or cookie cutter.
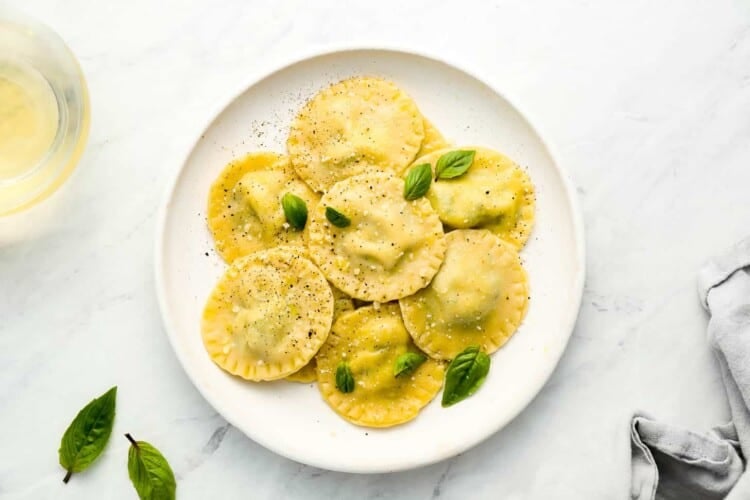
- To cook the pasta, bring a large pot of salted water to a boil. Add the ravioli and cook for 2-3 minutes. Once they float to the top they are done. Drain the pasta and toss with olive oil or sauce.
Video
Notes
Nutrition
We have thoroughly tested this recipe for accuracy. However, individual results may vary. See our full recipe disclosure here.


Hi there. Could you tell me what All Purpose Flour is please?
It’s simply basic flour that you use for baking. Chances are that if you have a bag of white flour it will be all-purpose. 🙂
Hi Kristin, do you also sell your sugar free Paleo in paperback version?
No unfortunately, I don’t. It’s only available as a digital download.
Hi just wondering if I can make the dough ahead of time and leave in the fridge or is it best to do it all straight away, thanks
You can make it ahead and leave it in your fridge tightly wrapped in plastic wrap. 🙂
Planning on making this for the family. How many squares of ravioli does it make?
It really depends on how big you make your ravioli. This recipe is up for updating soon so will give more accurate ravioli sizes and amounts soon. 🙂
This recipe was great. My son-in-law had a great idea to use olive oil instead of flour for rolling out the dough, it was a fantastic idea and took no time at all to get the dough nice and thin. Thought this might help someone else.
i made this last night with a few changes just to make it to our liking. it’s so much better than store bought pasta and cheaper. i will most definitely be making this again in the future i’ve written it down so i can for sure find it again
Very easy indeed and very accurate. Gives you time t confidently think about and make the filling and sauce! Making it even easier, I formed the dough into four rectangles putting the filling at the correct spaces towards one side. I then wet around the fillings and folded the other side of the rectangle over to form the upper sheet. Much quicker, but rectangular raviolis.
Hi! These look so awesome, I just have 1 question. For the filling do I have to cook and or mix it in any way before putting it in the pasta?
That totally depends on what you fill them with. Some things, like butternut squash or mushrooms, will need to be cooked first. Other things, like cheese, won’t.
Hi. I am confused. I saw two different posts, one about freezing and one about not keeping them in fridge prior to cooking. So let me clarify. I can make them and freeze them and cook at a later date ,but I should not keep dough in fridge for long periods of time. Do I have that right? Thanks!
Yes, you got it right! If you put the raw dough into the fridge it will start to sweat and stick together. That’s been my experience. But you can freeze them raw and cook them from frozen. If you’re freezing them, put them onto a parchment paper-lined baking sheet in a single layer. Once they’re frozen you can put them all together in a freezer bag. 🙂
Won’t the insides of the pasta become all soggy? Lol real question. Thanks.
As long as you don’t over cook the pasta then it won’t be soggy. Just 2-3 minutes is all fresh pasta needs to cook!
Hi Kristen
Quick question hoping for quick reply. Can’t stuff ravioli tonight gettin dizzy. If and where can I park the dough to stuff tomorrow dough is kneaded and testing.. ty
If you need to, wrap the dough in plastic wrap and put it into your fridge. Let it come to room temperature tomorrow before you start working with it. 🙂
They are to be frozen raw, correct?
Then Cook them in the boiling water from frozen?
That’s right! Frozen raw and cooked from frozen. 🙂
Hi, I’m trying this recipe for the first time My dough is dry not like you would think dough would be. Any suggestions
I suggest adding a tiny bit of water (½ teaspoon to start with) and only adding more if it is still dry.
Is there any clear answer yet on how much filling is needed for the ravioli? Excited to make this recipe!
Can you make the dough a head of time and leave it covered in the refrigerator for 4hours till it’s needed for dinner?
No I don’t recommend doing that. The ravioli will sweat and become sticky if you leave it in the fridge. It’s best to leave it uncovered on your counter.
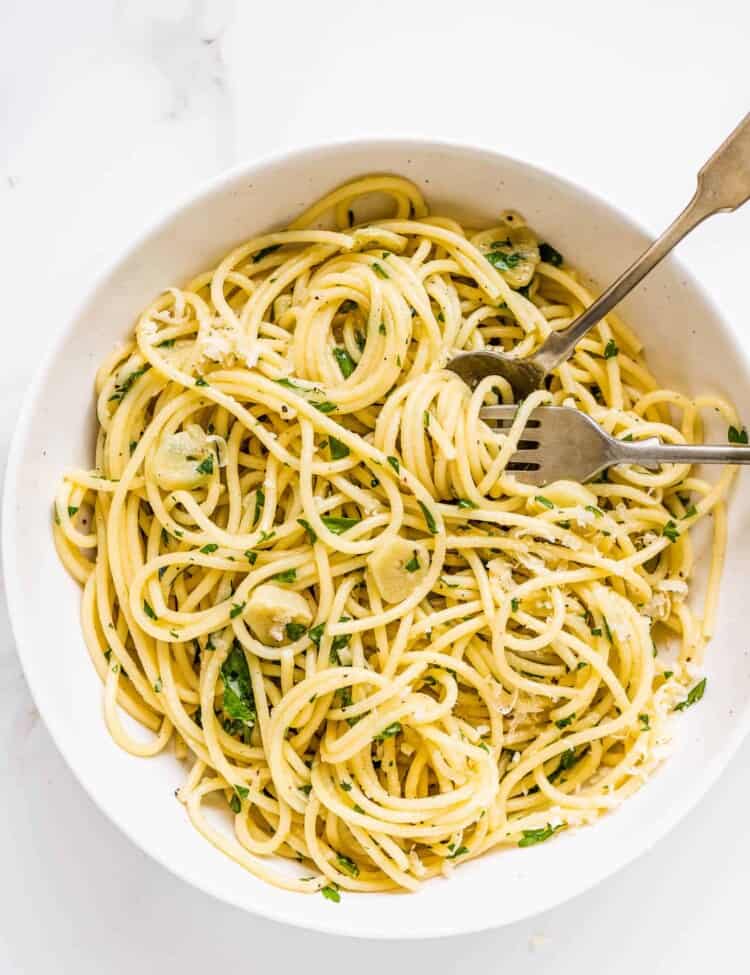
Thank you for the recipe. I was wondering if I could use the dough to make regular pasta as well?
Yes! I’ve used this recipe many times to make spaghetti, linguini, etc. 🙂