Vanilla Cashew Butter Cups
This post may contain affiliate links. Please read our disclosure policy.
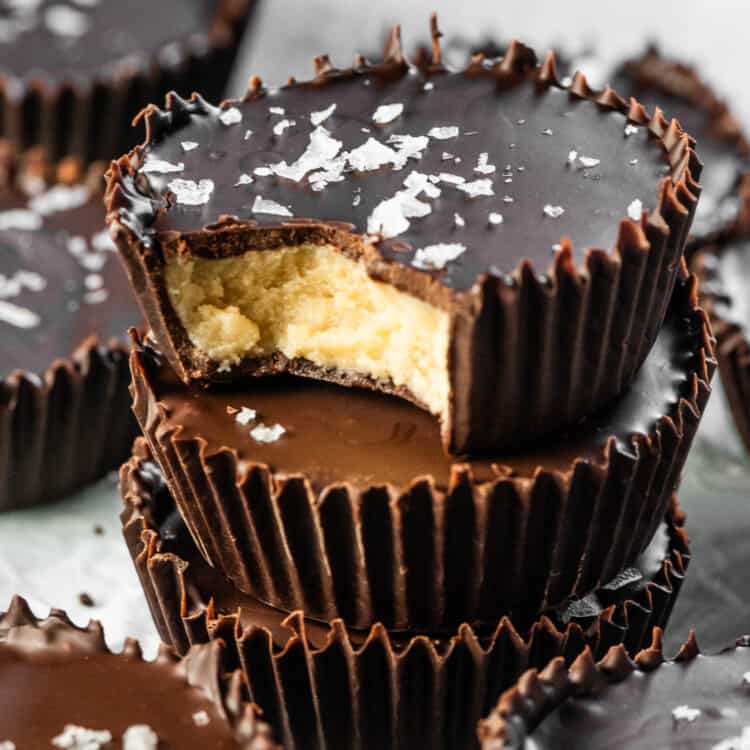
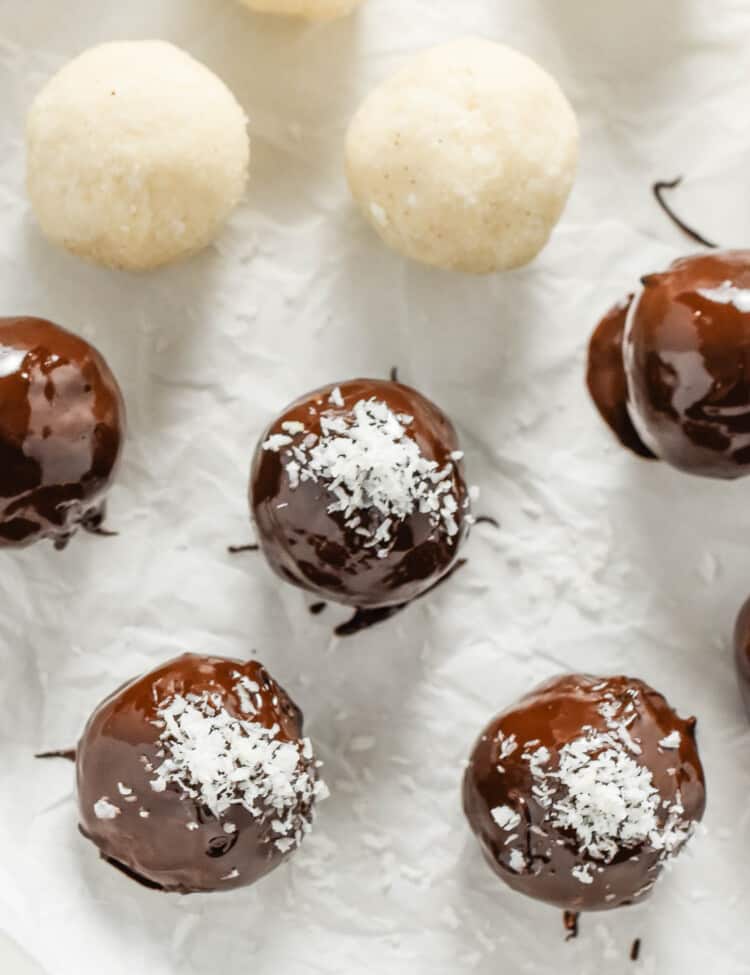
These cashew butter cups are a spin-off of peanut butter cups! They are just as decadent as the original but made from only FIVE simple, good-for-you ingredients. Creamy cashew butter is enveloped in rich dark chocolate, delicately sweetened with honey and vanilla, and finished with a hint of salt. It’s a little cup of heaven!
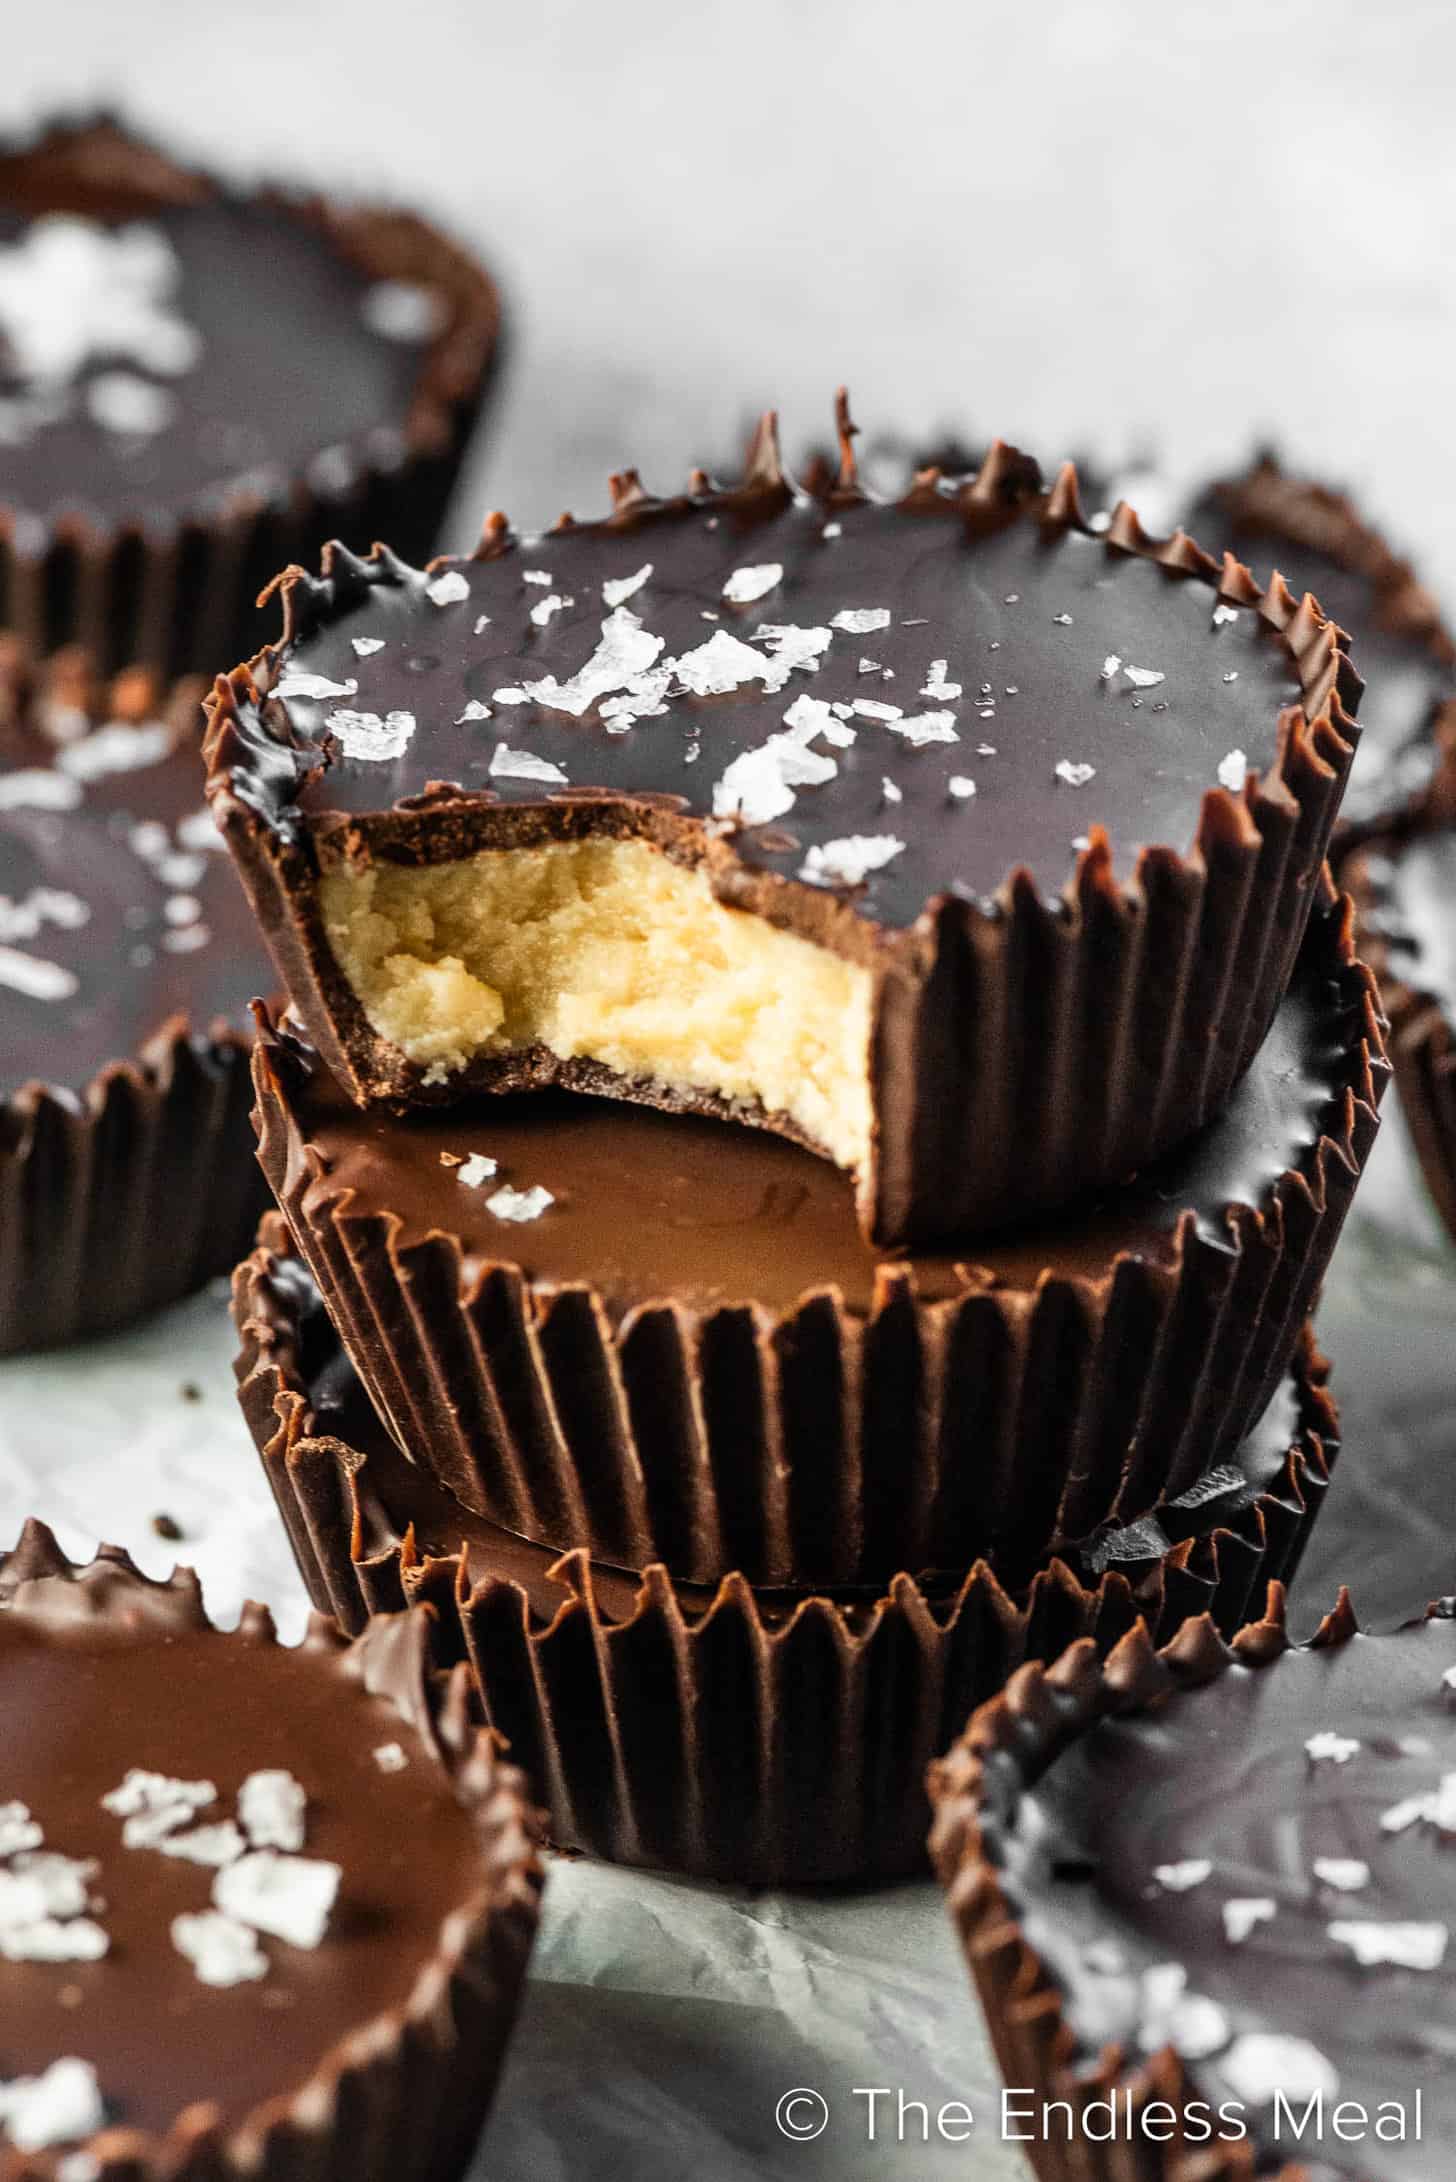
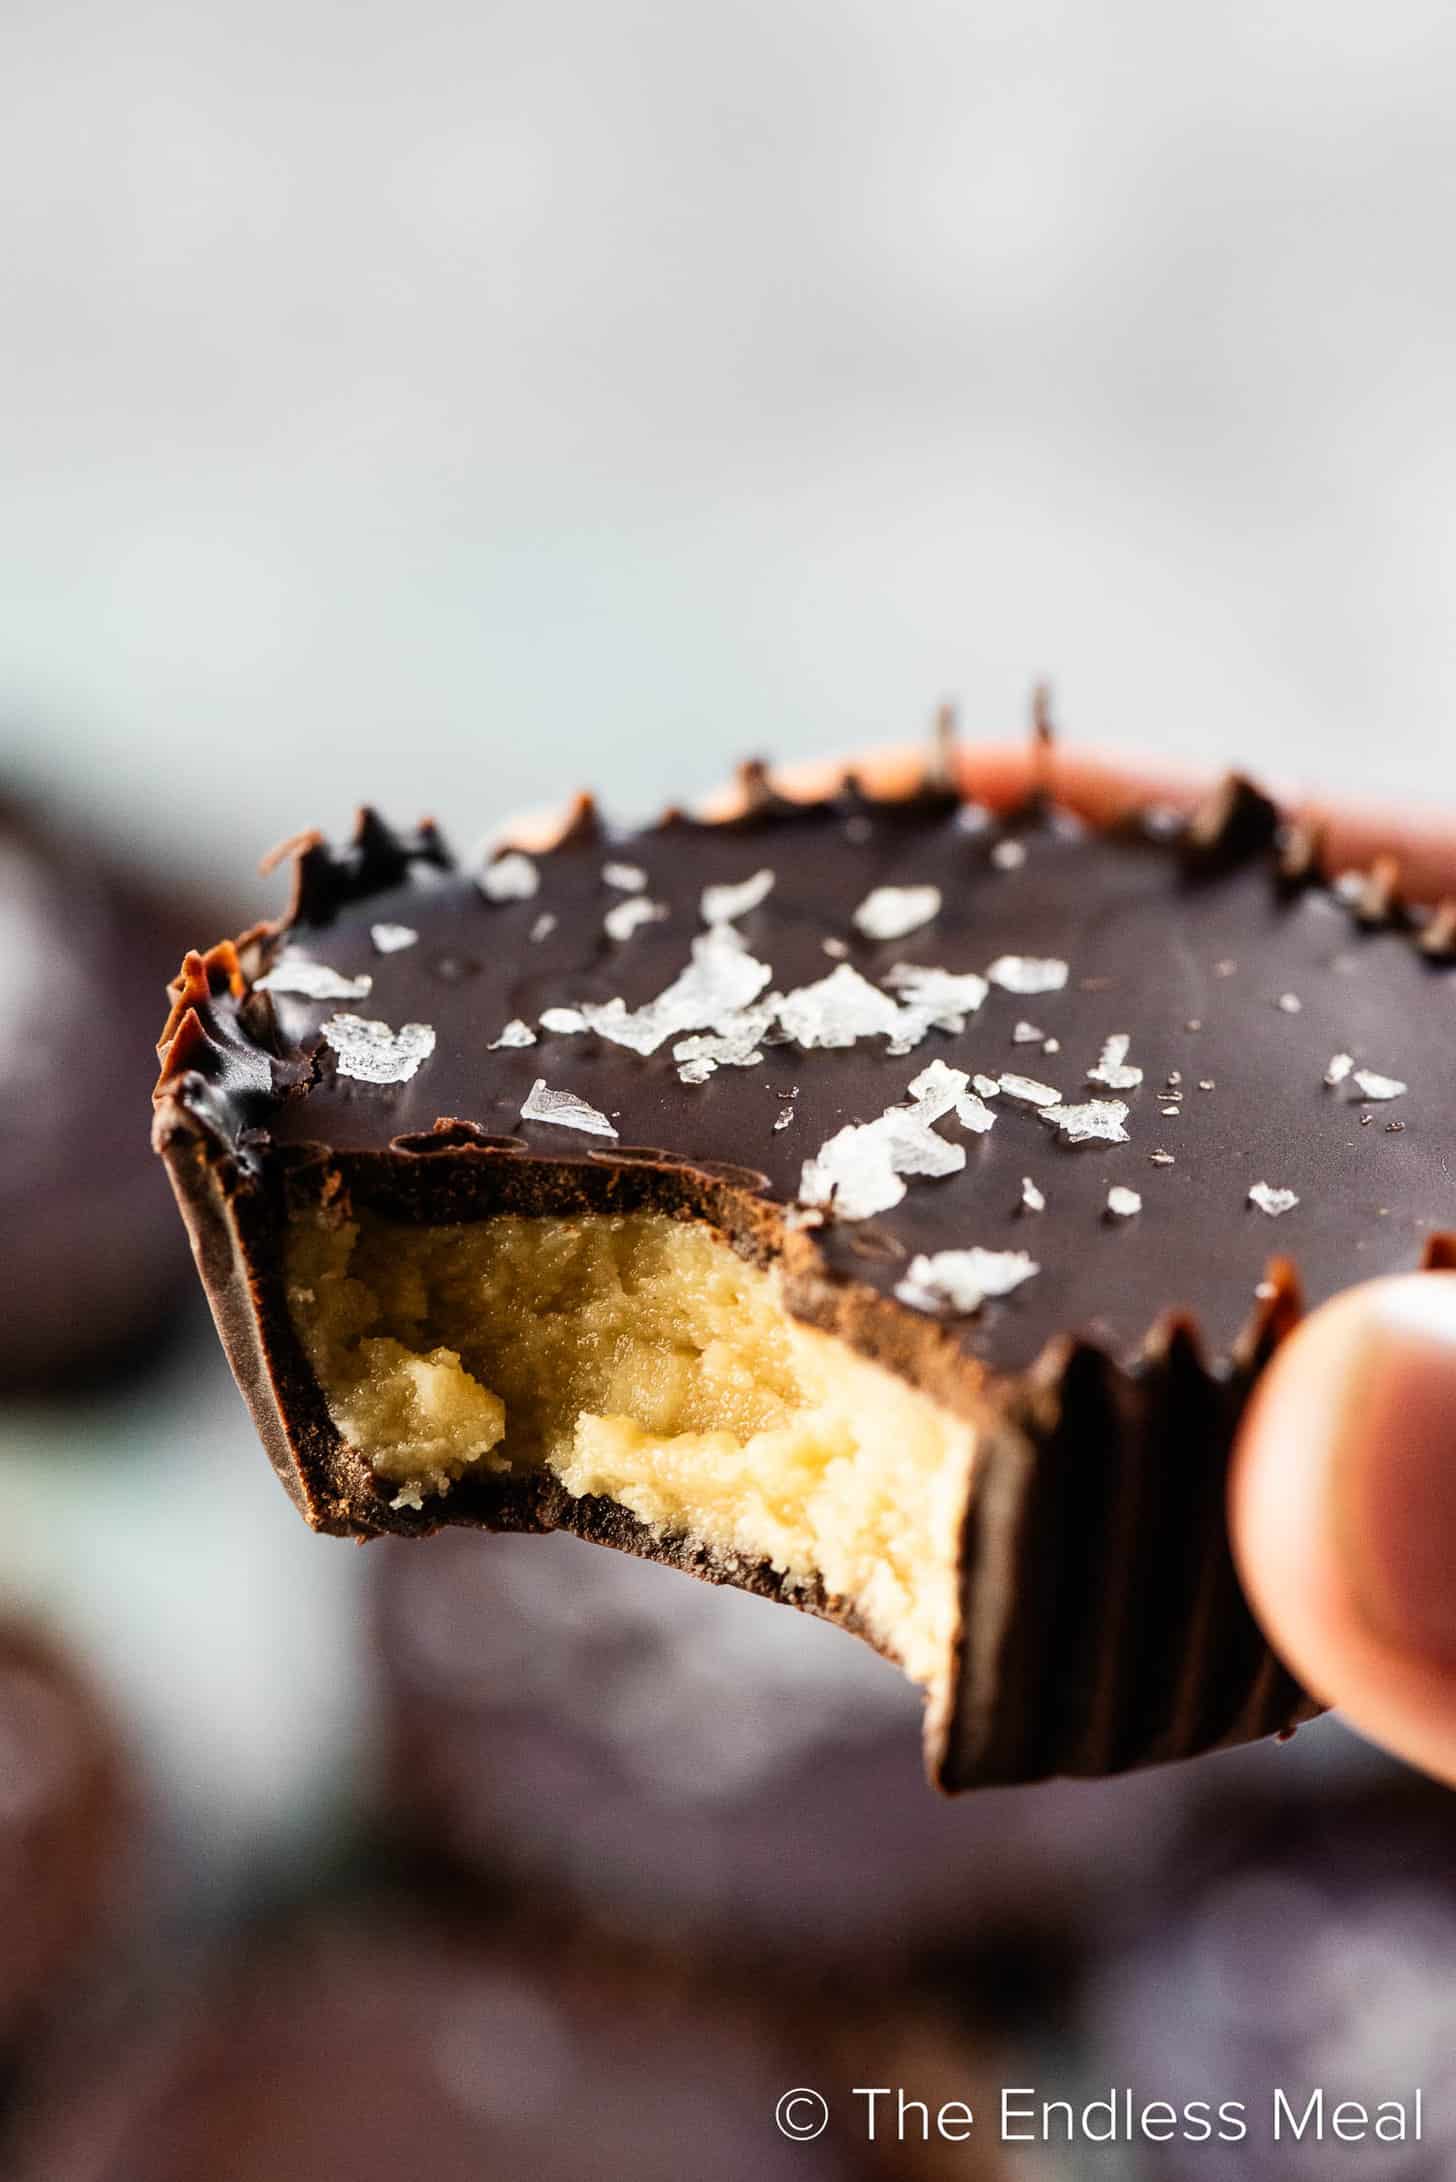
Few things compare to biting into one of these cashew butter cups. You break through the glossy chocolate top, sink straight into the soft, creamy nut butter, then hit that rich chocolate layer at the bottom. The contrast of textures is so satisfying, and the flaky sea salt cuts the sweetness in the best possible way.
I keep a stash of these on hand for all the little moments that call for a treat. They’re perfect with a cup of coffee, as an afternoon pick-me-up, a reward for finishing something on my to-do list, or an easy dessert. Or honestly — just because.
Ingredients notes
These cashew butter cups are made with everyday ingredients. This is what you need:
- Honey: You can also use maple syrup in a pinch or to make them vegan cashew butter cups.
- Other ingredients: Dark chocolate or chocolate chips, cashew butter, vanilla, a pinch of salt, and flaky sea salt for the tops.
Essential tip: Melting chocolate
The key to perfecting your nut butter cups is nailing the chocolate melt. Tempering chocolate is a fancy way of saying melting chocolate! It’s worth spending time on the tempering process, as overheating it will make it too thick and difficult to spread or pour. Getting it just right will lead to silky, glossy, pourable chocolate! Some recipes suggest adding coconut oil when melting, which makes it easier to pour but prevents it from fully hardening at room temperature. So, how do you properly temper chocolate?
How to temper chocolate
Tempering chocolate (without a thermometer) is straightforward with a few tips! Here are some tricks to keep in mind:
- Quality: This one is simple – good quality chocolate will melt better. Start with the highest-quality chocolate within your budget. Brands like Callebaut, Valrhona, and Jacques Torres boast high cocoa butter content. Sure, they’re a splurge, but the results speak for themselves. Cheaper options (we’re talking about you, Kirkland Signature chocolate chips!) can be inconsistent.
- Melting: Melt the chocolate over low heat. If you have one, you can use a microwave. Technically, you should remove the chocolate from the heat once it reaches 115°F. To keep things simple, remove the chocolate from the heat when most of it has melted.
- Additional chocolate: Add a little extra chocolate to the pan and stir it in while the residual heat melts it. That’s it! It will be silky enough to pour into your nut butter cups, and it’ll harden up sufficiently that you can keep them on the counter!
What to do if your chocolate doesn’t temper well
Don’t worry, if your chocolate isn’t the pourable beauty you wanted it to be, it can be fixed. You have two options here:
- Use it as is and call it rustic. You won’t get the smooth tops on your cashew butter cups as shown in the photos here. But honestly, who cares? It will taste EXACTLY the same.
- Add some coconut oil. A spoonful of coconut oil will loosen your thick chocolate so you can pour it into the cups for maximum prettiness. Please note that if you add coconut oil to the recipe, you will need to keep it in the fridge.
Variations to try
Craving a little twist of flavor? These cashew butter cups are super easy to customize! Here are some of our top picks:.
- Add chopped nuts on top: Add a pinch of chopped nuts such as almonds, pecans, or pistachios on top of the chocolate coating for an extra crunch.
- Minty fresh: Incorporate a few drops of peppermint extract into the tempered chocolate for a refreshing mint-chocolate twist.
- Spices: Add a dash of ground cinnamon, nutmeg, or cardamom to the cashew butter for warmth and depth of flavor. For a spicy kick, include a pinch of chili powder or cayenne pepper.
Vanilla Cashew Butter Cups Recipe
Ingredients
- 7 ounces chopped dark chocolate or chocolate chips (see notes)
- 1 cup cashew butter (see notes)
- 2 tablespoons honey (or maple syrup for vegan)
- 1 tablespoon vanilla
- A pinch of sea salt
- Flaky sea salt (for the tops)
Instructions
- Line a 12-cup muffin tin or a 24-cup mini muffin tin with liners.
- Place ⅔ of the chocolate in a pan over low heat. Once it is glossy and looks mostly melted remove it from the heat and add the remaining chocolate. Stir a few times while the residual heat melts the chocolate you just added.7 ounces chopped dark chocolate or chocolate chips
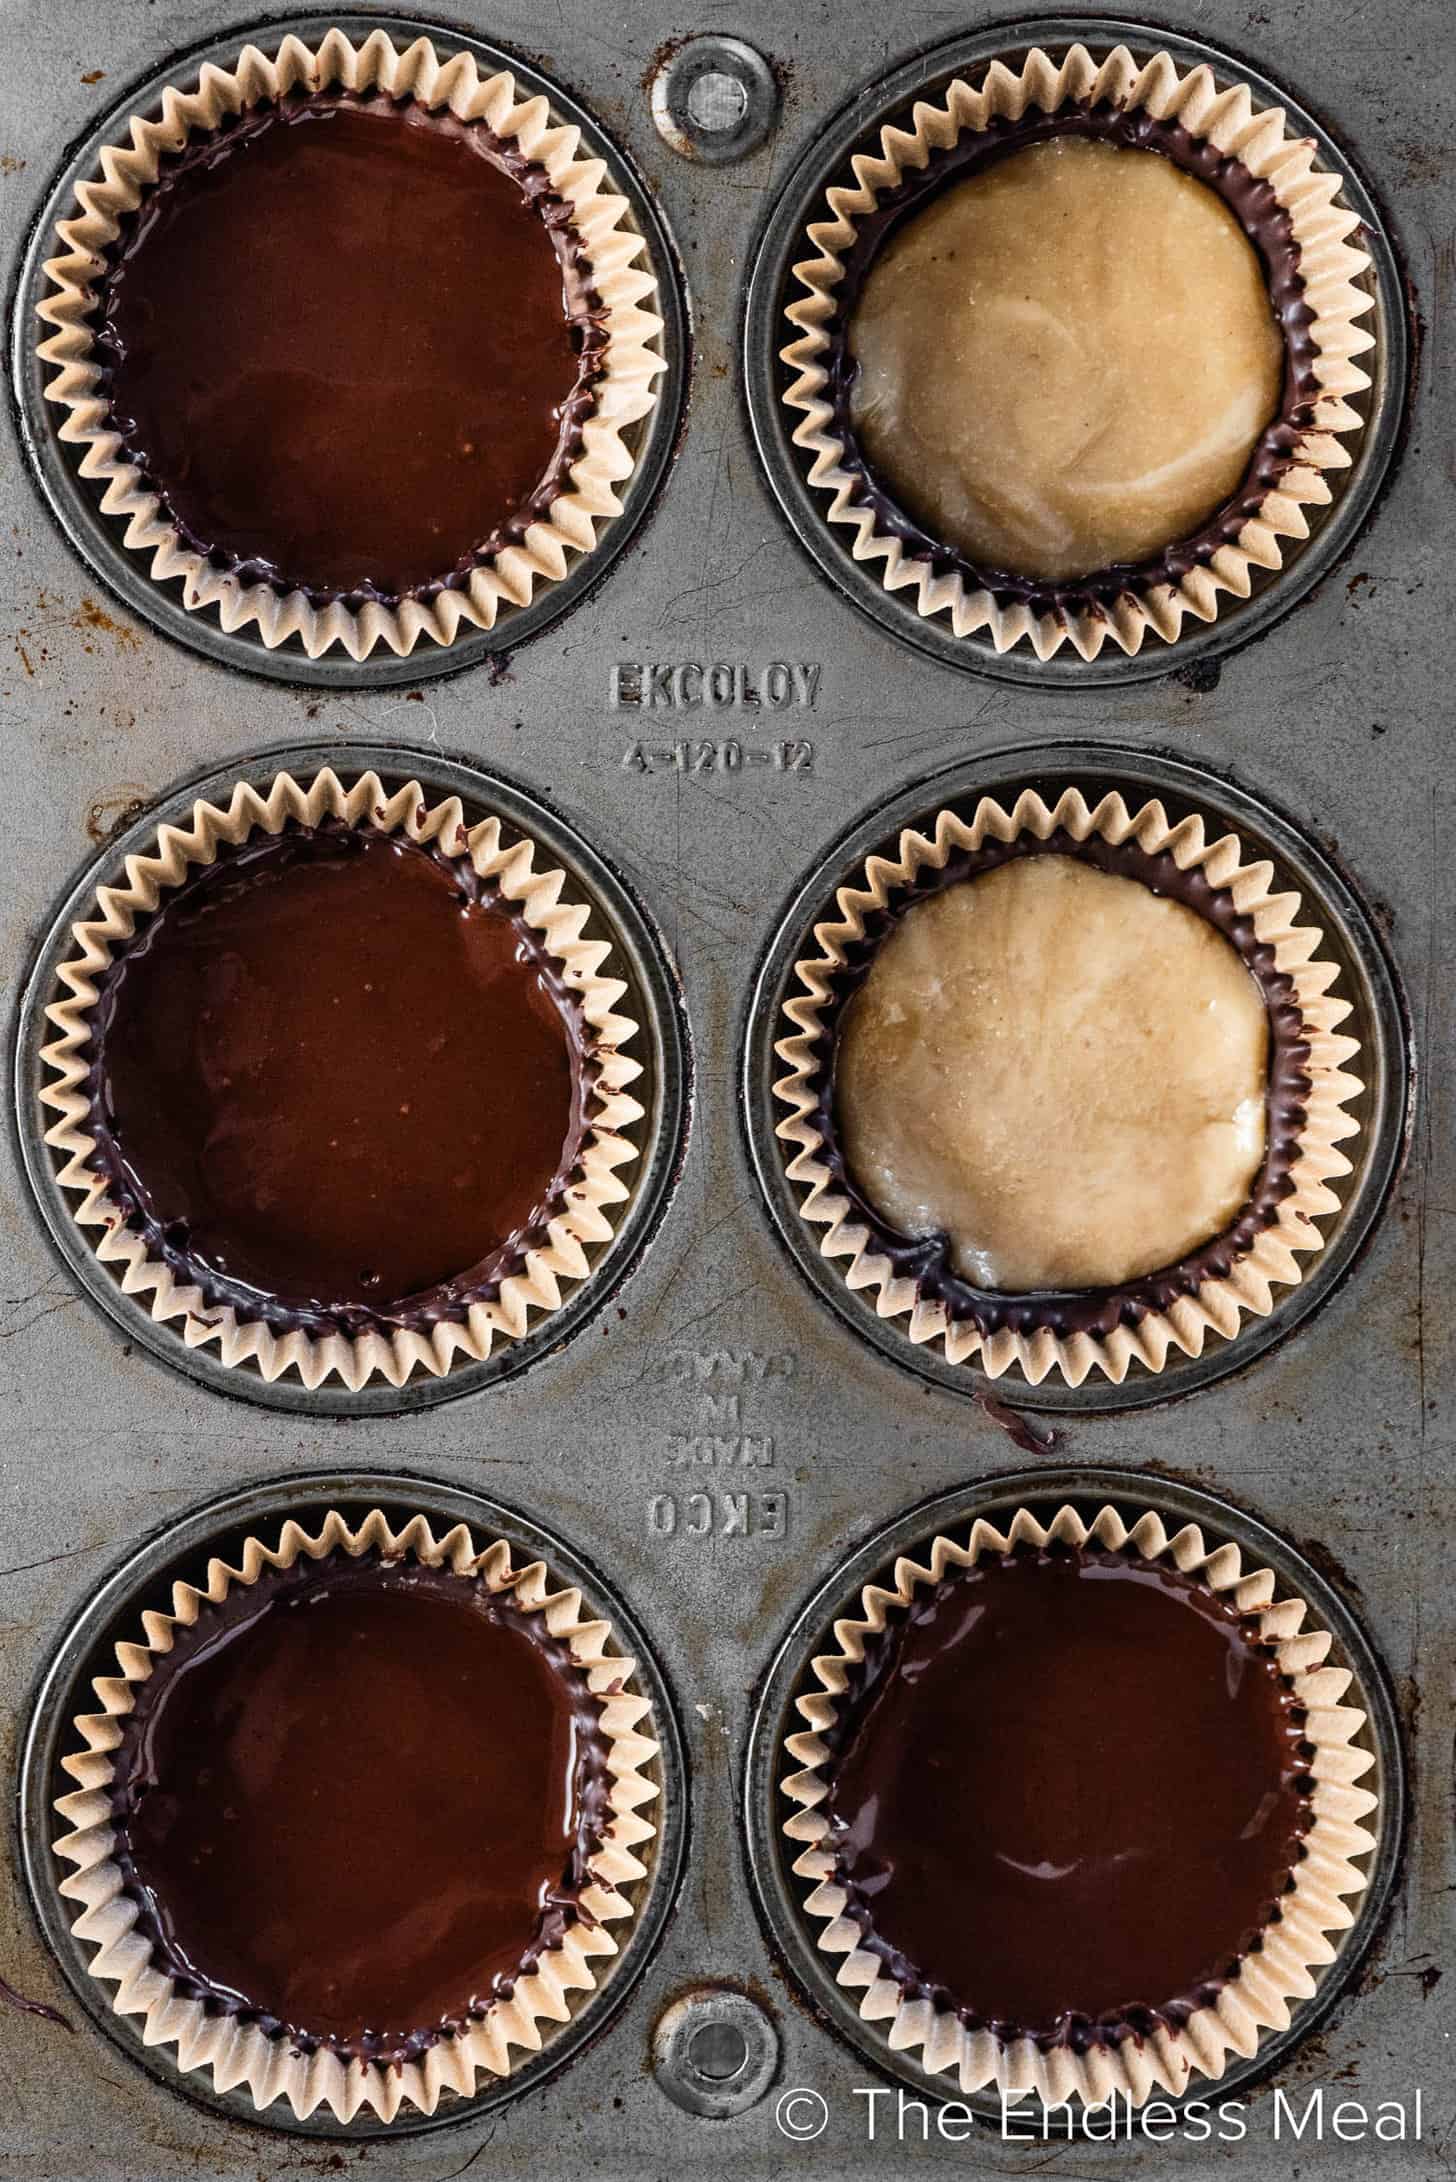
- Working one at a time, add slightly less than a tablespoon of the melted chocolate to one of the cupcake liners. Tip it on its side and rotate it so that the chocolate comes ⅓ of the way up the side of the liner. Repeat until all the liners have a chocolate coating then place them in your fridge to harden.
- Add the cashew butter, honey, vanilla, and salt to a medium-sized bowl and gently fold them together. Once the chocolate cups have hardened, divide the cashew butter between the cups. Use your finger to press it down into the cups.1 cup cashew butter, 2 tablespoons honey, 1 tablespoon vanilla, A pinch of sea salt
- Pour the remaining chocolate over the tops of the cashew butter cups then pop them back into your fridge to harden.
- Make sure to sprinkle a little flaky sea salt on top to make them totally irresistible!Flaky sea salt
Notes
Nutrition
We have thoroughly tested this recipe for accuracy. However, individual results may vary. See our full recipe disclosure here.
More chocolate dessert recipes
For more inspiration, check out all of our dessert recipes!


The taste and look is definitely a 5 star! My 4 is because I found a much simpler way to make these in regards to the chocolate process, though the look is slightly different. I simply pressed the cashew nut mixture into the little patty tins and chilled for 10 then poured the melted chocolate on the top. Looks stunning with a hat of dark chocolate when popped out!
I’ve been threatening to make chocolate with some of the cocoa butter I just bought instead of the coconut oil I see in recipes all over the net. You may have just pushed me over the edge. My husband adores Reese’s. Only if I makes chocolate I’ll end up with 37,000 chocolate candy desserts in my kitchen well, maybe I’ll hold some back for plain chocolate bars. Nothing wrong with chocolate 3 times daily for the rest of eternity is there?
Haha nope nothing wrong with that!
These look great. I’m allergic to chocolate and use carob in most recipes instead. Do you think that carob would work in this recipe? Thanks!
I’ve honestly never even tried carob so I really can’t say.
I bought almond butter instead and I’m not too pleased with the taste. It taste too creamy and I think I used too much butter.
First of all, these were delicious. I ate the last of them today and was sad when they were gone.
Secondly, I think there might be a typo in the recipe; it says, for the first layer, to use just under 1 tablespoon of melted chocolate per (full-sized?) cup; I used just under half a teaspoon per mini cup and still used up all 7 ounces of chocolate on the bottom layer alone. It made 22 mini cups. I melted more chocolate for the top layer, so there’s a happy ending. =)
So, to those smart people who read the comments before trying an internet recipe: buy extra chocolate. If you don’t need it, you’ll still have extra chocolate, and that’s always a win.
I’m so happy you liked them! I’ve made them a few times as the recipe is written but think I should make them again to test the chocolate ratio. It’ll be a good excuse to eat more of my fav dessert!
Hi, just wondering if you know how long these keep at room temperature before going rancid?
The only ingredient you’d need to worry about in here would be the cashew butter and that would take a few months before it goes off. I’ve been keeping some of these in the fridge from snacks and they store really well that way. 🙂
I love your recipe.the taste of vanilla and cashew nuts just awesome.
Thank you so much!
Hi
Love your recipes! To make peanut butter cups would I just use peanut butter instead of cashew?
Cheers
Charlene in Victoria
Yep! Peanut butter would work just as well!