How to Remove Skin From Salmon – 3 Ways!
This post may contain affiliate links. Please read our disclosure policy.
If you’ve never removed the skin from salmon before, it might seem a bit intimidating. But lucky for you, my whole family LOVES salmon, so I’ve had plenty of practice perfecting the method! I have three easy and effective ways to remove the skin – which one will you try first?

While you can ask the fishmonger at the store to remove the salmon skin for you, they may not offer that service. And if you bought it at the grocery store, there’s often no one to ask for help. But don’t worry, I’ve got you covered. I will teach you how to easily remove salmon skin in three different ways. Spoiler alert: I like method #1 the best!
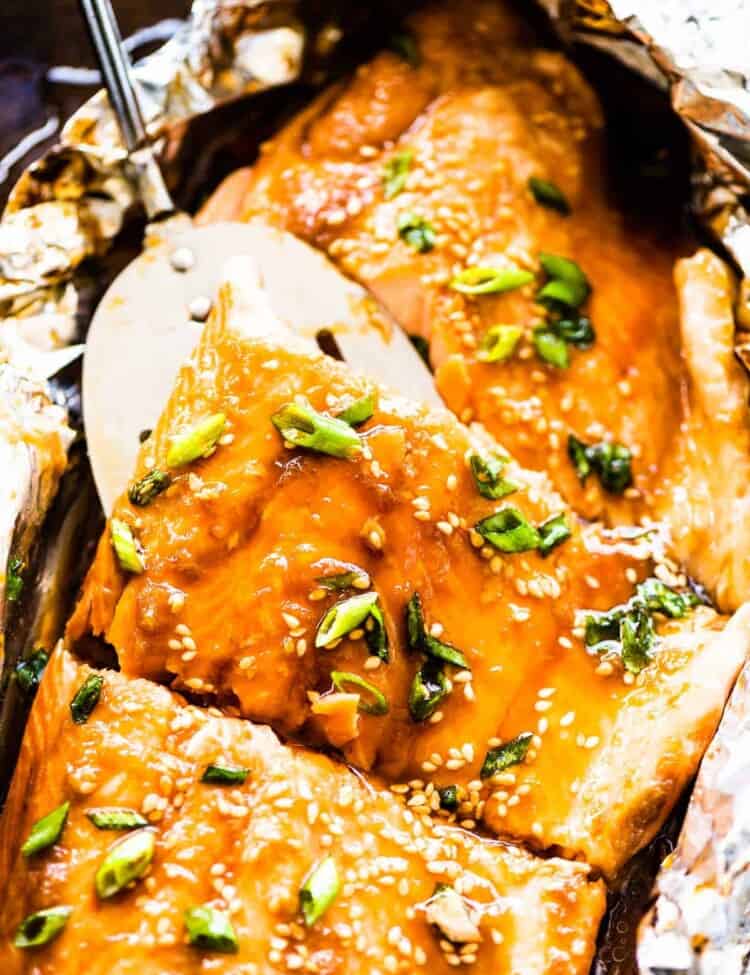
Some salmon recipes are just better without the skin. If you’re slow-cooking, poaching, or steaming the salmon, the skin can end up with an unappetizing, gummy texture. Or, if you’re using the salmon to make salmon burger patties or salmon bites, it can leave an unwanted texture among the tender, flaky salmon.
Time-saver tip: No matter which method you choose, it’s easiest to skin the salmon as one larger piece and then cut it into smaller pieces afterward. Hold off on slicing your salmon until after you’ve removed the skin to avoid having to do it several times.

#1. Learn how to remove skin from salmon using a knife
This method is my favorite one – once you do it a few times, it becomes second nature. Here is a step-by-step guide:
- Prepare your space: Make sure you have a stable cutting board. If your cutting board tends to slide, place a damp tea towel underneath to keep it steady.
- Pat it down: Salmon can be slippery, so pat it down with paper towels to make it easier to handle. Use a dabbing motion to blot away excess moisture.
- Check for pin bones: Run your fingers along the flesh to feel for any pin bones. Once you’ve located a pin bone, grab your kitchen tweezers or pliers, grip the bone, and pull it away from the flesh. Apply pressure to the salmon with your fingers on either side of the pin bone to protect the meat.
- Time to cut: Position the salmon so the narrow end is closest to you. Decide where you want to cut – leave enough space on the narrow end to create a tab of skin to hold onto. Angle your knife straight down and prepare to make a gentle, small incision that goes through the flesh but does not slice the skin.
- Angle the knife: Now, position your knife at a 45-degree angle so the blade’s sharp side faces the bulk of the fillet.
- Remove the skin: Now it’s time to remove the skin from the salmon fillet. Hold on to that skin tab and pull it taut while slowly sawing the knife back and forth. Pull the skin to one side as you move the knife. If it’s too slippery, stop, and use a paper towel for a good grip.
- Finish: Continue slicing until you’ve deskinned your first salmon fillet. With a bit of practice, you’ll be deskinning salmon like a pro in no time.

#2. A new trick: the boiling water method
TikToker Rosie Reisman made this method famous with her viral TikTok video. I personally prefer using a knife because there are no extra dishes to wash and no water to boil. However, if you don’t have a sharp knife or feel a bit intimidated by the knife method, you can certainly try this instead.
- Get your equipment: For this method to deskin salmon, you’ll need a baking sheet or dish, a wire rack, and a pot of boiling water.
- Prepare your space: As pictured, place the rack on top of the baking pan, then place your salmon fillet, skin-side up, on the rack.
- Pour over the salmon: Simply pour the hot water over the entire surface of the salmon. You may notice the salmon swell in reaction to the heat, but don’t worry—it won’t cook!
- Peel off the skin: Once the salmon is cool enough to handle, start at one end to slowly peel the skin away. If it’s stuck in some areas, you can use a knife to help loosen it.
- Pat it down: Once the skin is off, dab it with a paper towel to help remove any excess water.

#3. Deskin salmon after cooking
This is how to remove skin from salmon after cooking. When baking salmon, place it skin side down on the baking sheet. Once it’s finished cooking, bring it out and use a fish spatula to separate the meat from the skin. Transfer the meat to a plate, and the skin will stay on the baking sheet. Easy!
What if I cut through the skin by accident?
If you accidentally cut through the salmon skin while trying to remove it, don’t even worry! Here is how to handle it:
- Have a look: Stop and take a moment to identify where the cut is, and where the skin is still intact. You’re going to go again, just starting from a centimeter or so away from the original cut, so assess where you’d like to cut from next.
- Reposition: Move the fillet around, or move yourself around, as needed to get yourself in the best position to go again!
- Round two: Start from a new spot where the skin is still intact, making another small cut. Follow the same method, angling your knife and gently sawing it back and forth while pulling the skin taut. You’ve got this!
- Try from the other side: If you accidentally cut through the skin in the center of the salmon, it may be easier to start cutting the skin off from the other side.
How to Remove Skin From Salmon
Ingredients
- 1 side salmon (see notes)
Instructions
Use your knife to remove salmon skin before cooking
- Dry the salmon using paper towels and then place it on a cutting board, skin-side down, with the narrow end facing you. Note: if your cutting board tends to slip around easily, place a damp tea towel underneath it to make it slip-resistant.

- Check for pin bones by feeling down the ridge of the salmon. If you feel one, use use kitchen tweezers to pull it out. Place your fingers around the pin bone to protect the meat and then pull out the bone in the same direction it's laying in.
- Now it's time to remove the salmon skin! Using a very sharp knife, make a cut straight down through the flesh at the narrow end of the salmon, stopping at the skin.
- Grab that little piece you've just cut and turn your knife so that it is at a 45-degree angle to the cutting board, facing away from you. Pull that little piece towards you while slowly moving your knife back and forth while pushing the knife away from you.
- As the skin comes away, pull it to one side and make sure to keep it taut. Adjust your grip on the skin so that you are holding it close to the knife to make it easier. If it is too slippery, use a piece of paper towel to grip the salmon skin. That's it! You've just skinned your salmon fillet!


The boiling water method
- Set a wire rack over a baking dish and put the salmon on top, skin side up.
- Pour boiling water over the salmon skin until it starts to shrivel up.
- Now all that you have to do is peel off the skin!


Deskin salmon after cooking
- After baking salmon skin side down, slid a fish spatula between the meat and the skin. Transfer the meat to a plate and the skin will stay on the baking sheet.

Video
Notes
We have thoroughly tested this recipe for accuracy. However, individual results may vary. See our full recipe disclosure here.
Recipes using skinless salmon
For more inspiration, check out all of our fish recipes!