Coconut Milk Ice Cream (SUPER creamy thanks to a simple trick)
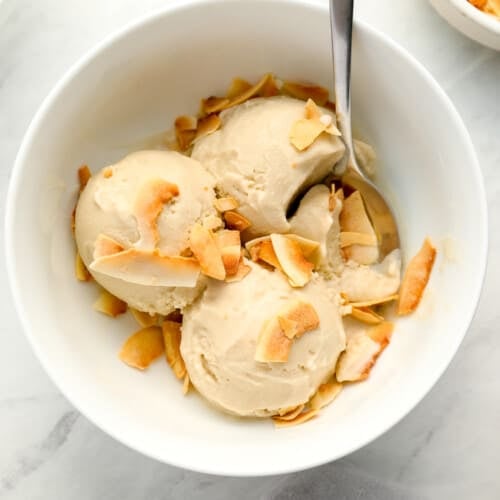
Recipe video above. Coconut milk ice cream is the ultimate dairy-free ice cream, made with only three ingredients! It's rich and creamy with just the right amount of sweetness and coconut flavor. Enjoy it in a cone or scooped on top of your favorite dessert for a refreshing treat that tastes great all year round.
Ingredients
- 3 15-ounce cans of additive-free coconut milk, see notes
- 1 cup coconut sugar
- 2 tablespoons pure vanilla extract
- Toasted shredded coconut, to serve
Instructions
- Combine the coconut milk, coconut sugar, and vanilla in a medium-sized pot and heat over medium-low heat until the sugar has completely dissolved and the coconut milk is steaming. (Do not bring it to a boil.)3 15-ounce cans of additive-free coconut milk, 1 cup coconut sugar, 2 tablespoons pure vanilla extract

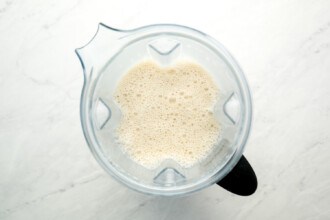
- Carefully pour the warm cream into your blender. Start your blender on low speed then slowly increase the speed to high. Hold your hand over the lid to make sure that the steam from the cream doesn't pop the lid off. Blend on high for one minute and then refrigerate until it's completely cold, at least 4 hours.
- Once it is completely cold, process it according to your ice cream maker's directions. (See the blog post for making this without an ice cream maker.)

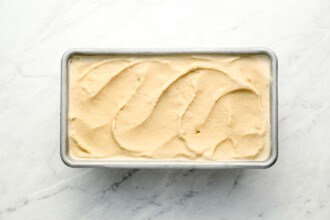
- Either serve immediately as soft serve ice cream or scoop the ice cream into a freezer-proof container - a loaf pan works well. Freeze until the ice cream is firm - about 2 hours.
- Scoop the ice cream into bowls and serve with some toasted shredded coconut on top.Toasted shredded coconut

Notes
Coconut milk: Use the highest fat coconut milk you can find. The higher the fat content, the creamier the ice cream. Remember that low-fat coconut milk will result in an icy texture. I use Aroy-D with good results.
How to store: I freeze the ice cream in a loaf pan and press a piece of parchment paper directly into the surface to prevent freezer burn. You can also use an ice cream container. It will keep for at least a month in your freezer when properly stored.
No ice cream maker? No problem! Here's how to do it:
- Pour the ice cream into a shallow pan and place it carefully into your freezer.
- Set a timer to check on it every 30 minutes, then scrape it with a fork to mix the ice cream. Repeat this 3-4 times until it resembles the texture of ice cream. That's it!
Serving: 1 serving = ½ cup, Calories: 259kcal, Carbohydrates: 15g, Protein: 2g, Fat: 23g, Saturated Fat: 20g, Polyunsaturated Fat: 1g, Monounsaturated Fat: 1g, Sodium: 40mg, Potassium: 237mg, Sugar: 9g, Vitamin C: 1mg, Calcium: 19mg, Iron: 4mg