Mom’s Nanaimo Bars
This post may contain affiliate links. Please read our disclosure policy.
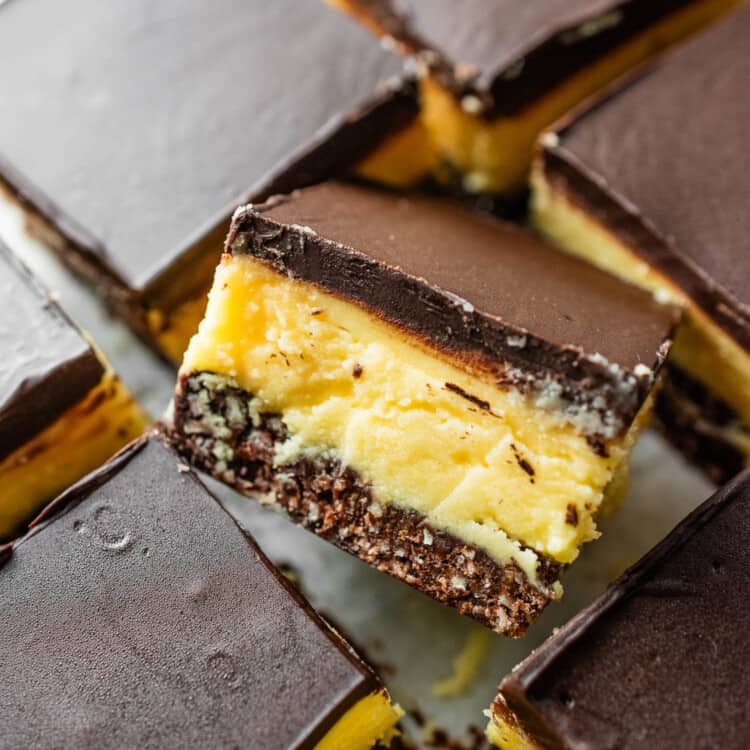
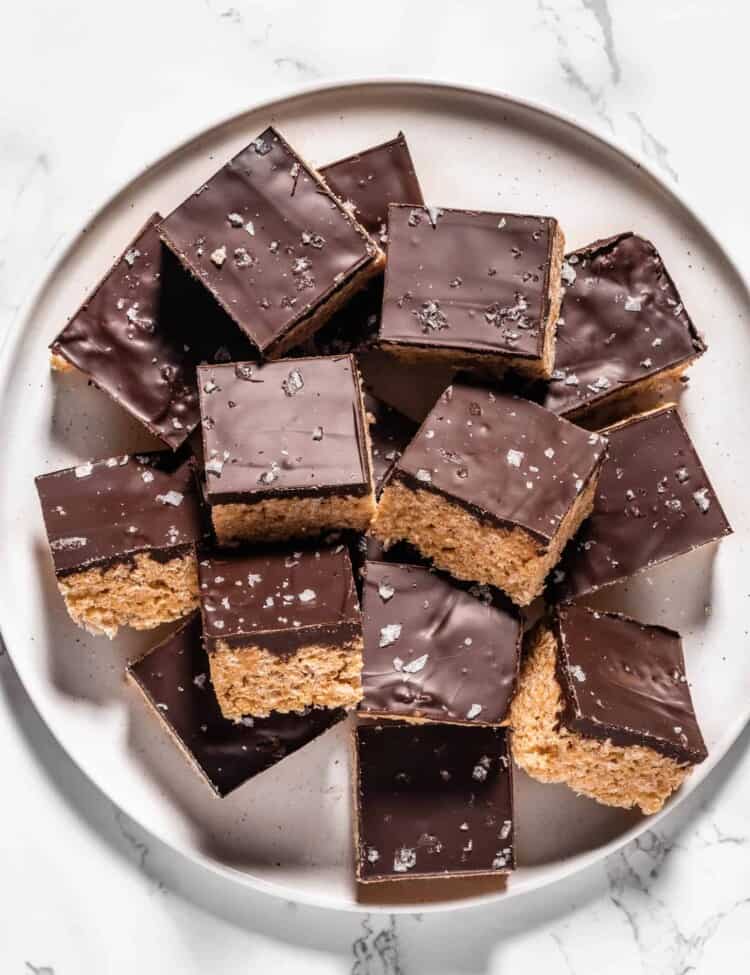
Nanaimo bars are a classic Canadian dessert. This is mom's recipe and it is a bit less sweet than most – which is a good thing! They are made with a graham crumb, coconut, and nut crust then topped with a layer of buttery custard and finished with chocolate. You'll love this no-bake dessert!
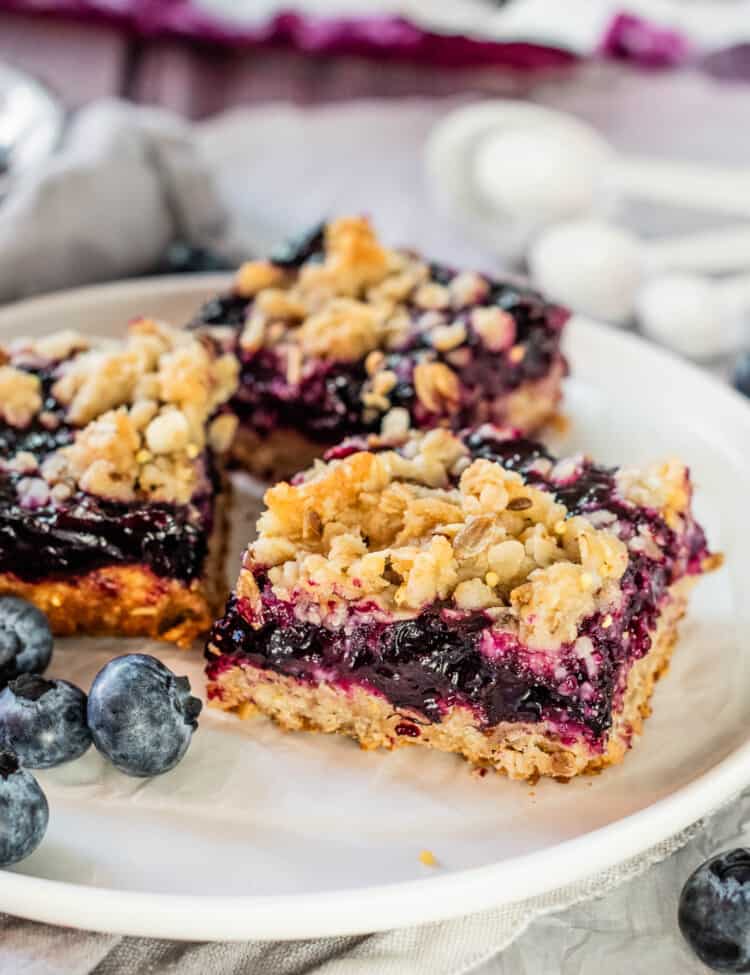
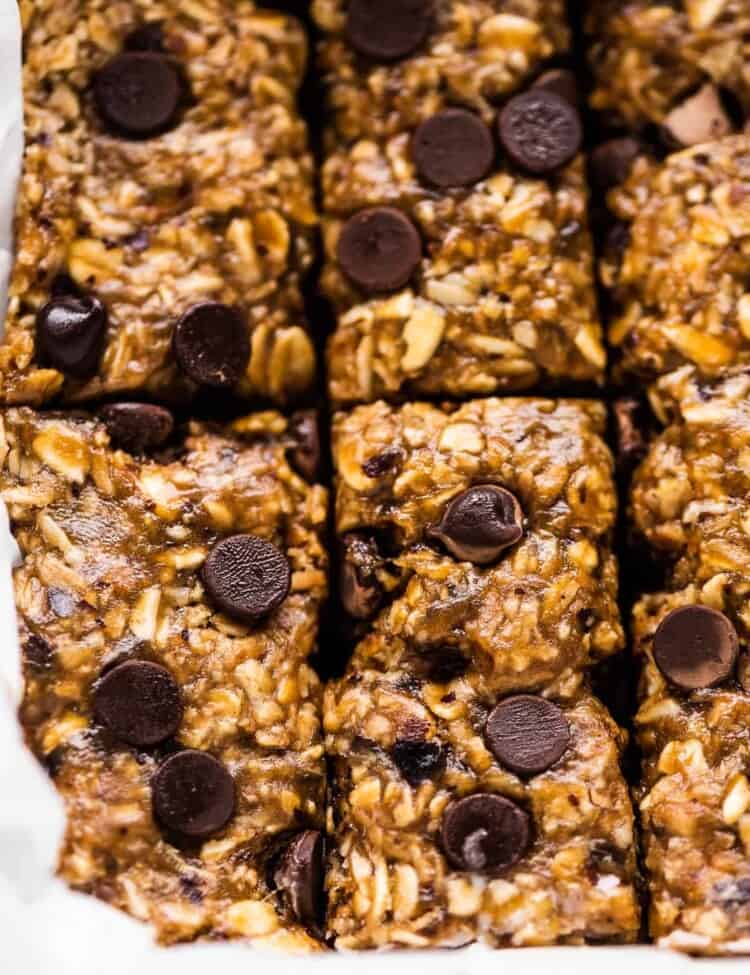
More no-bake desserts to try include these peanut butter rice krispie treats and these chocolaty granola bars!
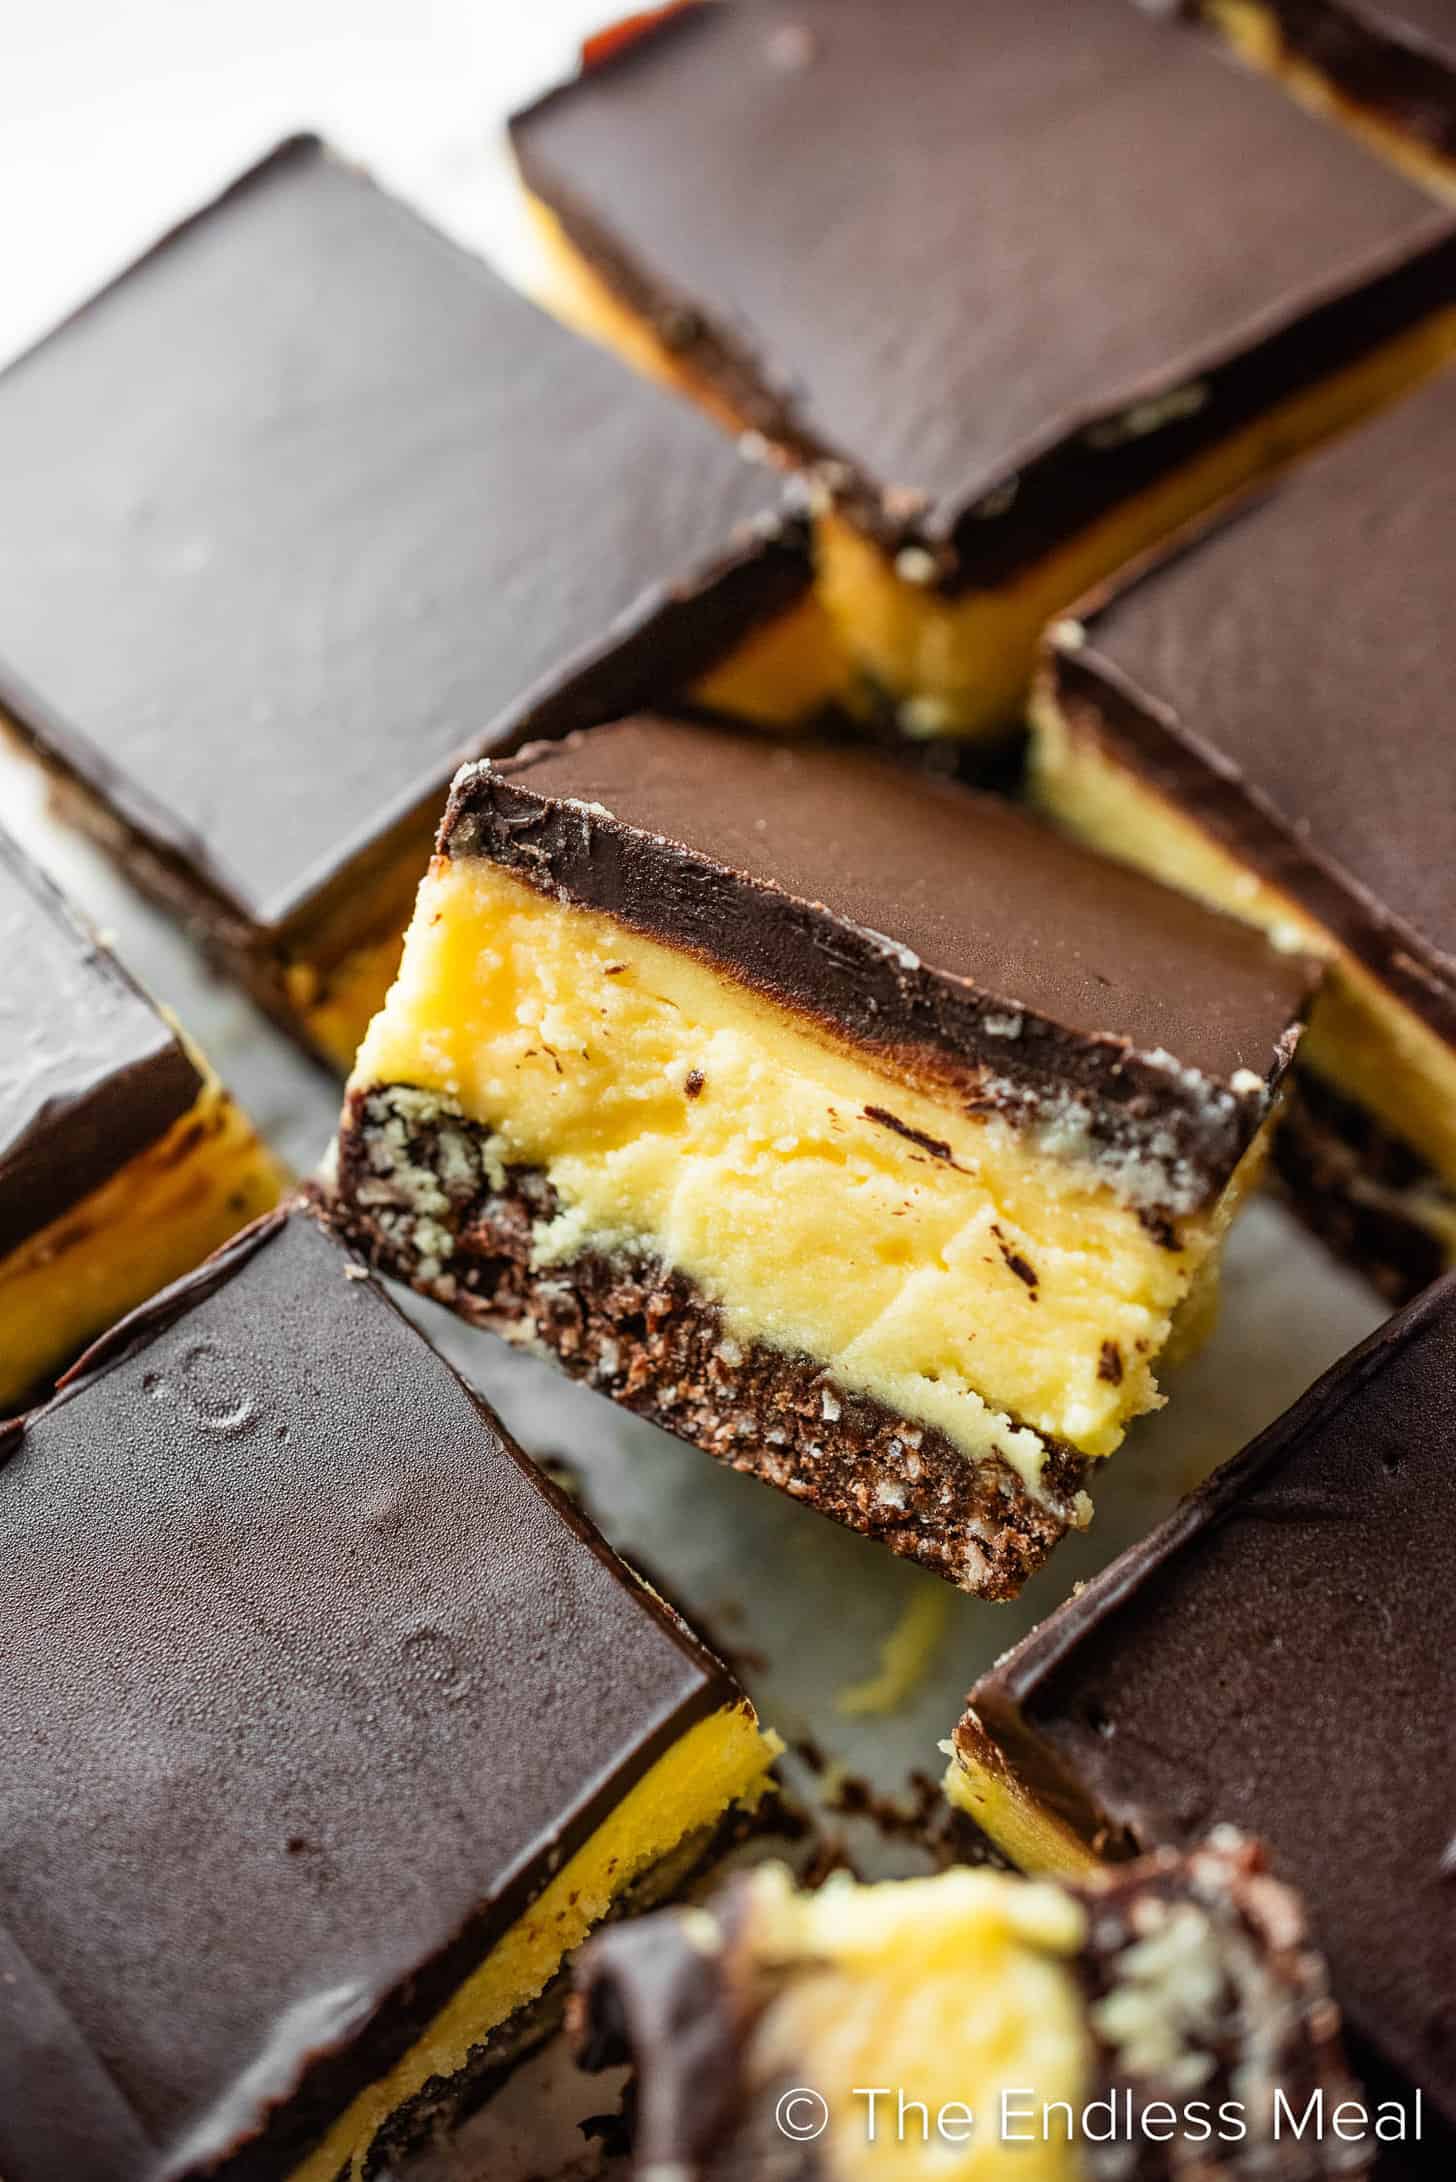
It's no surprise that Nanaimo bars hold a special place in the hearts of Canadians, like us! These delicious treats bring together a trio of irresistible layers: a crumbly crust of walnuts, chocolate, and coconut, a luxuriously velvety custard center, topped off with a glossy chocolate ganache.
Being Canadian, we know a thing or two about nanaimo bars. The biggest takeaway is that homemade nanaimo bars are MILES above the ones you find for sale around British Columbia. Once you've tried our mom's recipe, you'll never go back.
What is a nanaimo bar?
A nanaimo bar is a classic Canadian dessert! While it's spread all over Canada, it originated in the city of Nanaimo on Vancouver Island in British Columbia – just a hop away from The Endless Meal headquarters! These no-bake tasty treats are made from layering three distinct tiers: a crumby base, creamy, custard middle, and chocolate topping. The end result is like a layered bar cookie. They are loved year-round and hold a special spot as a festive season staple in Canada.
What do nanaimo bars taste like?
Some have likened the nanaimo bar to fudge, but they are a treat all on their own! The three layers of nanaimo bars balance each other out beautifully, making a delicious flavor combination with contrasting textures. The crunchy and nutty base holds the smooth, slightly sweet and buttery custard middle, topped off with a chocolate lid. These are the three layers:
- Base layer: This crumby tier is made with graham cracker crumbs, coconut, and chopped nuts, making a delicious crunchy and nutty base.
- Middle layer: The middle layer brings the creamy, sweet custard flavor that melts in your mouth.
- Top layer: Seal the deal with a glossy chocolate topping, making the tastiest lid for this crumbly, creamy treat.
Why you'll love this nanaimo bar recipe
- No bake: You don't need to turn the oven on for this breezy recipe – simply assemble the layers then chill in the fridge.
- Mom's recipe: You can taste the love that has gone into perfecting this recipe!
- Three-layer simplicity: Crafting these bars is as easy as 1-2-3. Each layer is as simple as melting and combining ingredients in a bowl.
- Make-ahead: Whip up a batch in advance and store them in the fridge for up to a week.
- Freezer-friendly: They freeze so well that you can stash them for up to three months. Simply put in the fridge the day before to let them thaw.
- Perfect for any occasion: Share the joy at your next gathering – these crowd-pleasers are perfect to bring to a potluck, bake sale, or for when your sweet tooth strikes.
Ingredients needed
Ready to try a little piece of Canada?! Gather these ingredients:
- Butter: Unsalted butter is used in all three layers for a creamy and rich taste.
- Cocoa powder: Opt for unsweetened.
- Granulated sugar: For the base layer – you can use brown sugar if you're in a pinch.
- Egg: Binds everything together in the base layer.
- Graham cracker crumbs: To achieve the best crumbly texture, don't crush them down to a powder. They should maintain texture for the classic nanaimo bar crunch.
- Fine coconut: Also referred to as desiccated coconut.
- Chopped walnuts: Adds a nutty crunch to the base.
- Powdered sugar: Only use powdered sugar in the filling, as other types of sugar will make it too gritty.
- Milk: Brings the custard together smoothly.
- Bird's vanilla custard powder: The most authentic option for nanaimo bars!
- Chocolate: The top layer is made with dark chocolate or chocolate chips mixed with butter for a glossy, decadent finish.
How to make nanaimo bars
You don't need to turn the oven on for this recipe! The egg cooks from the residual heat of the melted butter, so your tasty nanaimo bars are no-bake – while it might seem like a long recipe, they're as simple as melting and then mixing things in bowls! Here are the instructions:
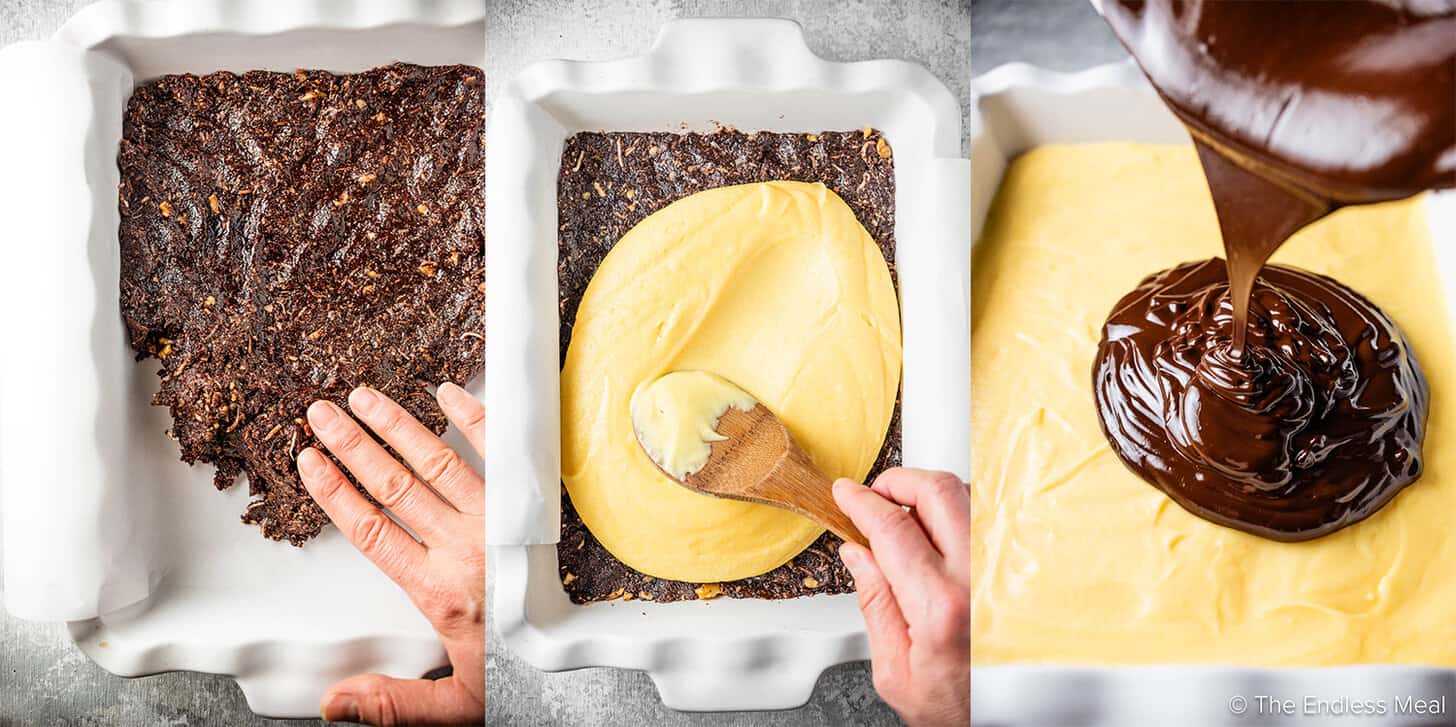
- Crumb layer: Gently melt the butter, then whisk in cocoa powder and sugar. Take the pot off the heat before adding the egg and whisk it up until it thickens. Stir in the remaining ingredients to finish your crust. Take a pan lined with parchment paper and press the crust down in an even layer.
- Custard layer: Combine all the ingredients together with electric beaters (or a stand mixer, if you have one) until your custard mixes together with the texture of a stiff frosting. Pour the mixture over the bottom layer, smoothing out the top, then place it in the fridge to set.
- Chocolate layer: Next, melt the butter and chocolate in a pan, and whisk to combine. Pour it over the chilled custard layer and make a smooth, even layer.
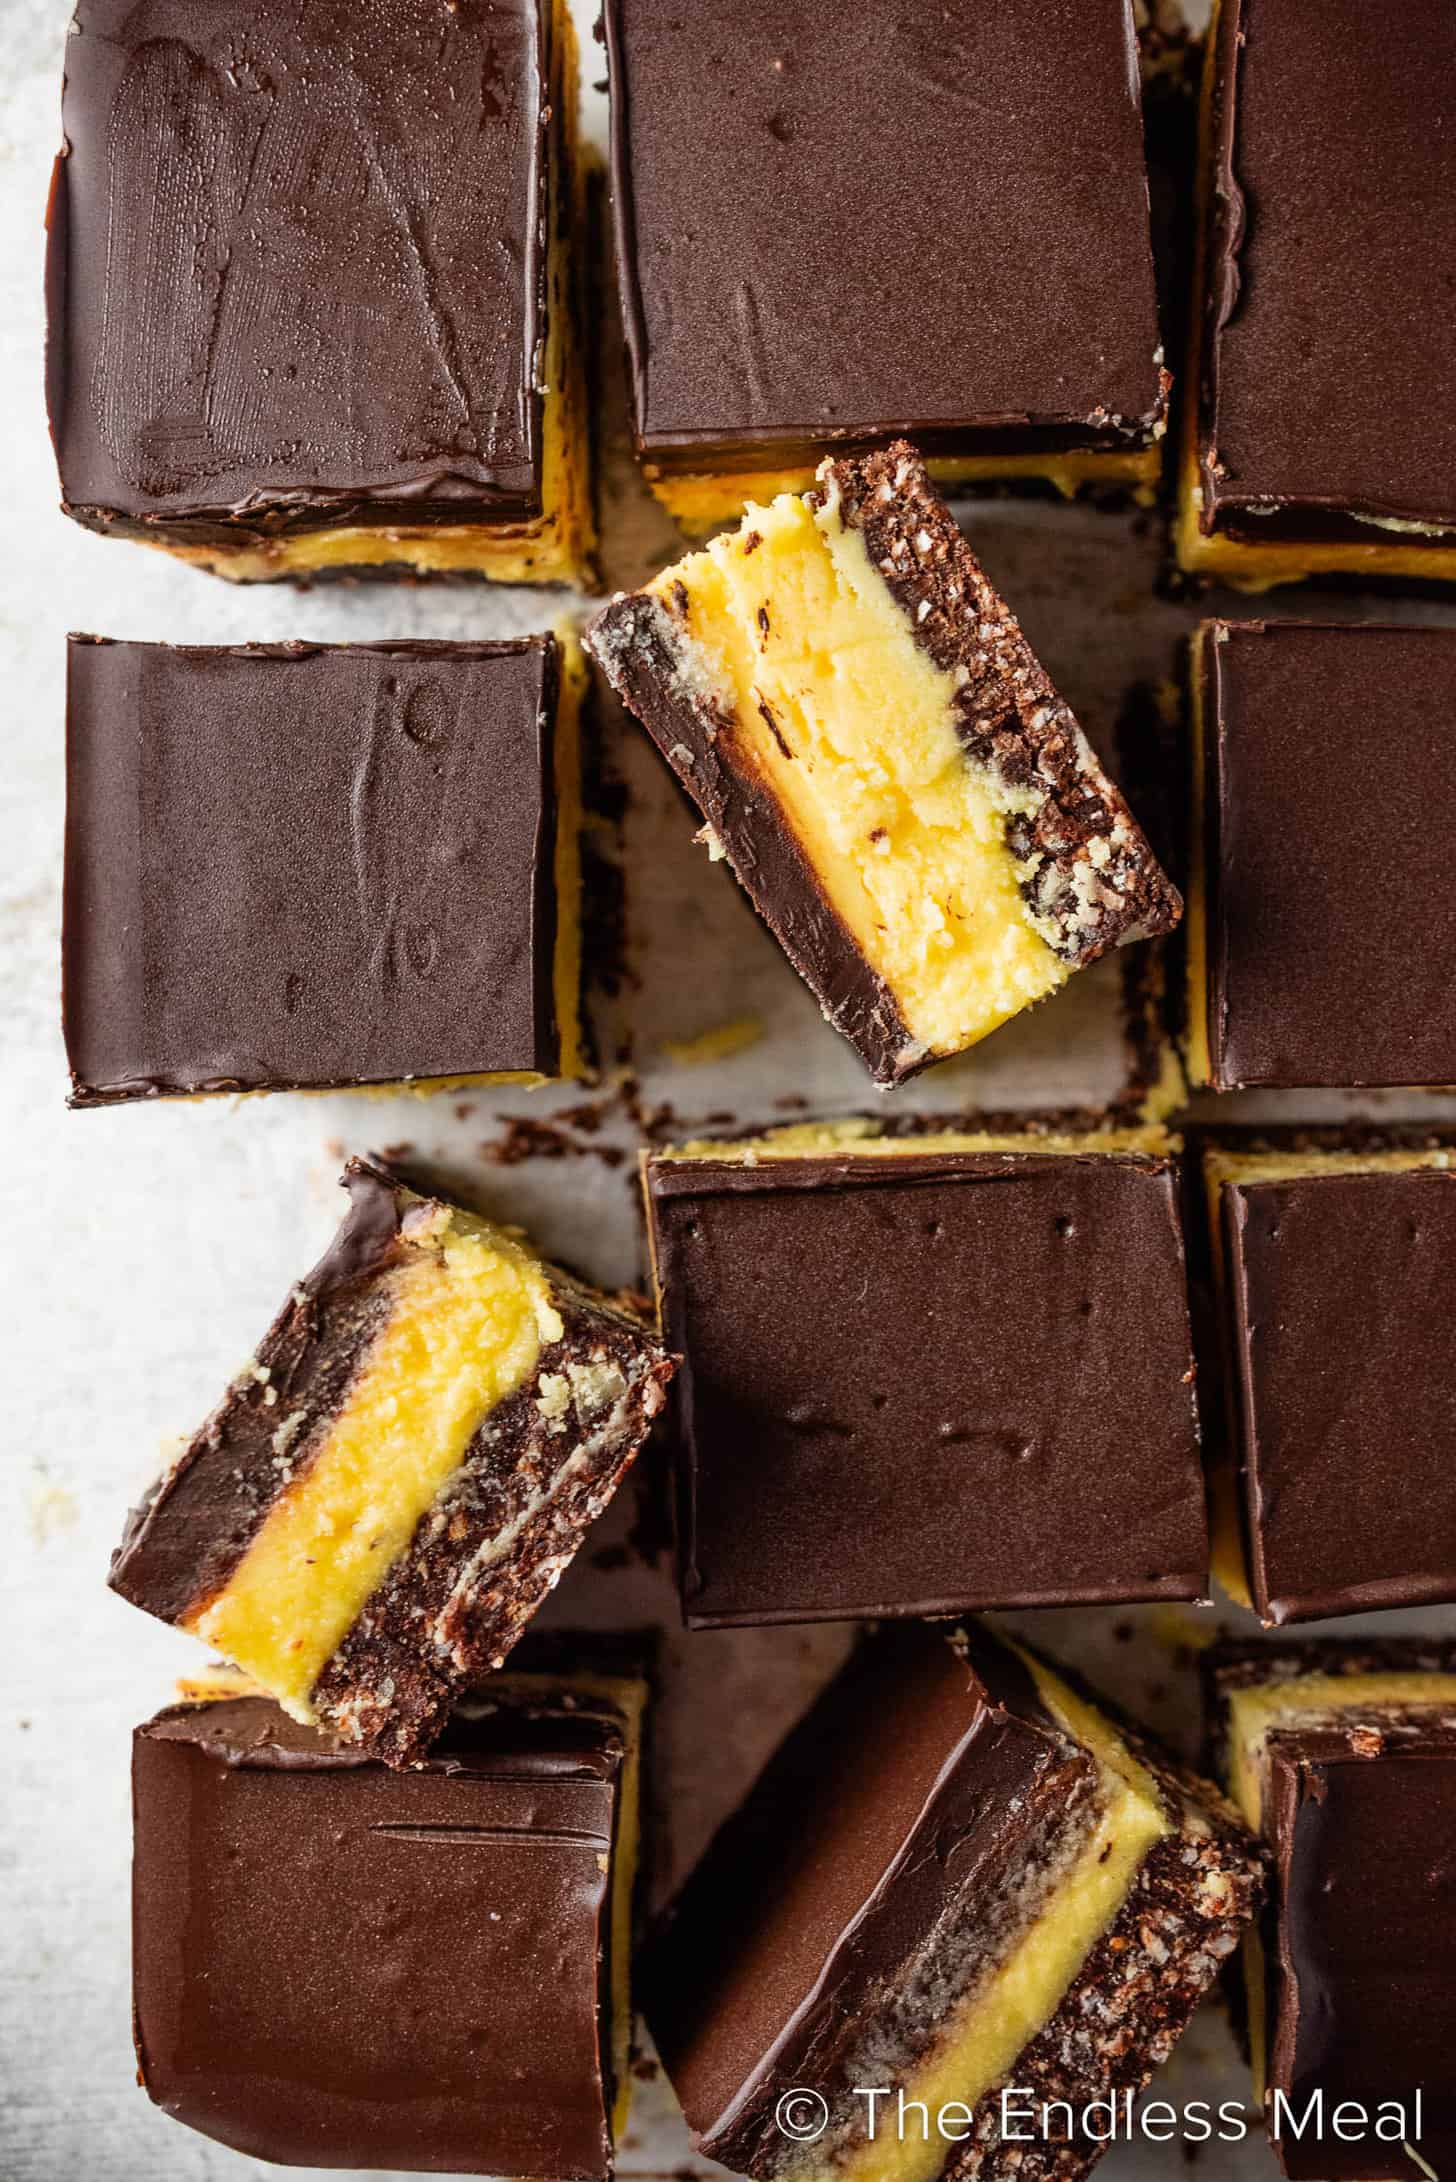
- Chill & cut: Put it in your fridge until the chocolate is soft set, then remove it to cut it into bars. Doing this before the chocolate totally sets prevents it from cracking when you cut it, so place it back in the fridge to finish setting. Then, enjoy them either chilled or leave for 10 minutes to enjoy at room temperature – delicious!
Tips for making the best nanaimo bars
Nanaimo bars are surprisingly simple to make, but there are a few hot tips that will help you along the way. Here are our top advice:
- Parchment paper: Lining your pan with parchment paper makes it easier to remove the bars without smooshing them.
- Butter temp: Ensure your butter for the middle layer has been softened at room temperature. If your house is chilly in winter, one trick is to cut the butter into cubes, place it in the bowl you'll mix the custard layer in, and place it in the oven with the light on. Don't turn the oven on – the light will be enough to soften the butter.
- Even layers: This recipe works best when the layers are uniform. Press the base layer down firmly for evenness before adding the next, and use the back of a spoon or spatula to smoothen. After you add the chocolate layer, gently tap the pan on your counter to level out the chocolate.
- Chill out: Allow each layer to set properly before adding the next to avoid the layers blending into each other.
- Melt chocolate: Gently melt the chocolate in the final layer like it's an art: don't rush this step! Funny things can happen to chocolate that melts too quickly, so take your time and melt alongside the butter low and slow.
- Clean slices: There are a few tips for slicing up your nanaimo bars so the chocolate doesn't break and so the layers don't blend too much. First, cut the chocolate when it's soft set rather than when it's totally hard to prevent cracking. Dip your sharp knife in hot water then rather than pushing the knife down, cut it across for cleaner cuts.
Recipe FAQs
What is Bird's custard powder?
Bird's Custard Powder is that stuff in the red, yellow, and blue box tin that looks like the branding hasn't changed since 1952. You can find it in the baking section at most supermarkets. The ingredients are simply: cornstarch, salt, color (annatto, a natural color), and flavor (vanilla). If you can't find it, you could substitute cornstarch, a tiny pinch of salt, and some vanilla. But for ‘authentic' Nanaimo bars, do see if you can find it.
How do I store nanaimo bars?
Place these in a covered container in your fridge for up to a week.
Can you freeze nanaimo bars?
Yes – store in the freezer in an airtight container for up to three months. To thaw, put them in the fridge overnight. Or simply let one sit on your counter for about 10 minutes – they don't take long to thaw!
Mom's Nanaimo Bars Recipe
Ingredients
Bottom Layer
- ½ cup butter
- 5 tablespoons cocoa powder
- ¼ cup granulated sugar
- 1 large egg
- 1 ¾ cup Graham cracker crumbs (gluten-free if needed)
- ¾ cup fine coconut
- ¼ cup chopped walnuts
Middle Layer
- 3 cups powdered sugar
- ¾ cup butter (softened)
- ¼ cup milk
- ¼ cup Bird's vanilla custard powder
Top Layer
- 8 ounces shaved dark chocolate or chocolate chips
- 4 tablespoons butter
Instructions
Bottom layer
- Lay a piece of parchment paper in a 9×11-inch pan, letting some hang over the sides. (This makes it easier to remove the Nanaimo bars.)
- Melt the butter in a medium-sized pot over medium heat. Whisk in the cocoa powder and sugar. Remove the pot from the heat then add the egg and whisk until it has thickened, about 30 seconds. Stir in the Graham cracker crumbs, coconut, and walnuts. Press the crust firmly into the prepared pan.½ cup butter, 5 tablespoons cocoa powder, ¼ cup granulated sugar, 1 large egg, 1 ¾ cup Graham cracker crumbs, ¾ cup fine coconut, ¼ cup chopped walnuts
Middle layer
- Add all the middle layer ingredients to a large bowl and cream them together using electric beaters. Pour the custard over the first layer and smooth the top.3 cups powdered sugar, ¾ cup butter, ¼ cup milk, ¼ cup Bird's vanilla custard powder
- Place the pan into your fridge for at least 20 minutes, or until the custard is firm.
Top layer
- Add the chocolate and butter to a medium-sized pan over low heat and let both melt. Whisk to combine and then pour the chocolate over the custard. Smooth the top first with a spatula then by gently tapping the pan on your counter.8 ounces shaved dark chocolate or chocolate chips, 4 tablespoons butter
- Chill in your fridge for about 20 minutes, or until the chocolate is soft-set. Cut the Nanaimo bars into bars then place them back in your fridge until they are completely set. (Cutting the bars first prevents the chocolate from cracking.)
- Store the bars in a covered container in your fridge for a week or up to three months in your freezer. The bars can be eaten cold or at room temperature – they take about 10 minutes to warm once out of the fridge.
Video
Nutrition
We have thoroughly tested this recipe for accuracy. However, individual results may vary. See our full recipe disclosure here.
For more inspiration, check out all of our dessert recipes!


I am canadian but have lived in the states for 3 years now. These are perfect, remind me of home, and are just so dang good! I used shredded coconut because I love the extra texture and my chocolate did great and didn’t crack! Will make these again
Same recipe my mom made 60 years ago! The very best! I made it today for bake sale.
I just made TWO pans of these for a bake exchange while staying near Nanaimo (it was the clear choice).
The recipe was super easy to follow and I really appreciated the visual instruction for each step to make sure I was on the right track. Both pans turned out identical (and insanely delicious).